Week4
3D scanning / 3D printing
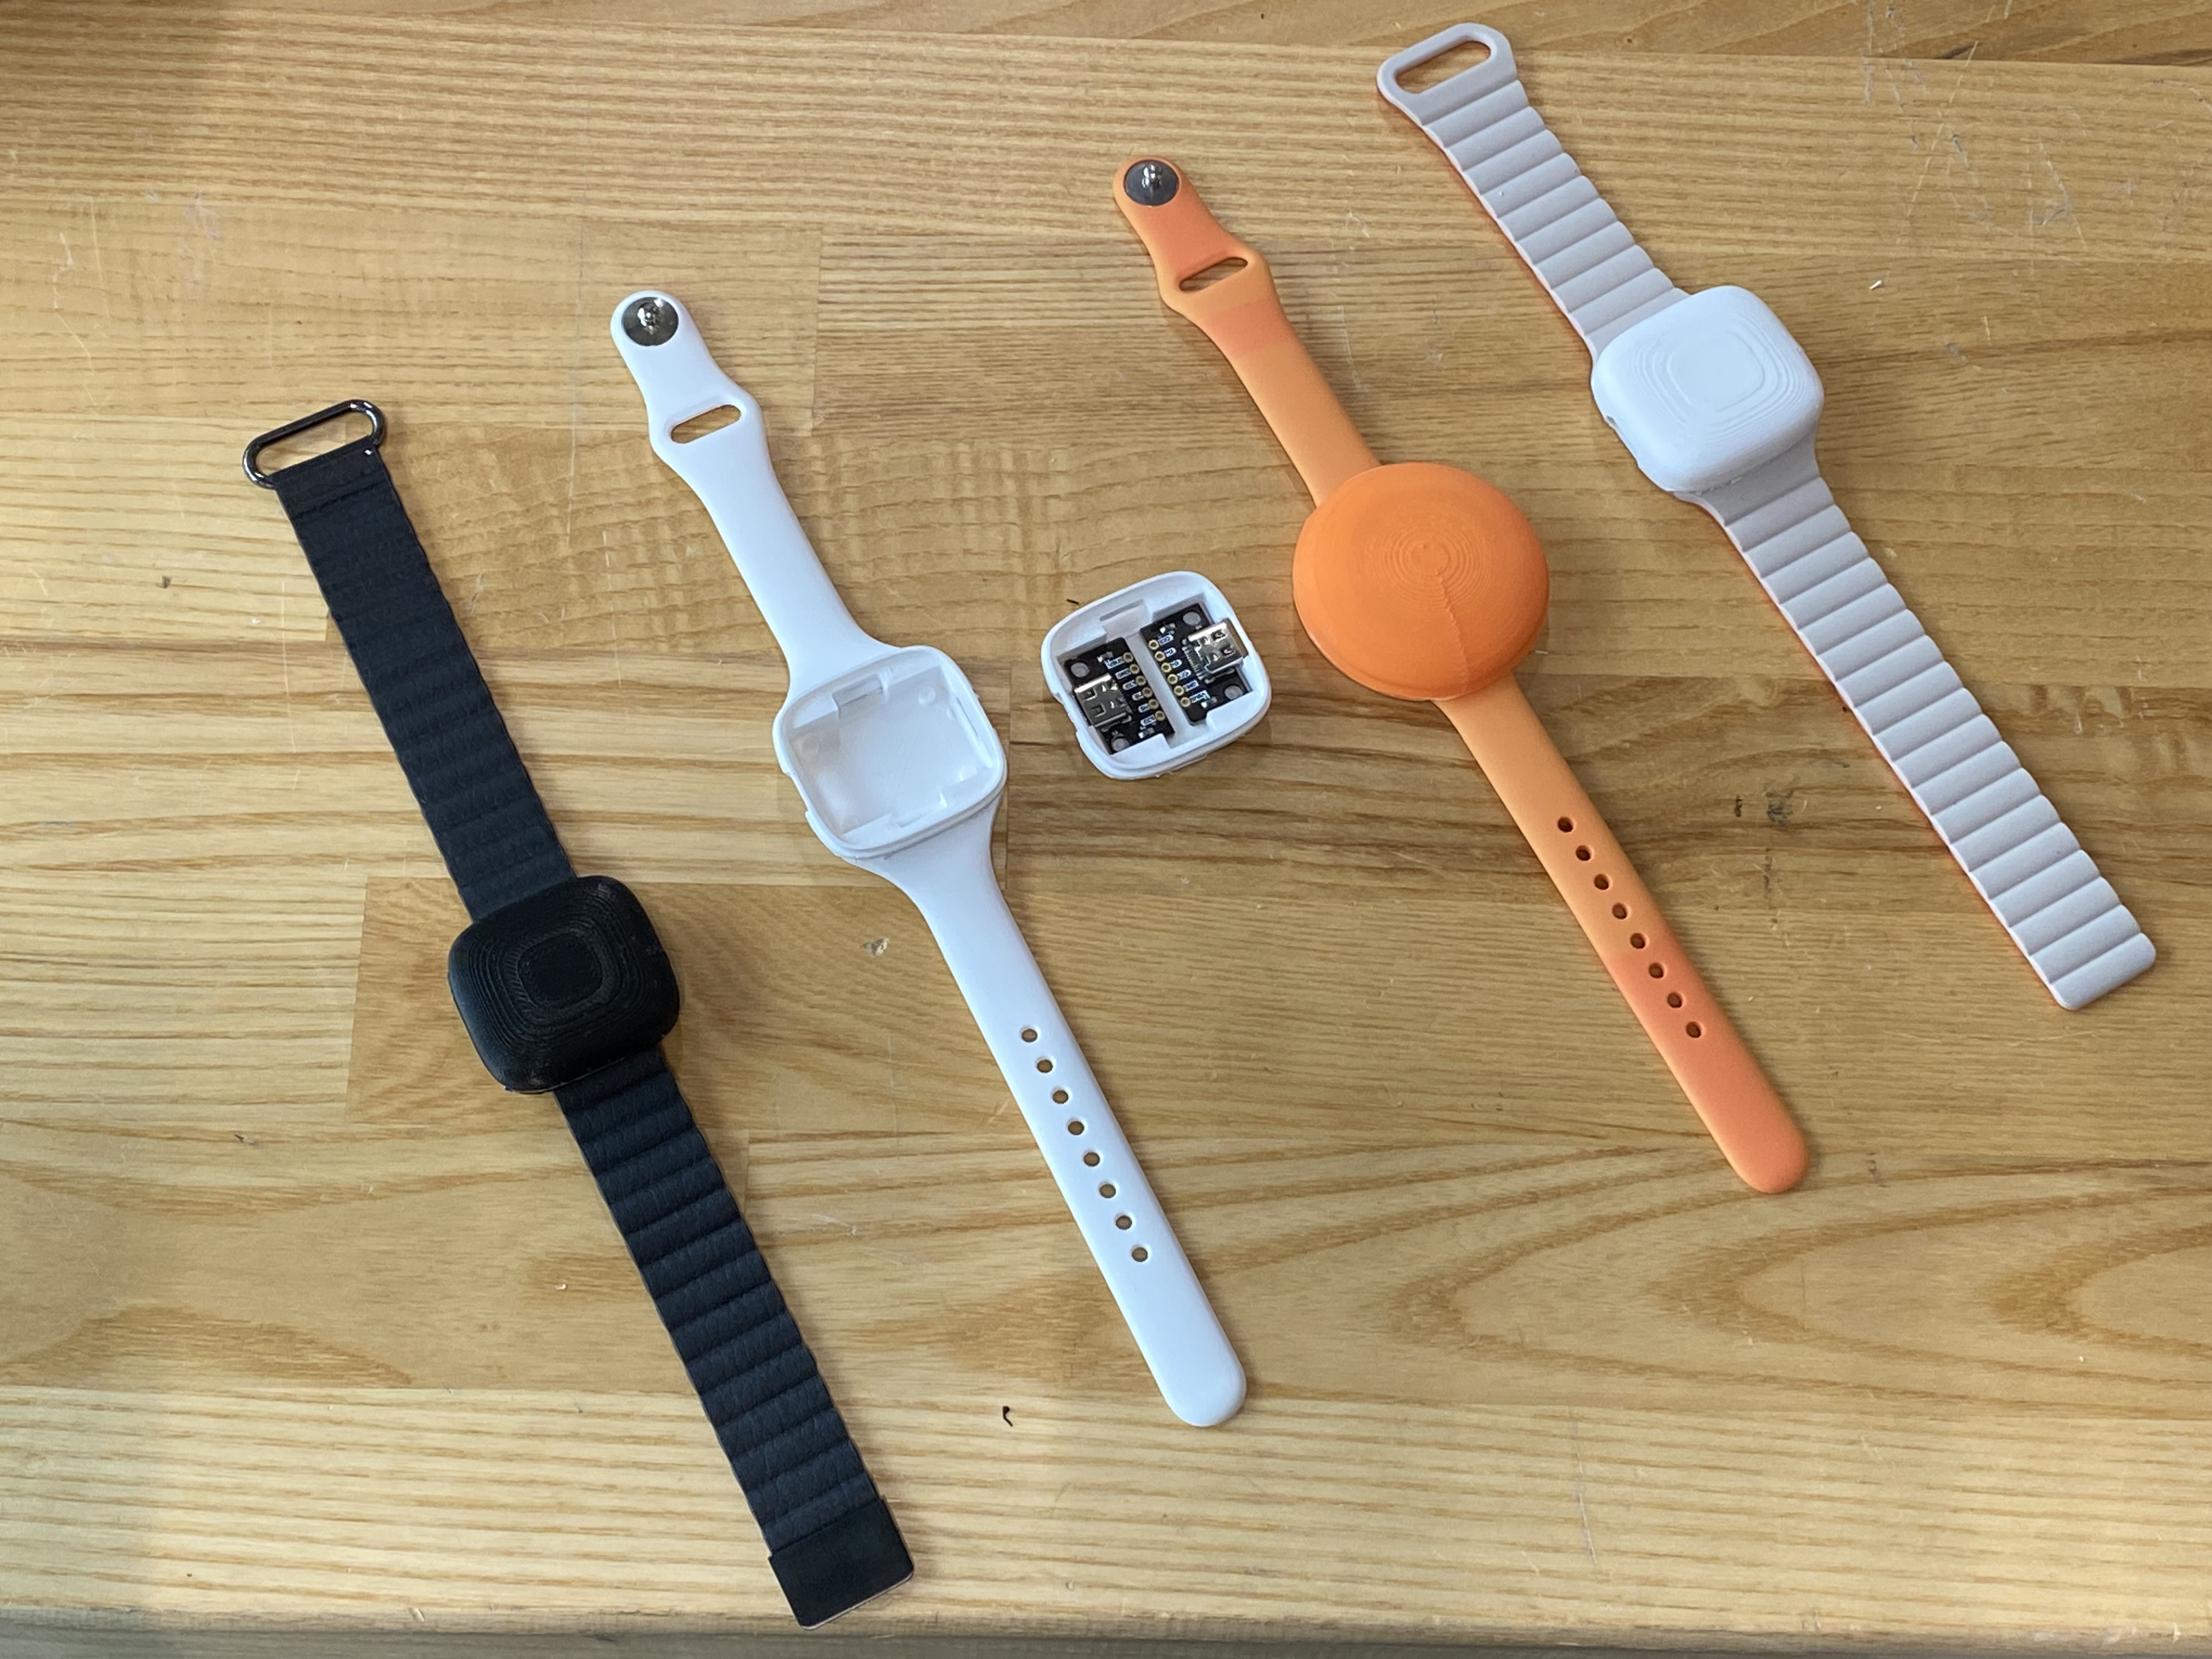
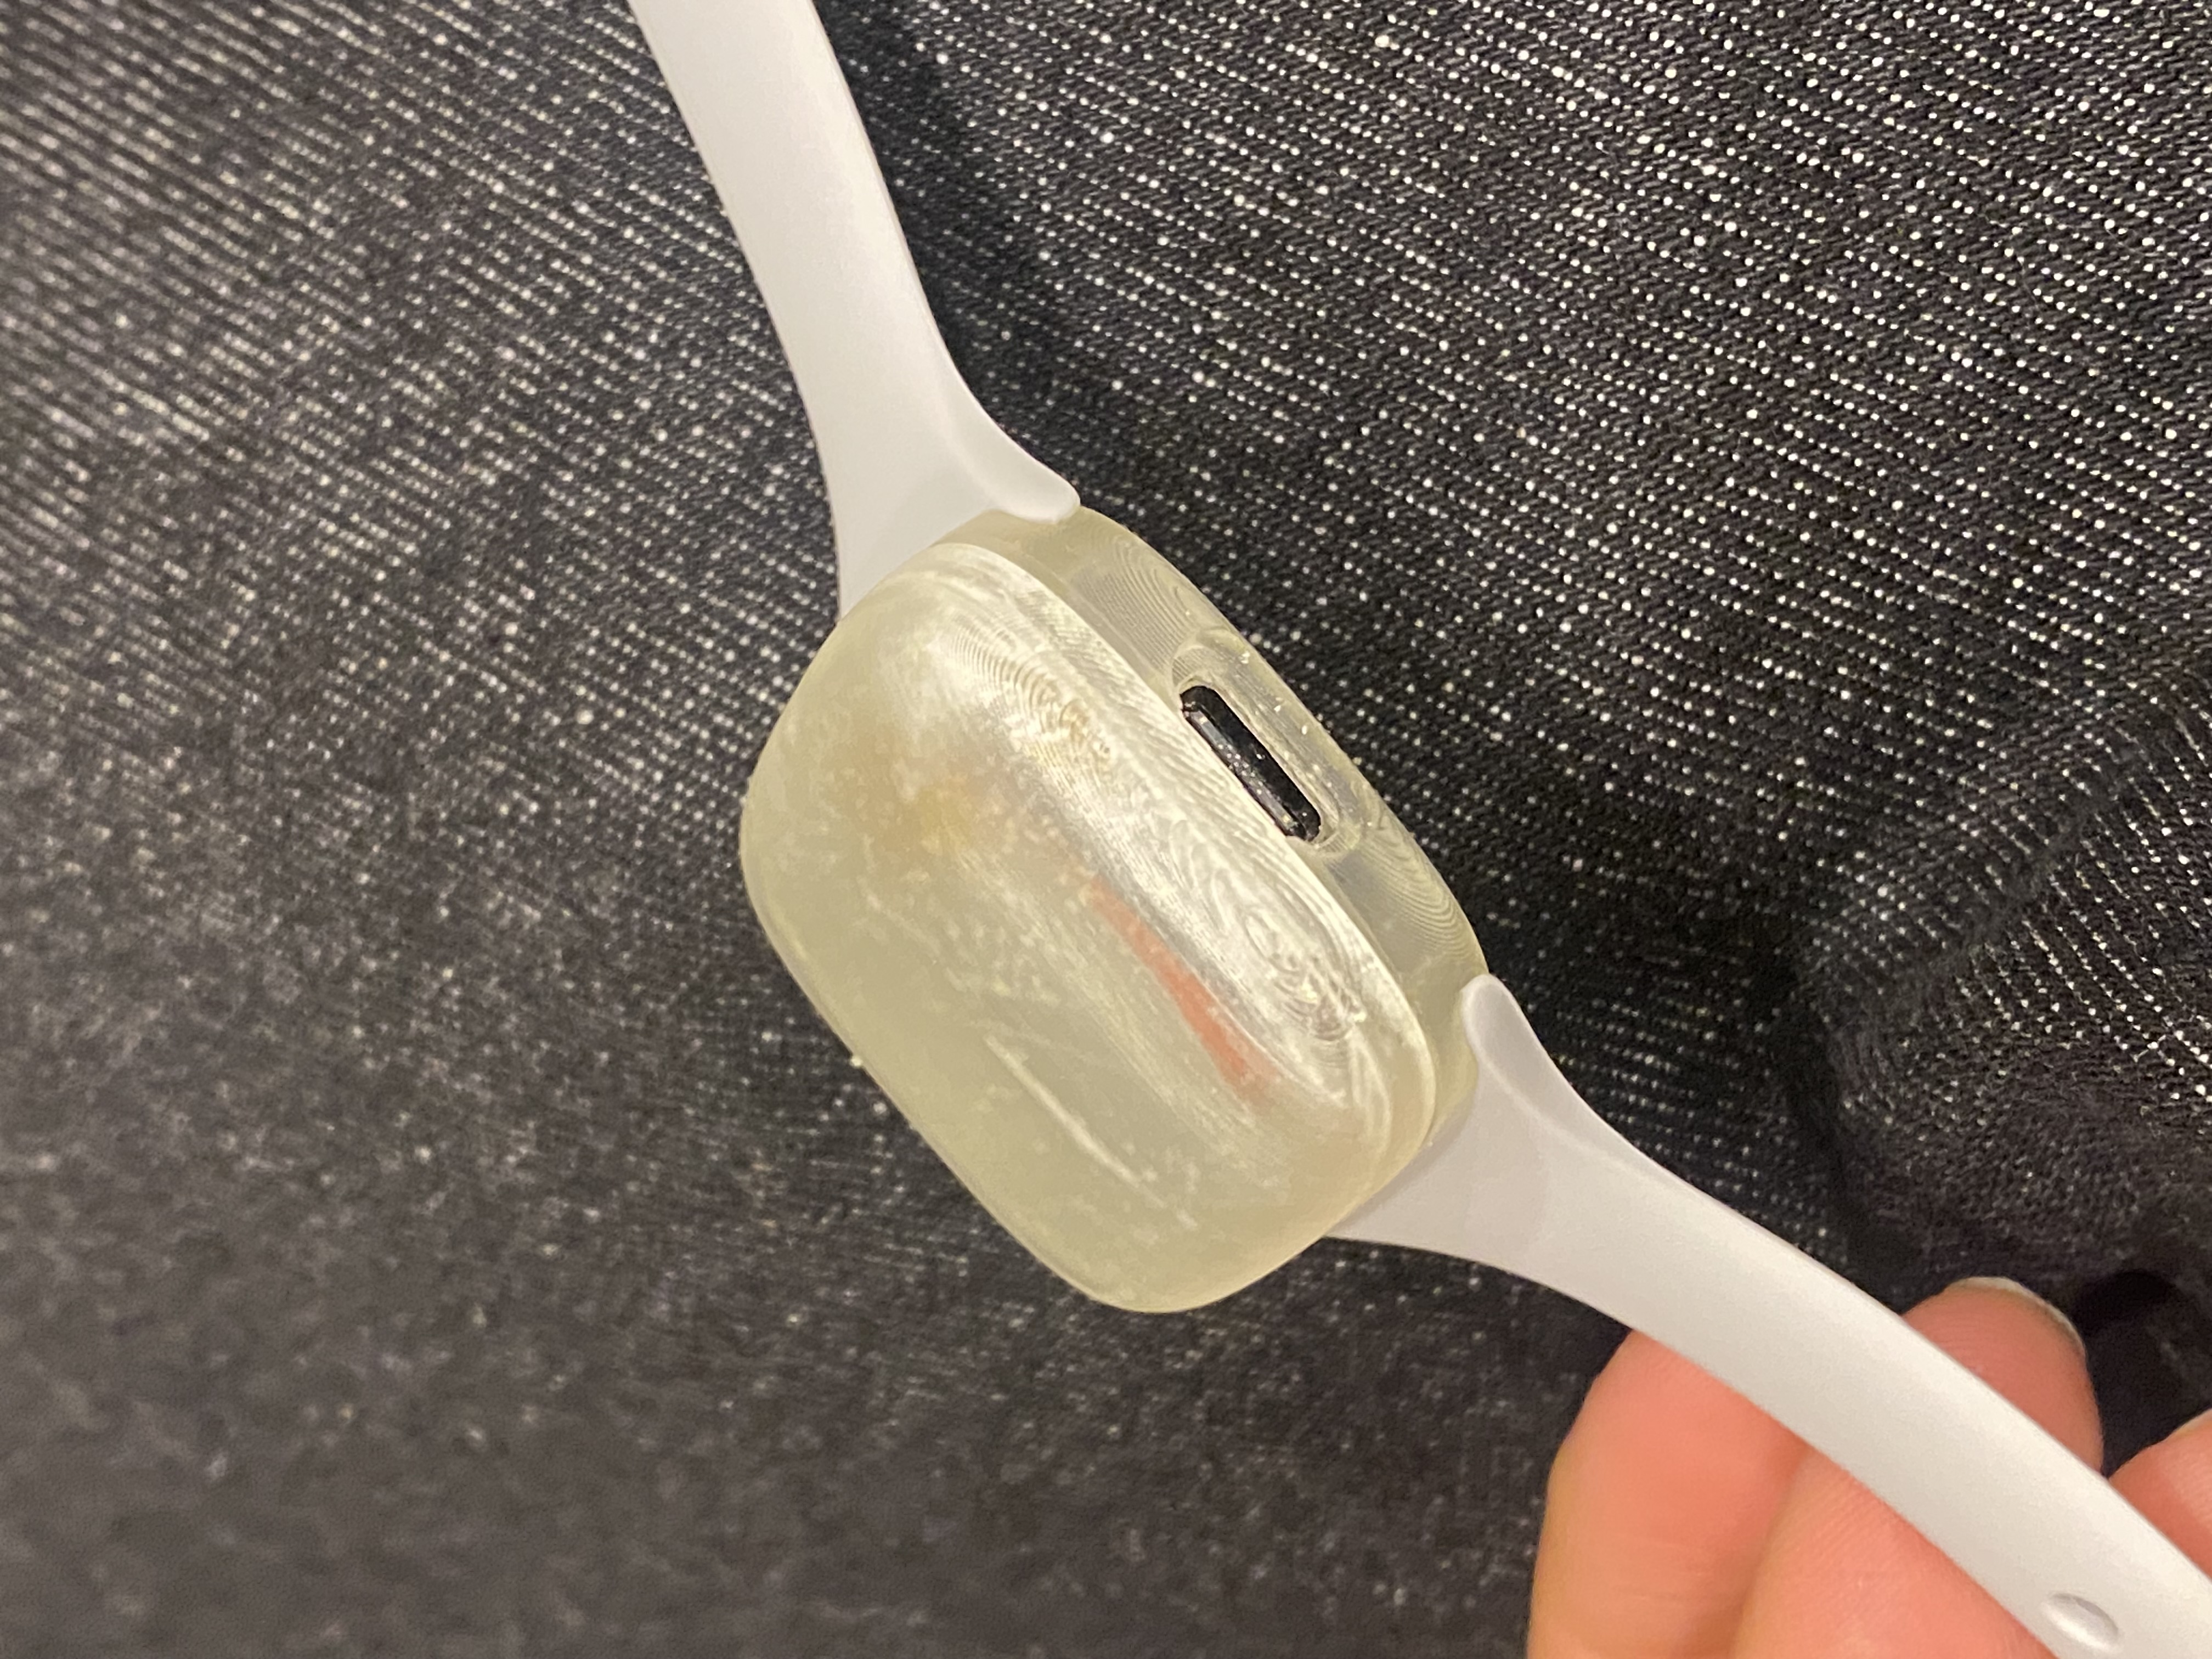
Output A: USB-C type-based Modular Wearable
Output B: 3D scanned my vertical mouse and 3D printed it
Outputs

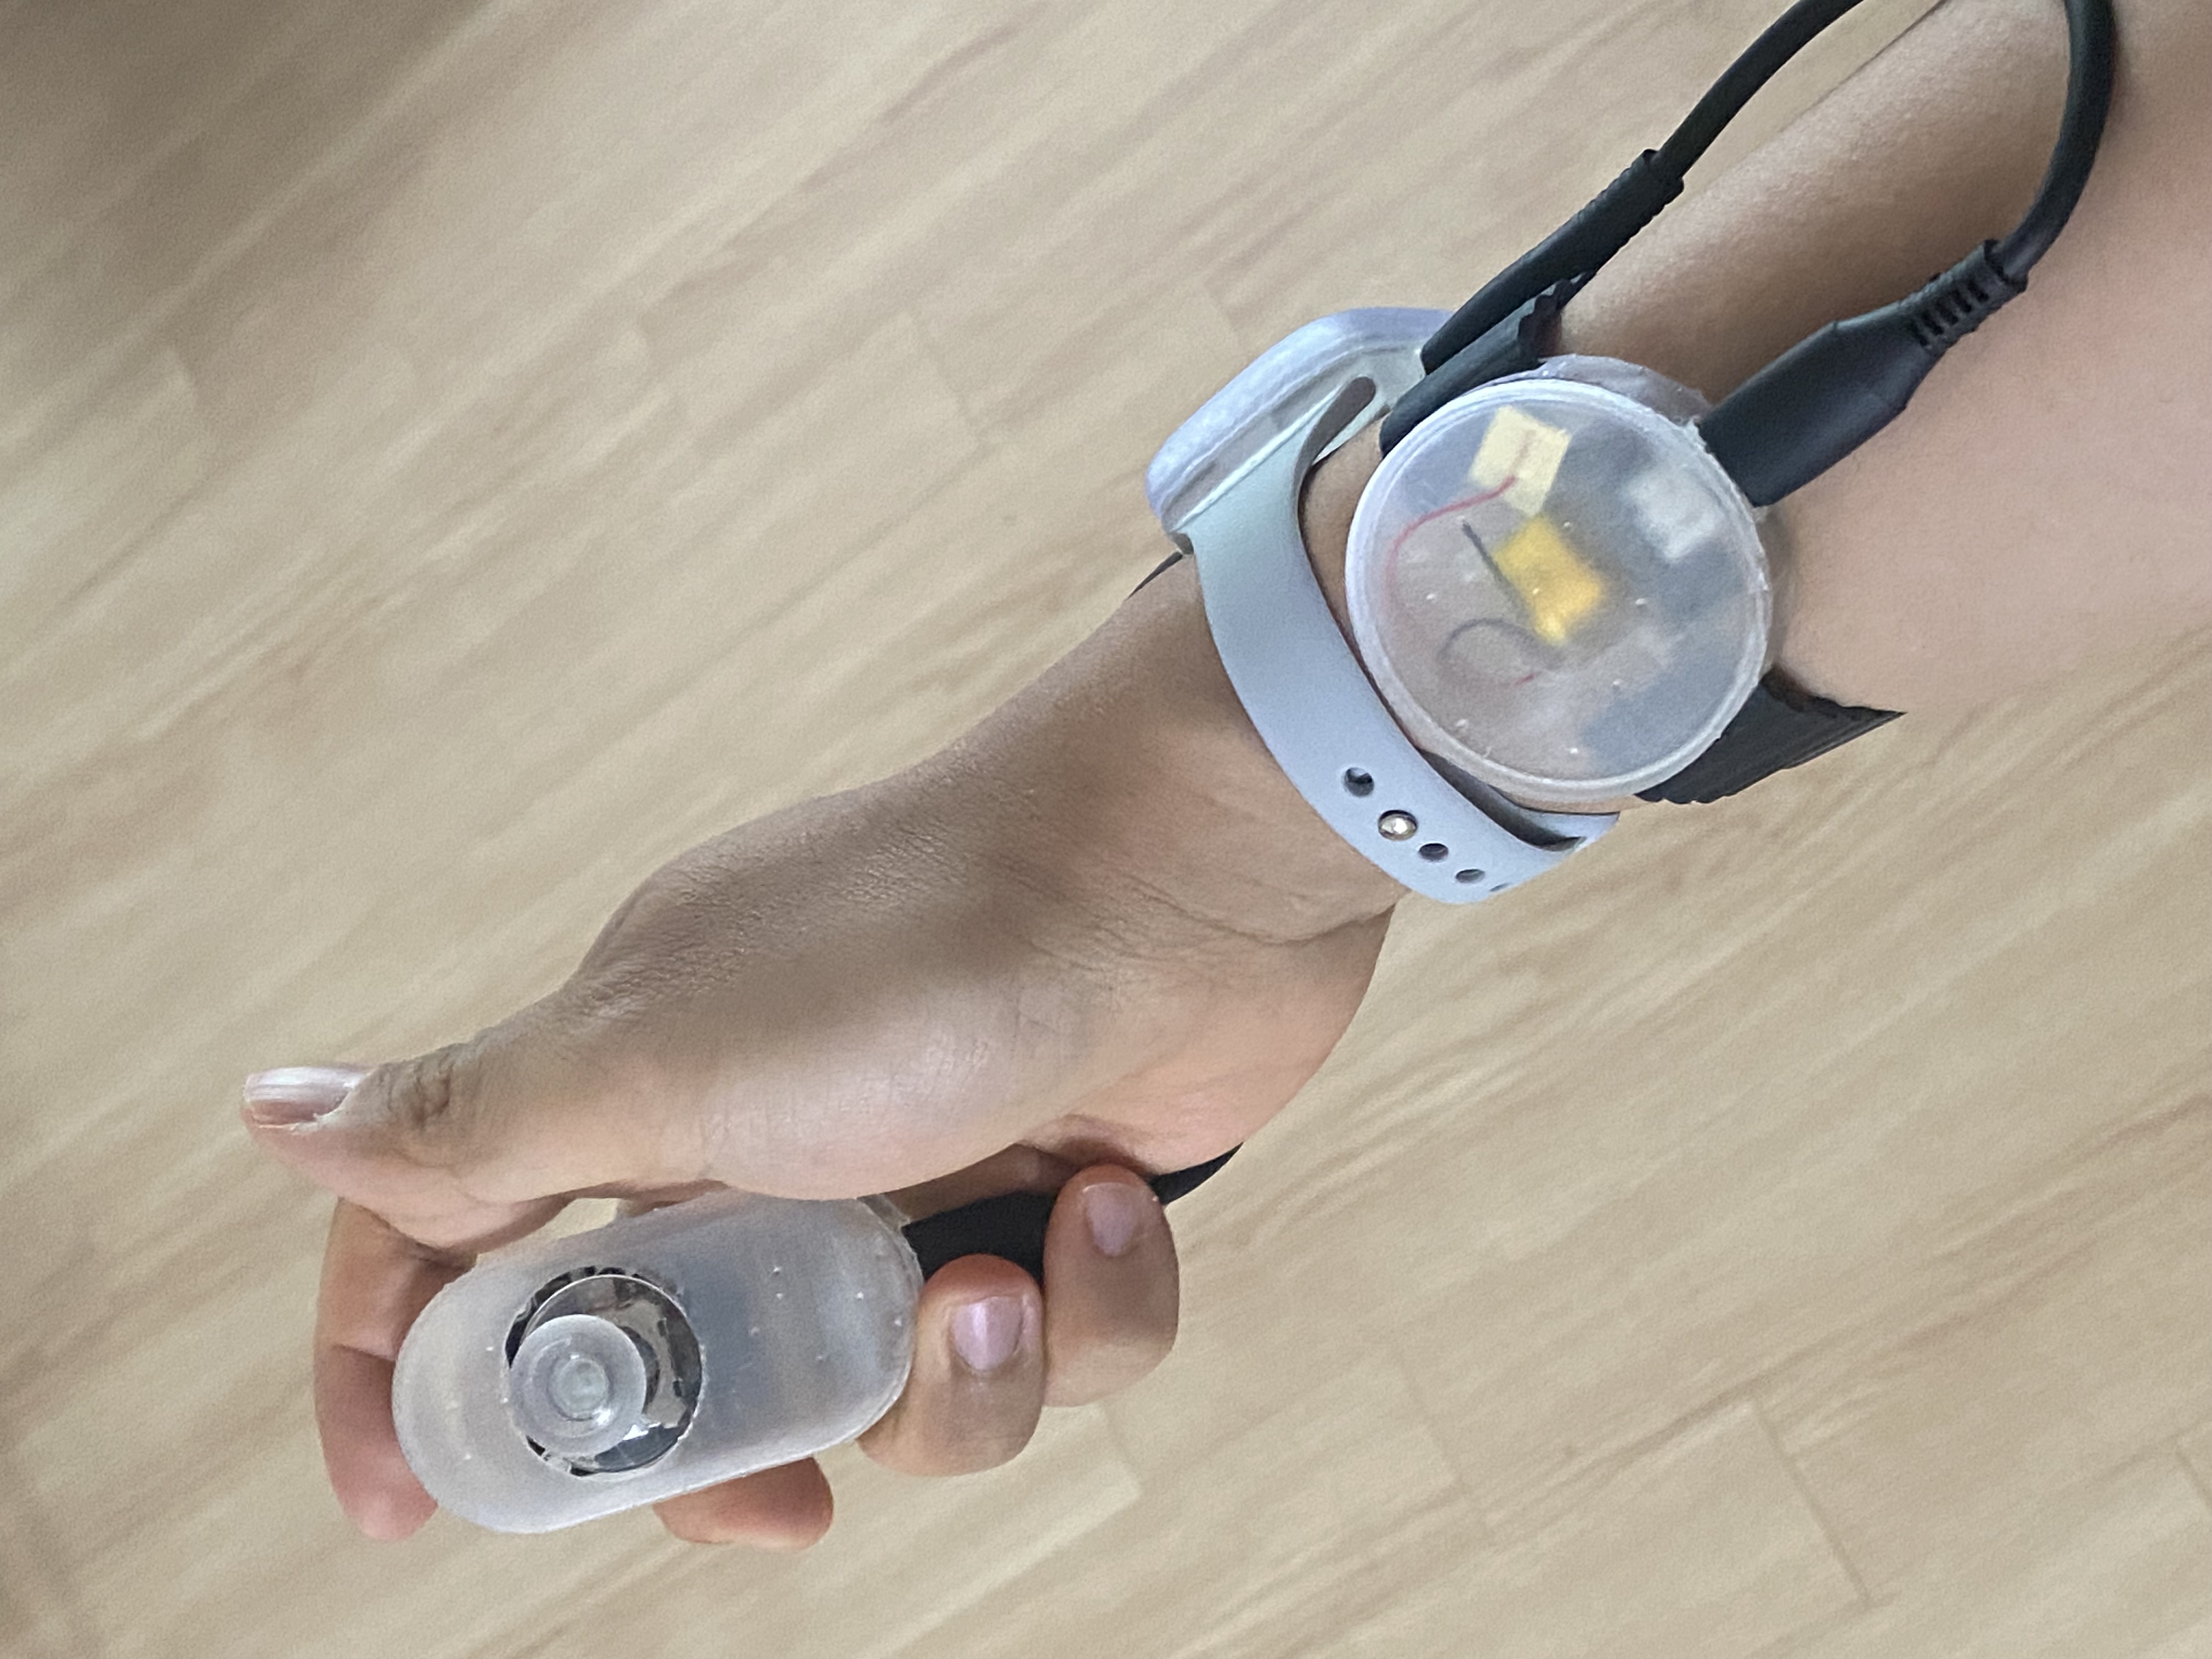
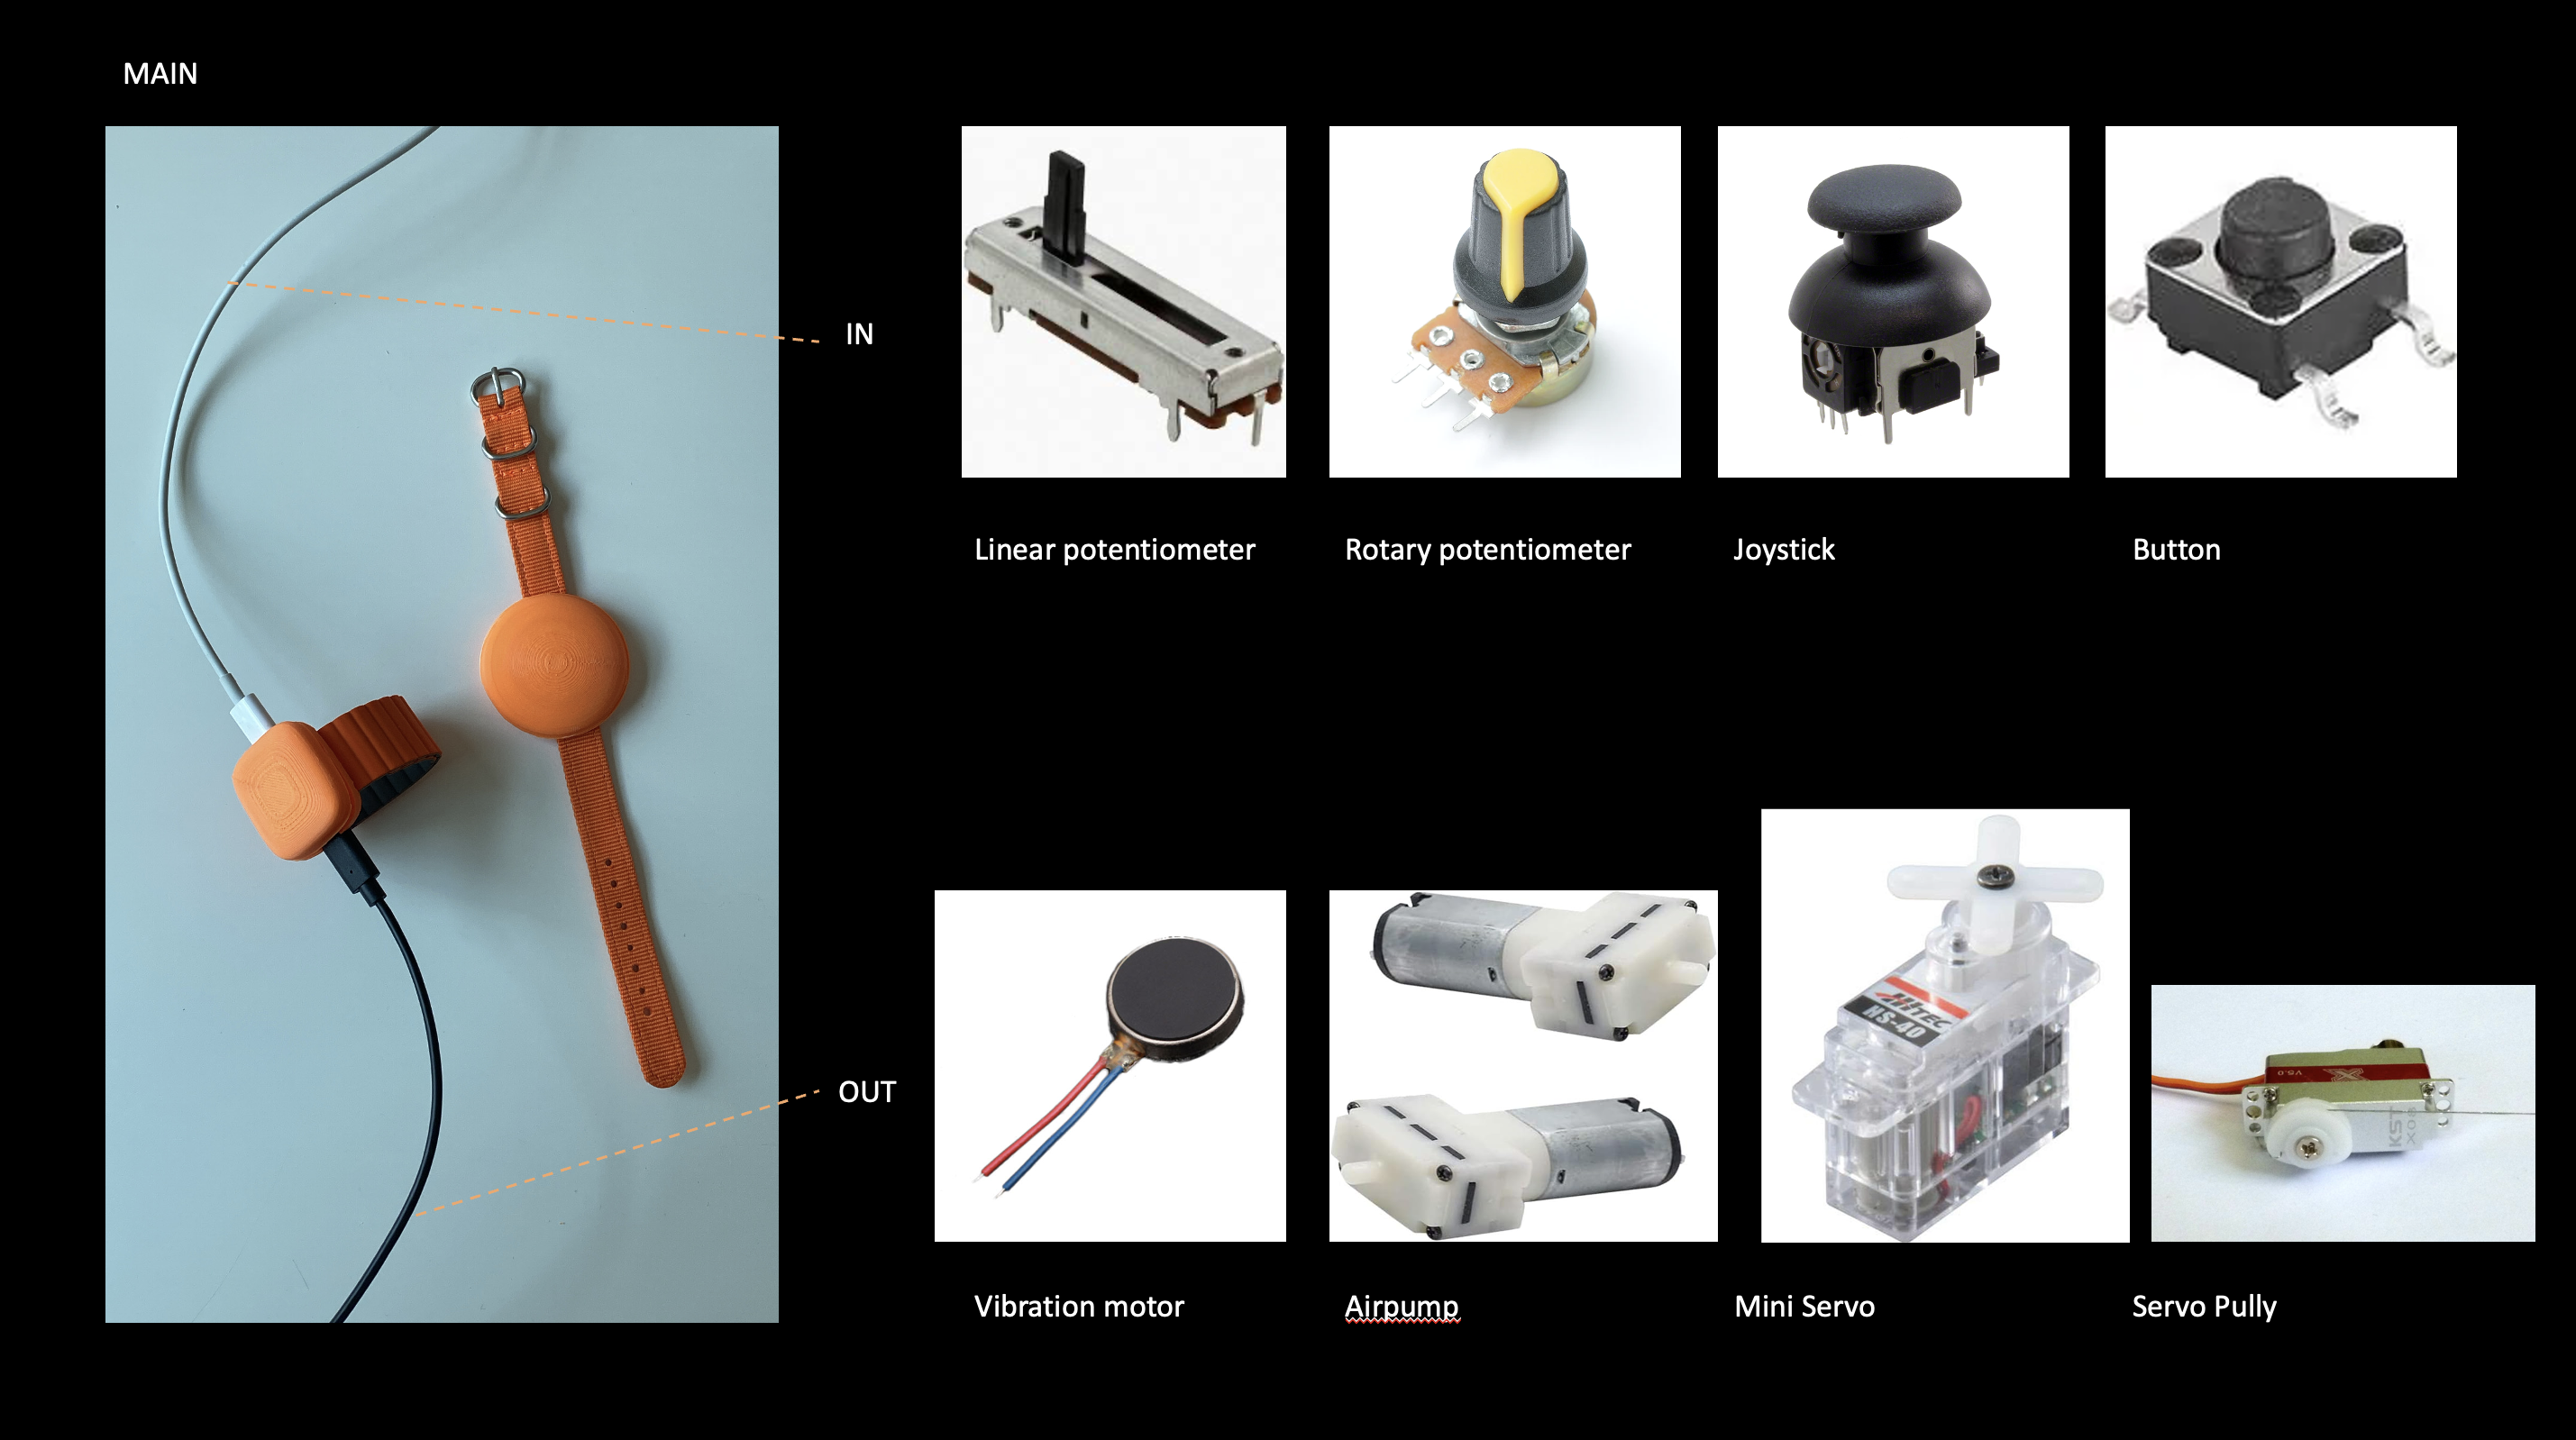
Input(Joystick) - Main(Xiao Sense + IMU + battery) - Output(Vibration motor) modules connected: There are 4 different input/output modules each.
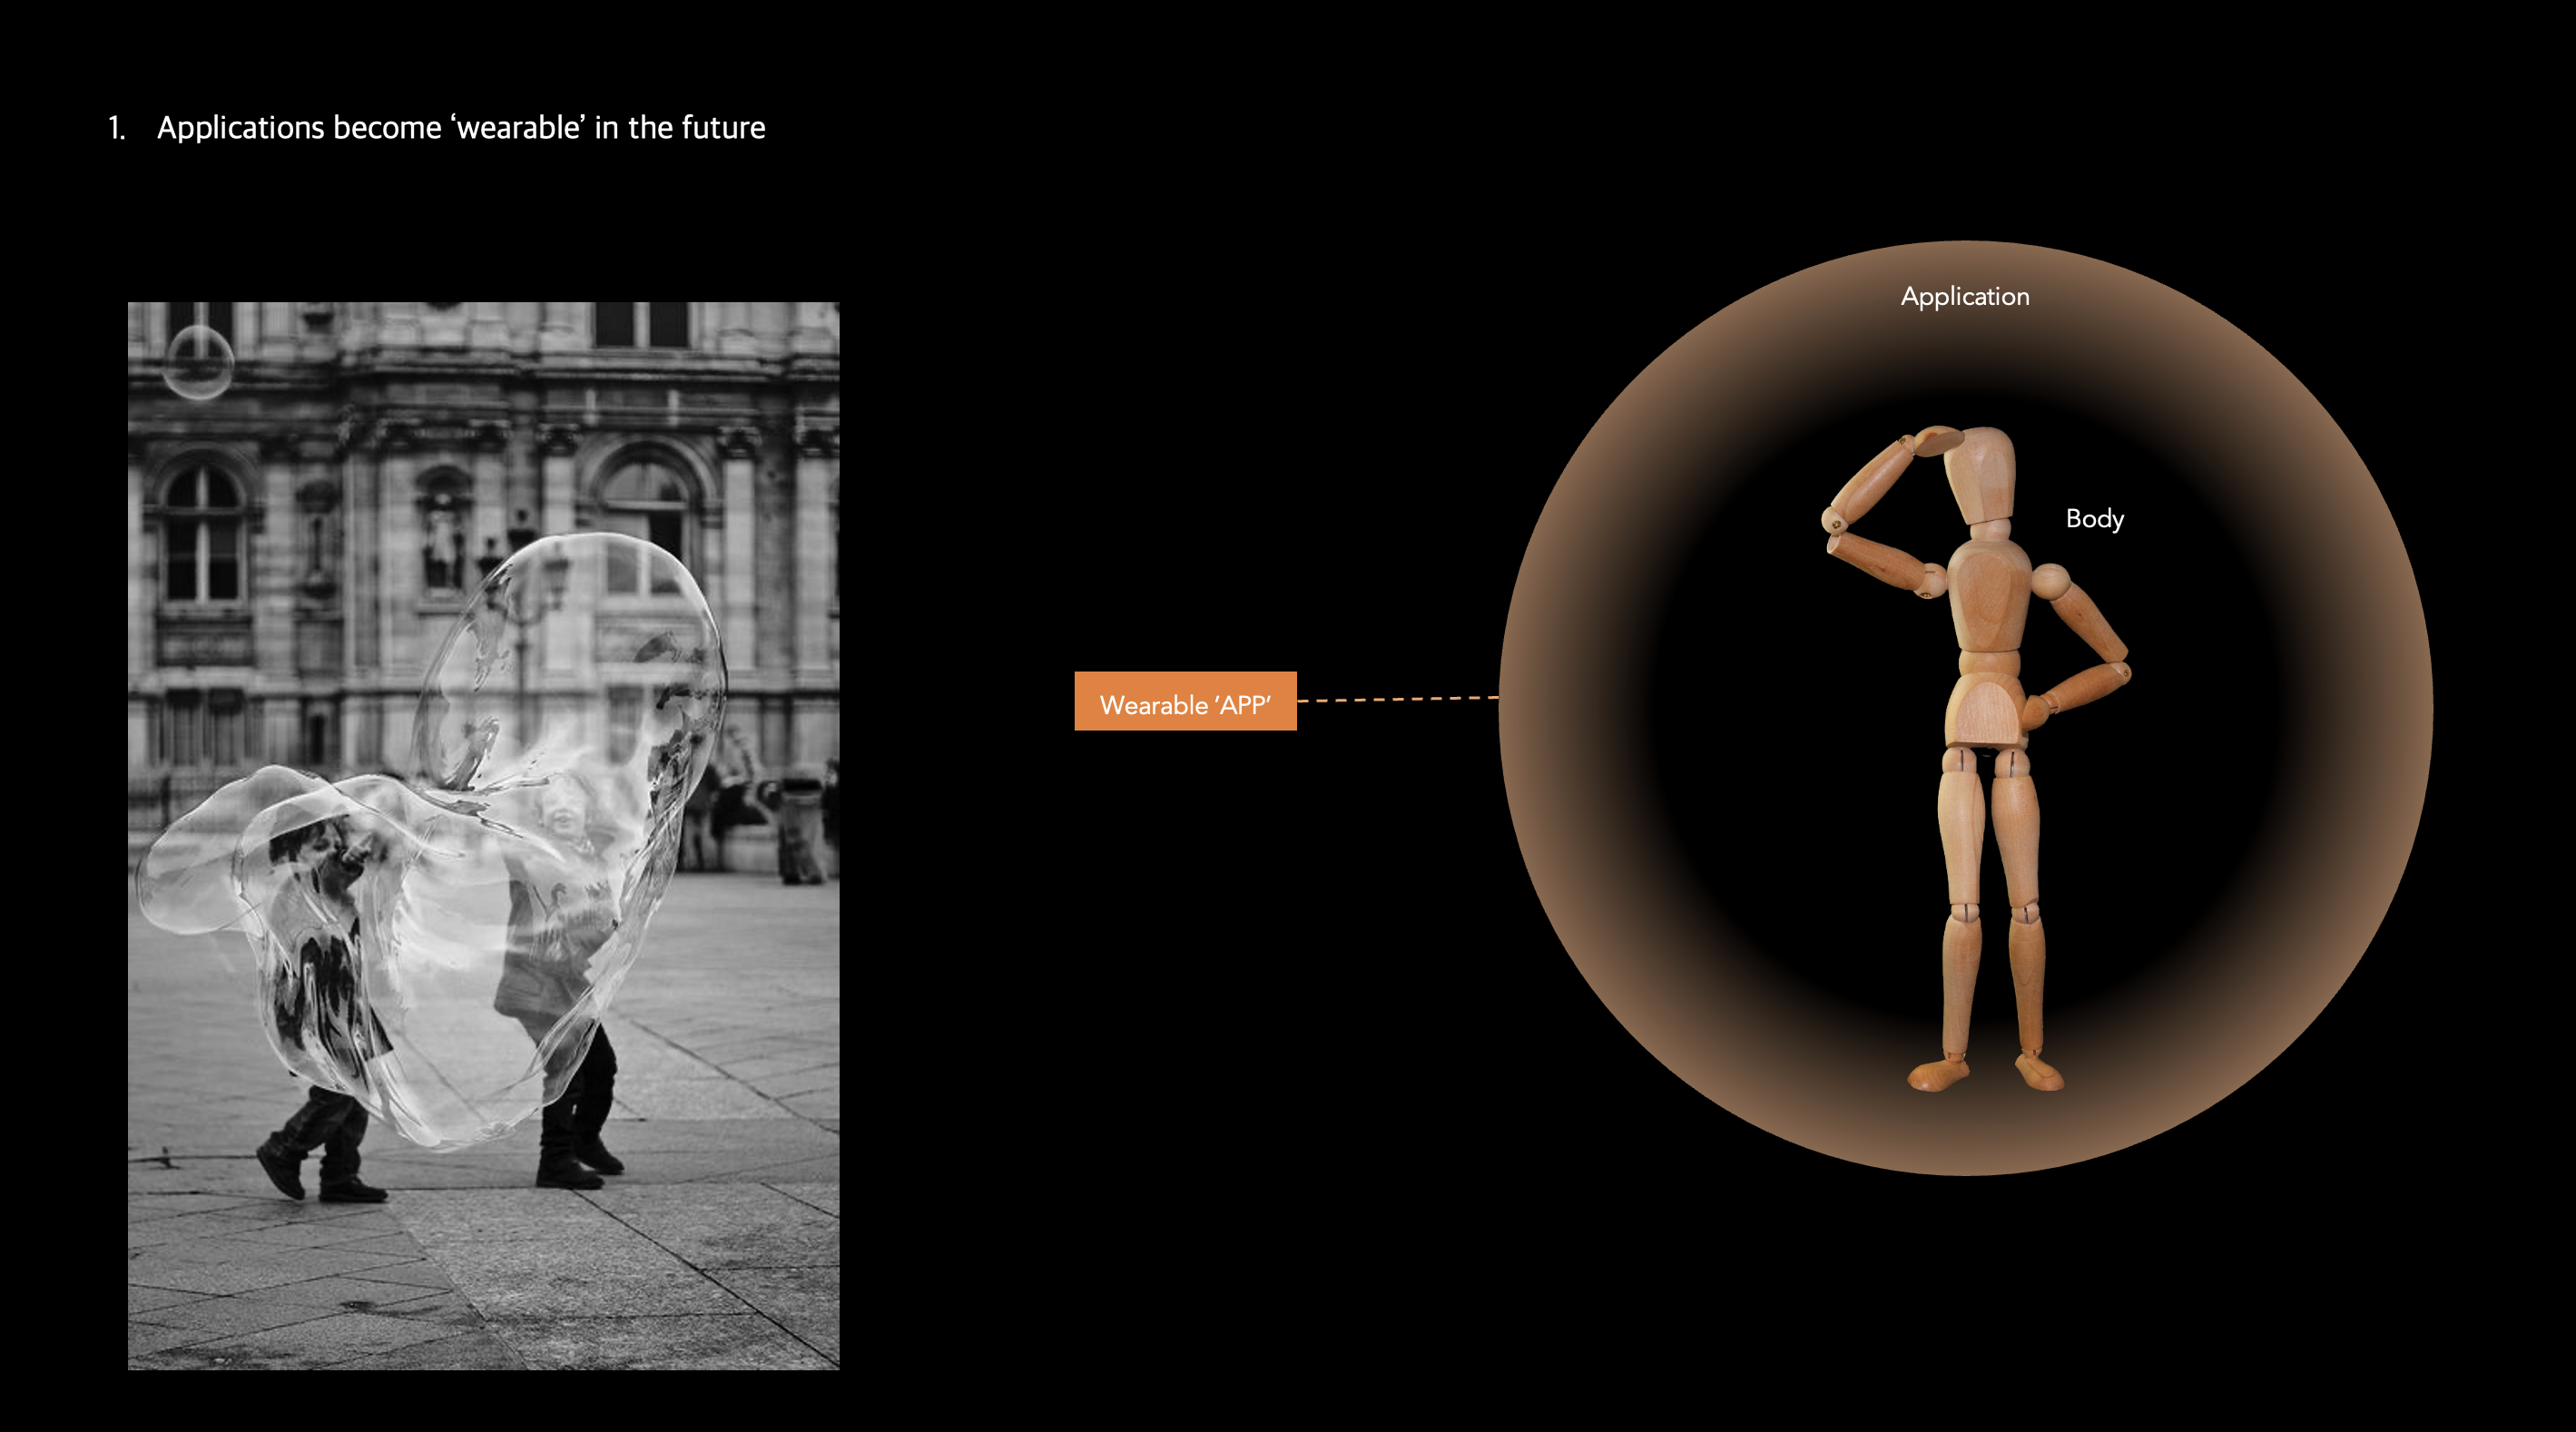
Process A - Wearable devices
First, I made 3D models of cases for the wearable modules.
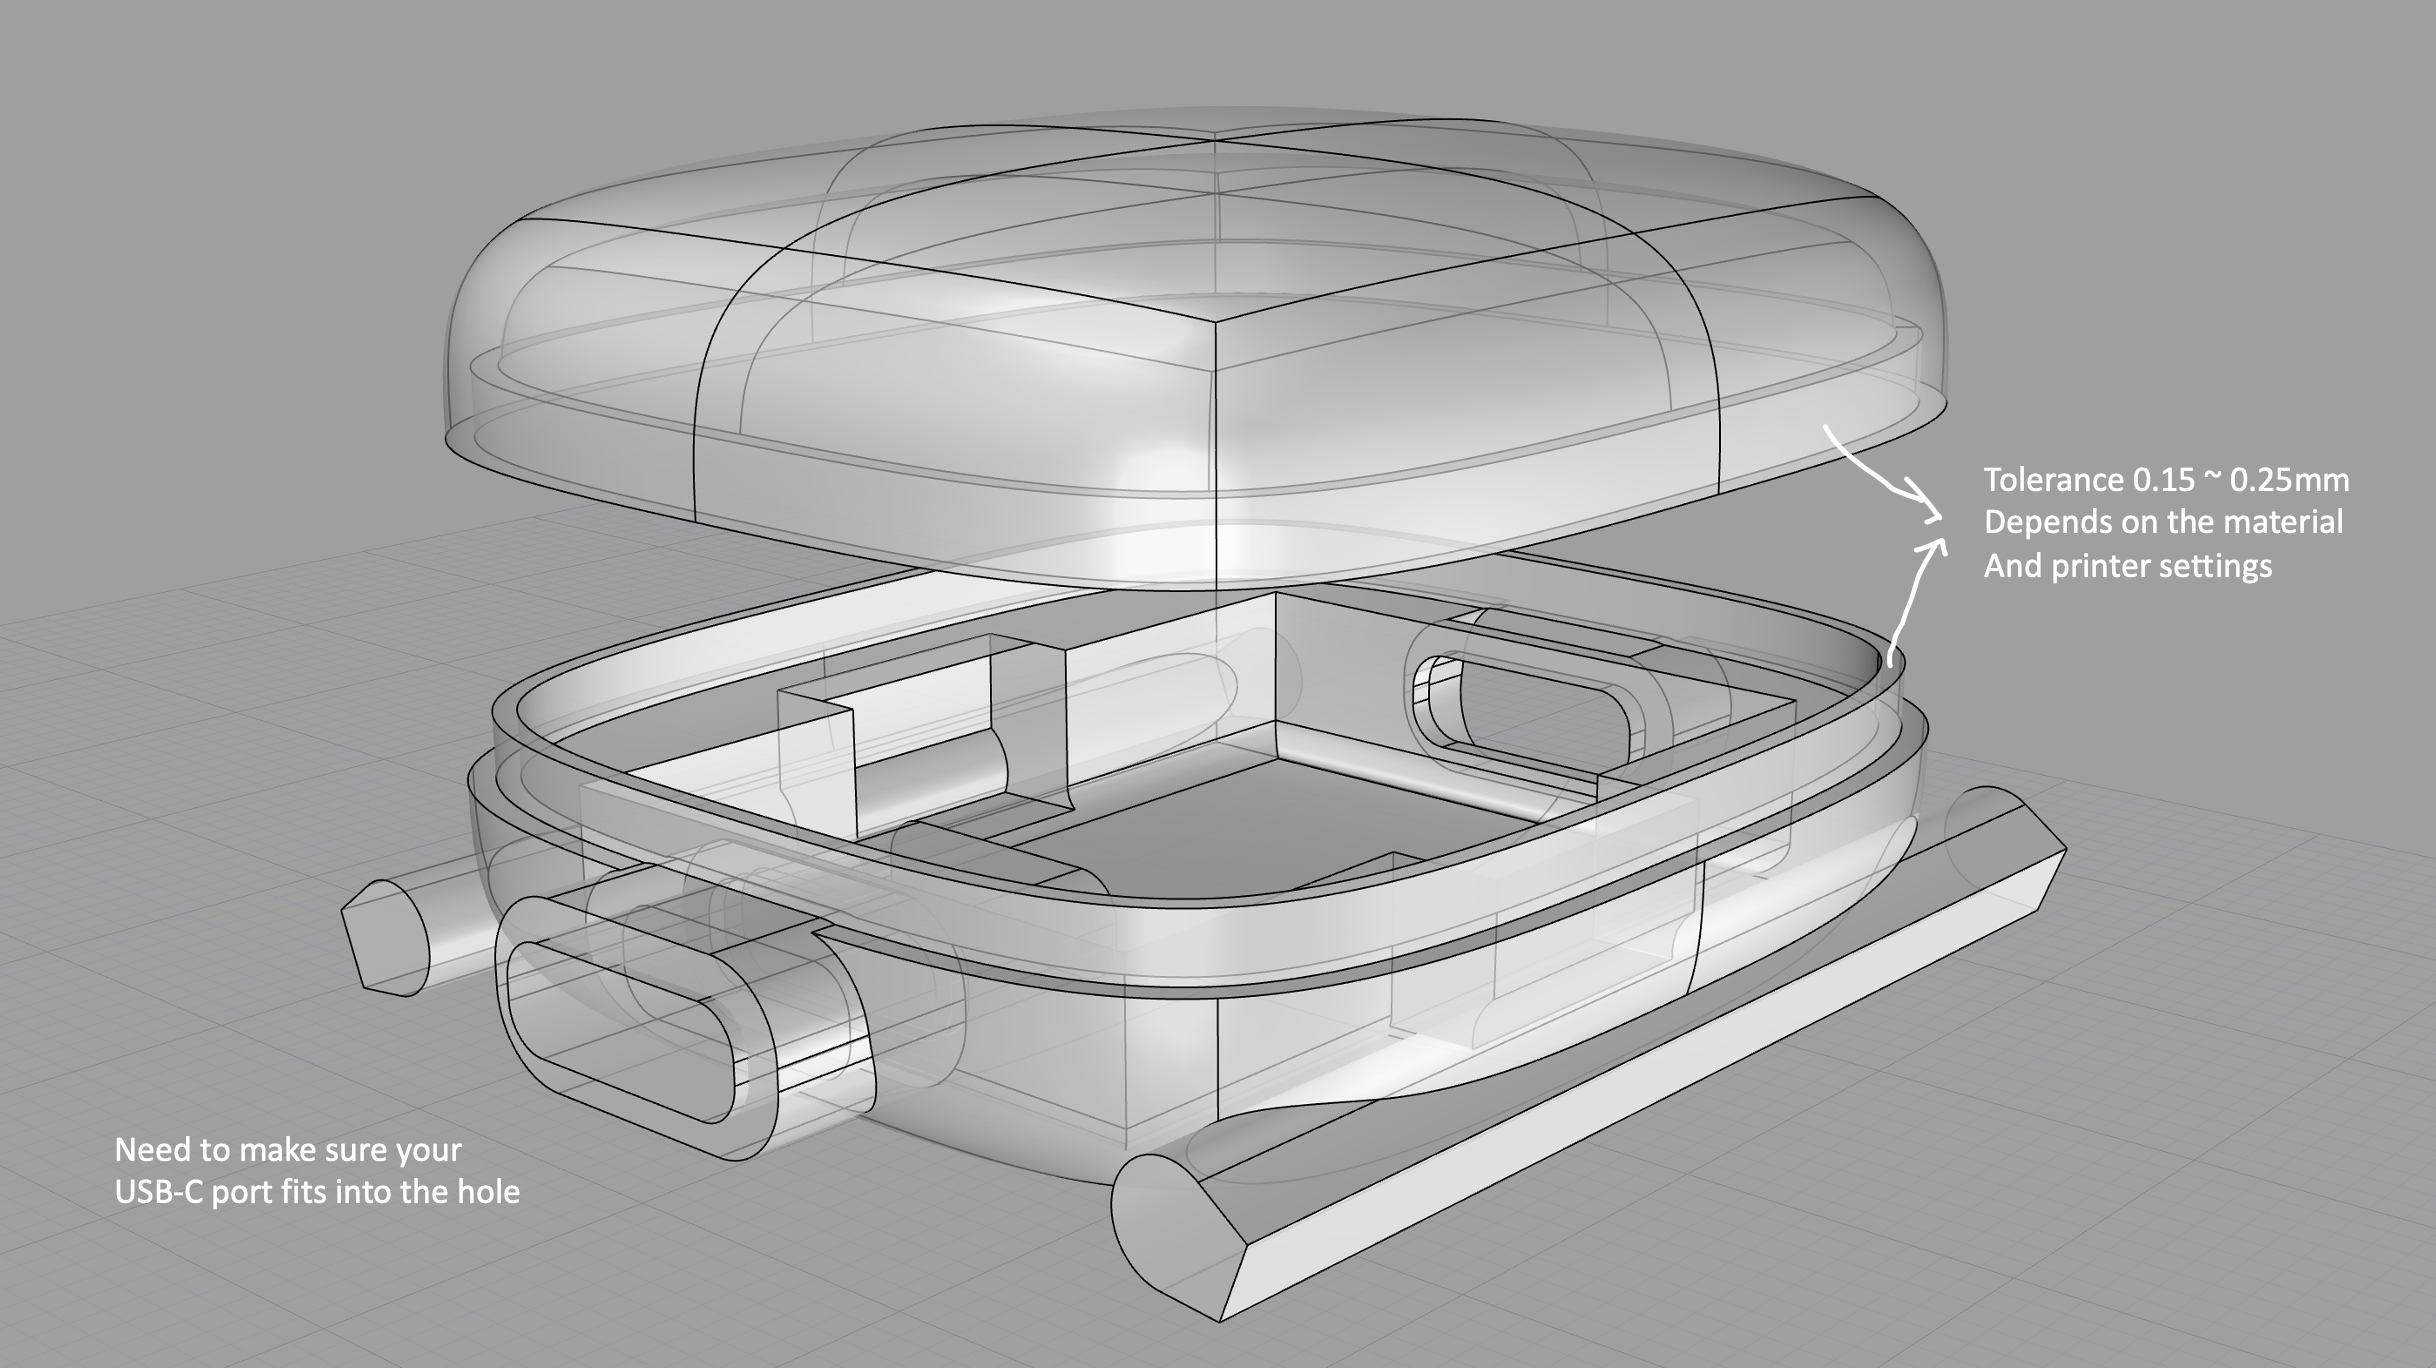
The primary troubleshooting I’ve worked on was to find the shape and tolerance to perfectly fit the watch bands to the case. There was a reference 3D model for the hole and I checked the sizes of different watchbands I bought from Amazon and other vendors. It worked with FDM printers, but when supports were not removed properly it didn’t fit in and when there was too much space the band fell off.
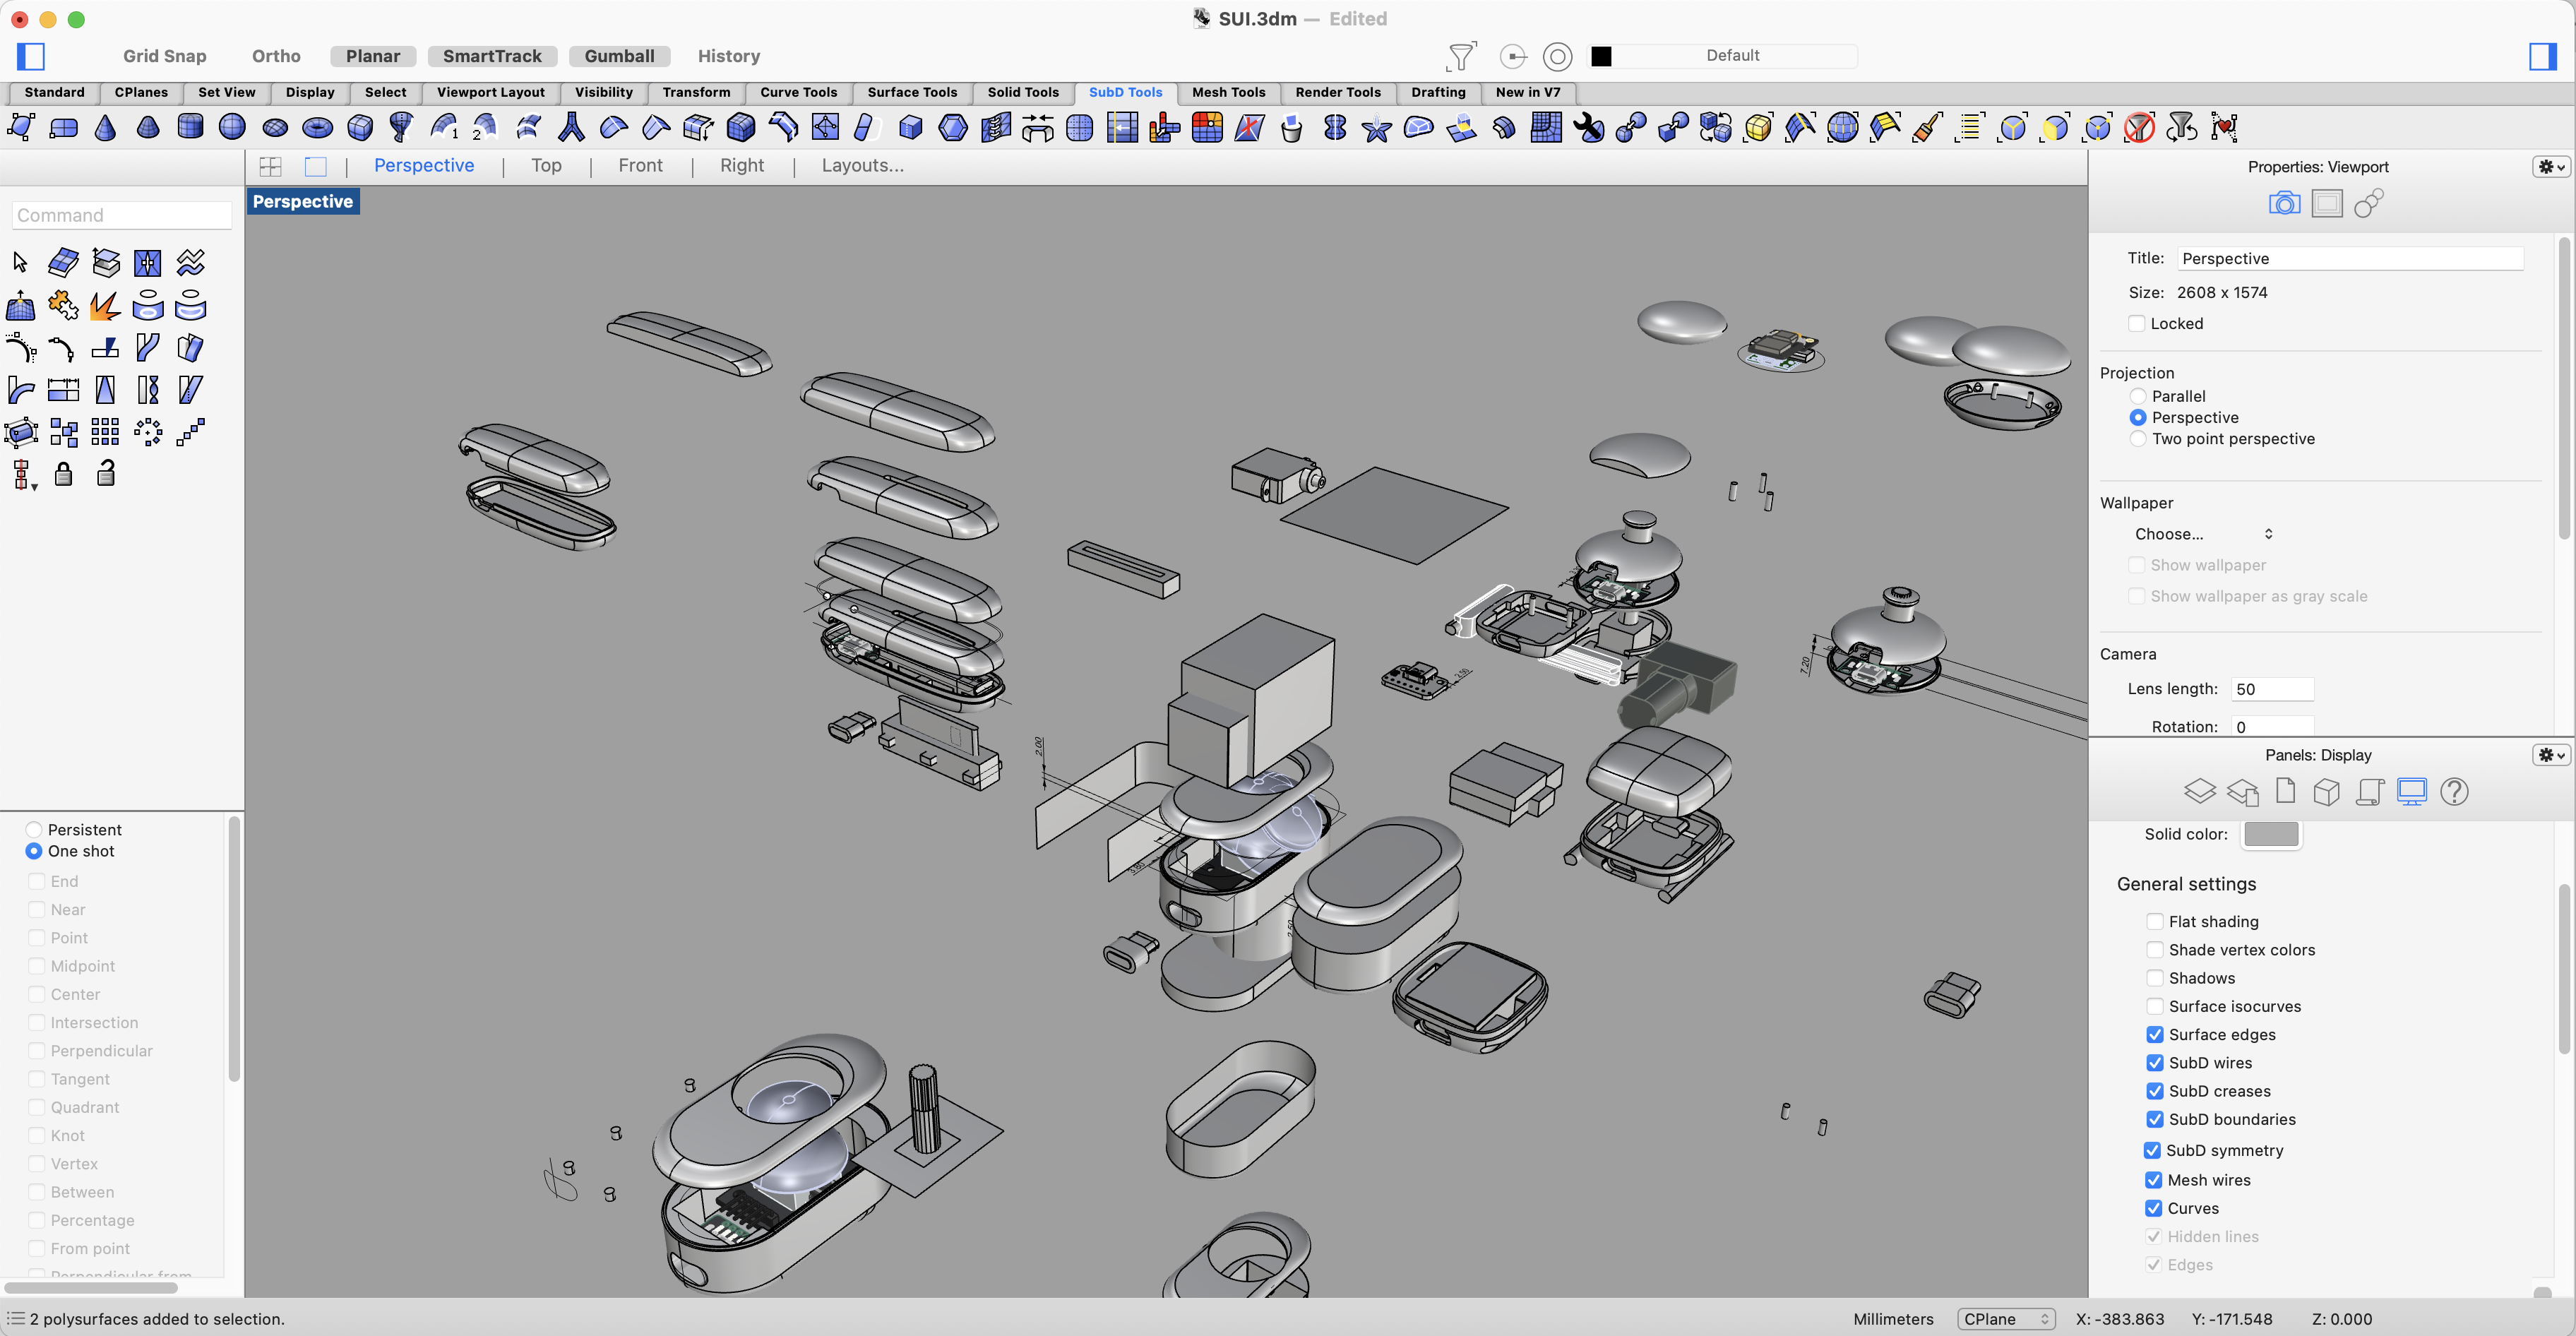
!!! Please Please use Solidworks or OnShpae or Fusion360 if you are working on physical product design!!! - It is a painful process if you choose Rhino to adjust the tolerance and little gaps for the perfect assembly.
I’m so used to Rhino so I’m kind of stuck in the tool, but I’m planning to use Fusion with Rhino for the final project.
Below, you can see why Rhino is hard for parametric modeling. But you can do it with Grasshopper
Trying Resin Printer for the first time!

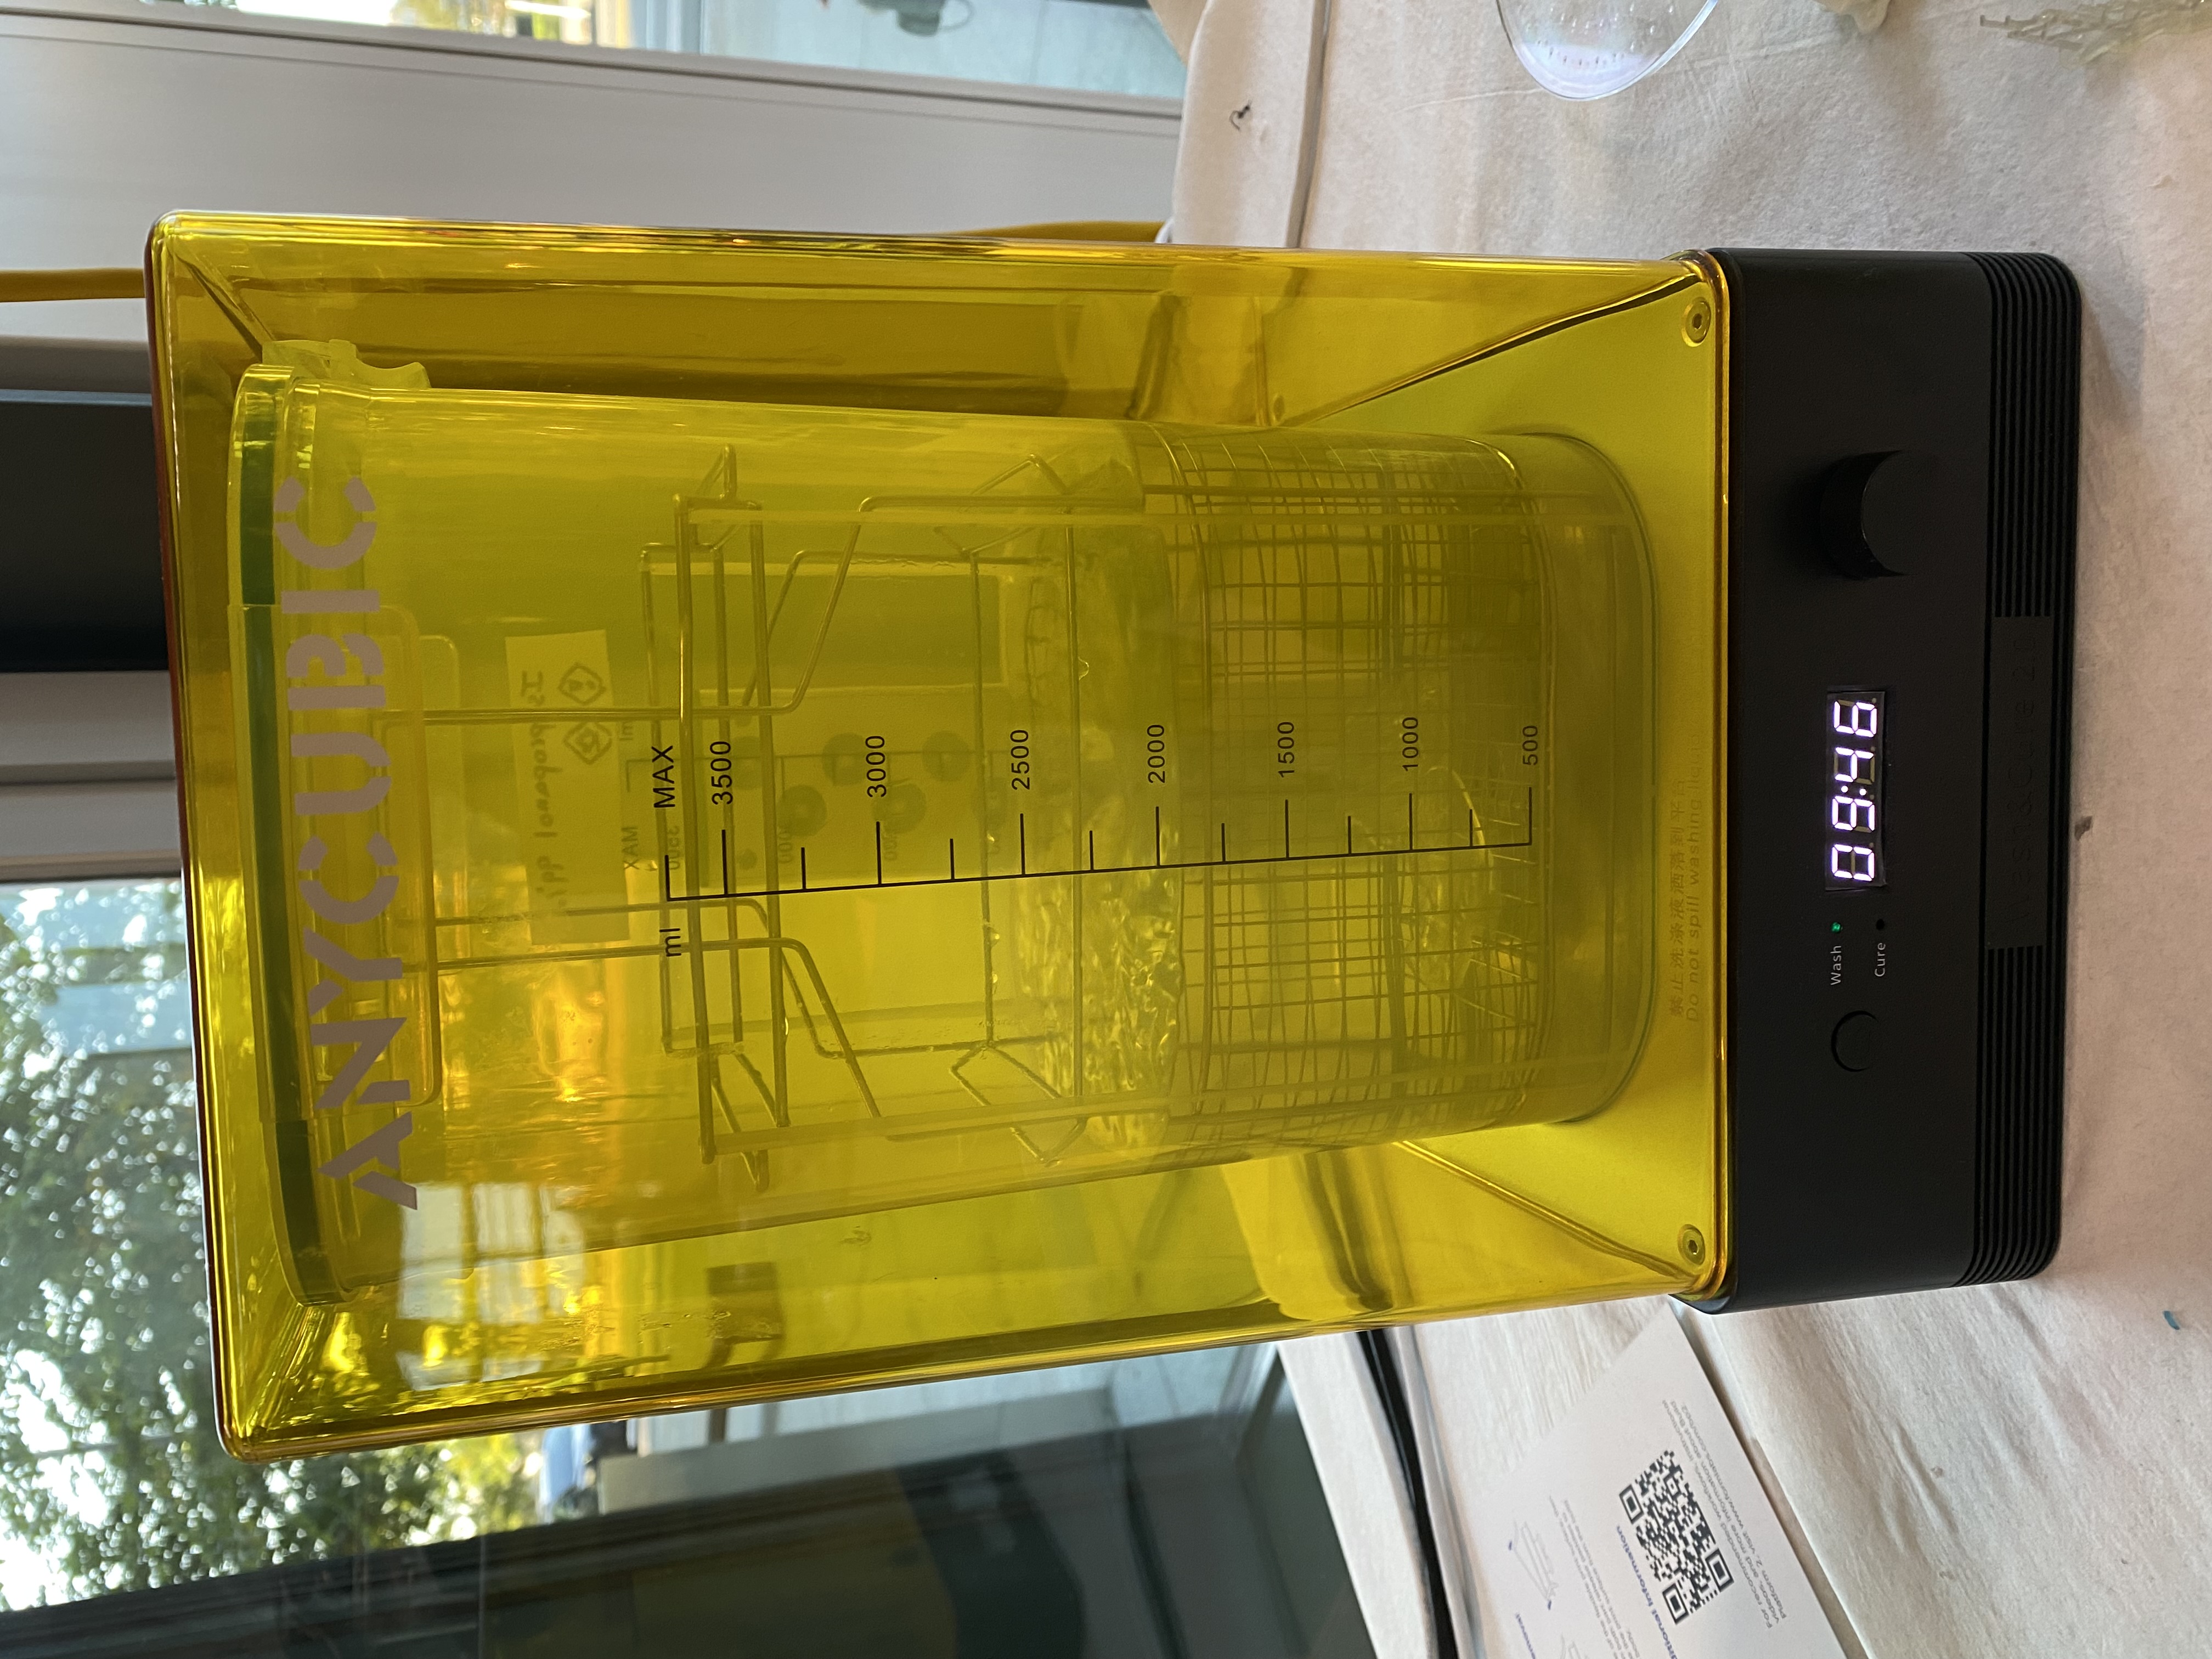
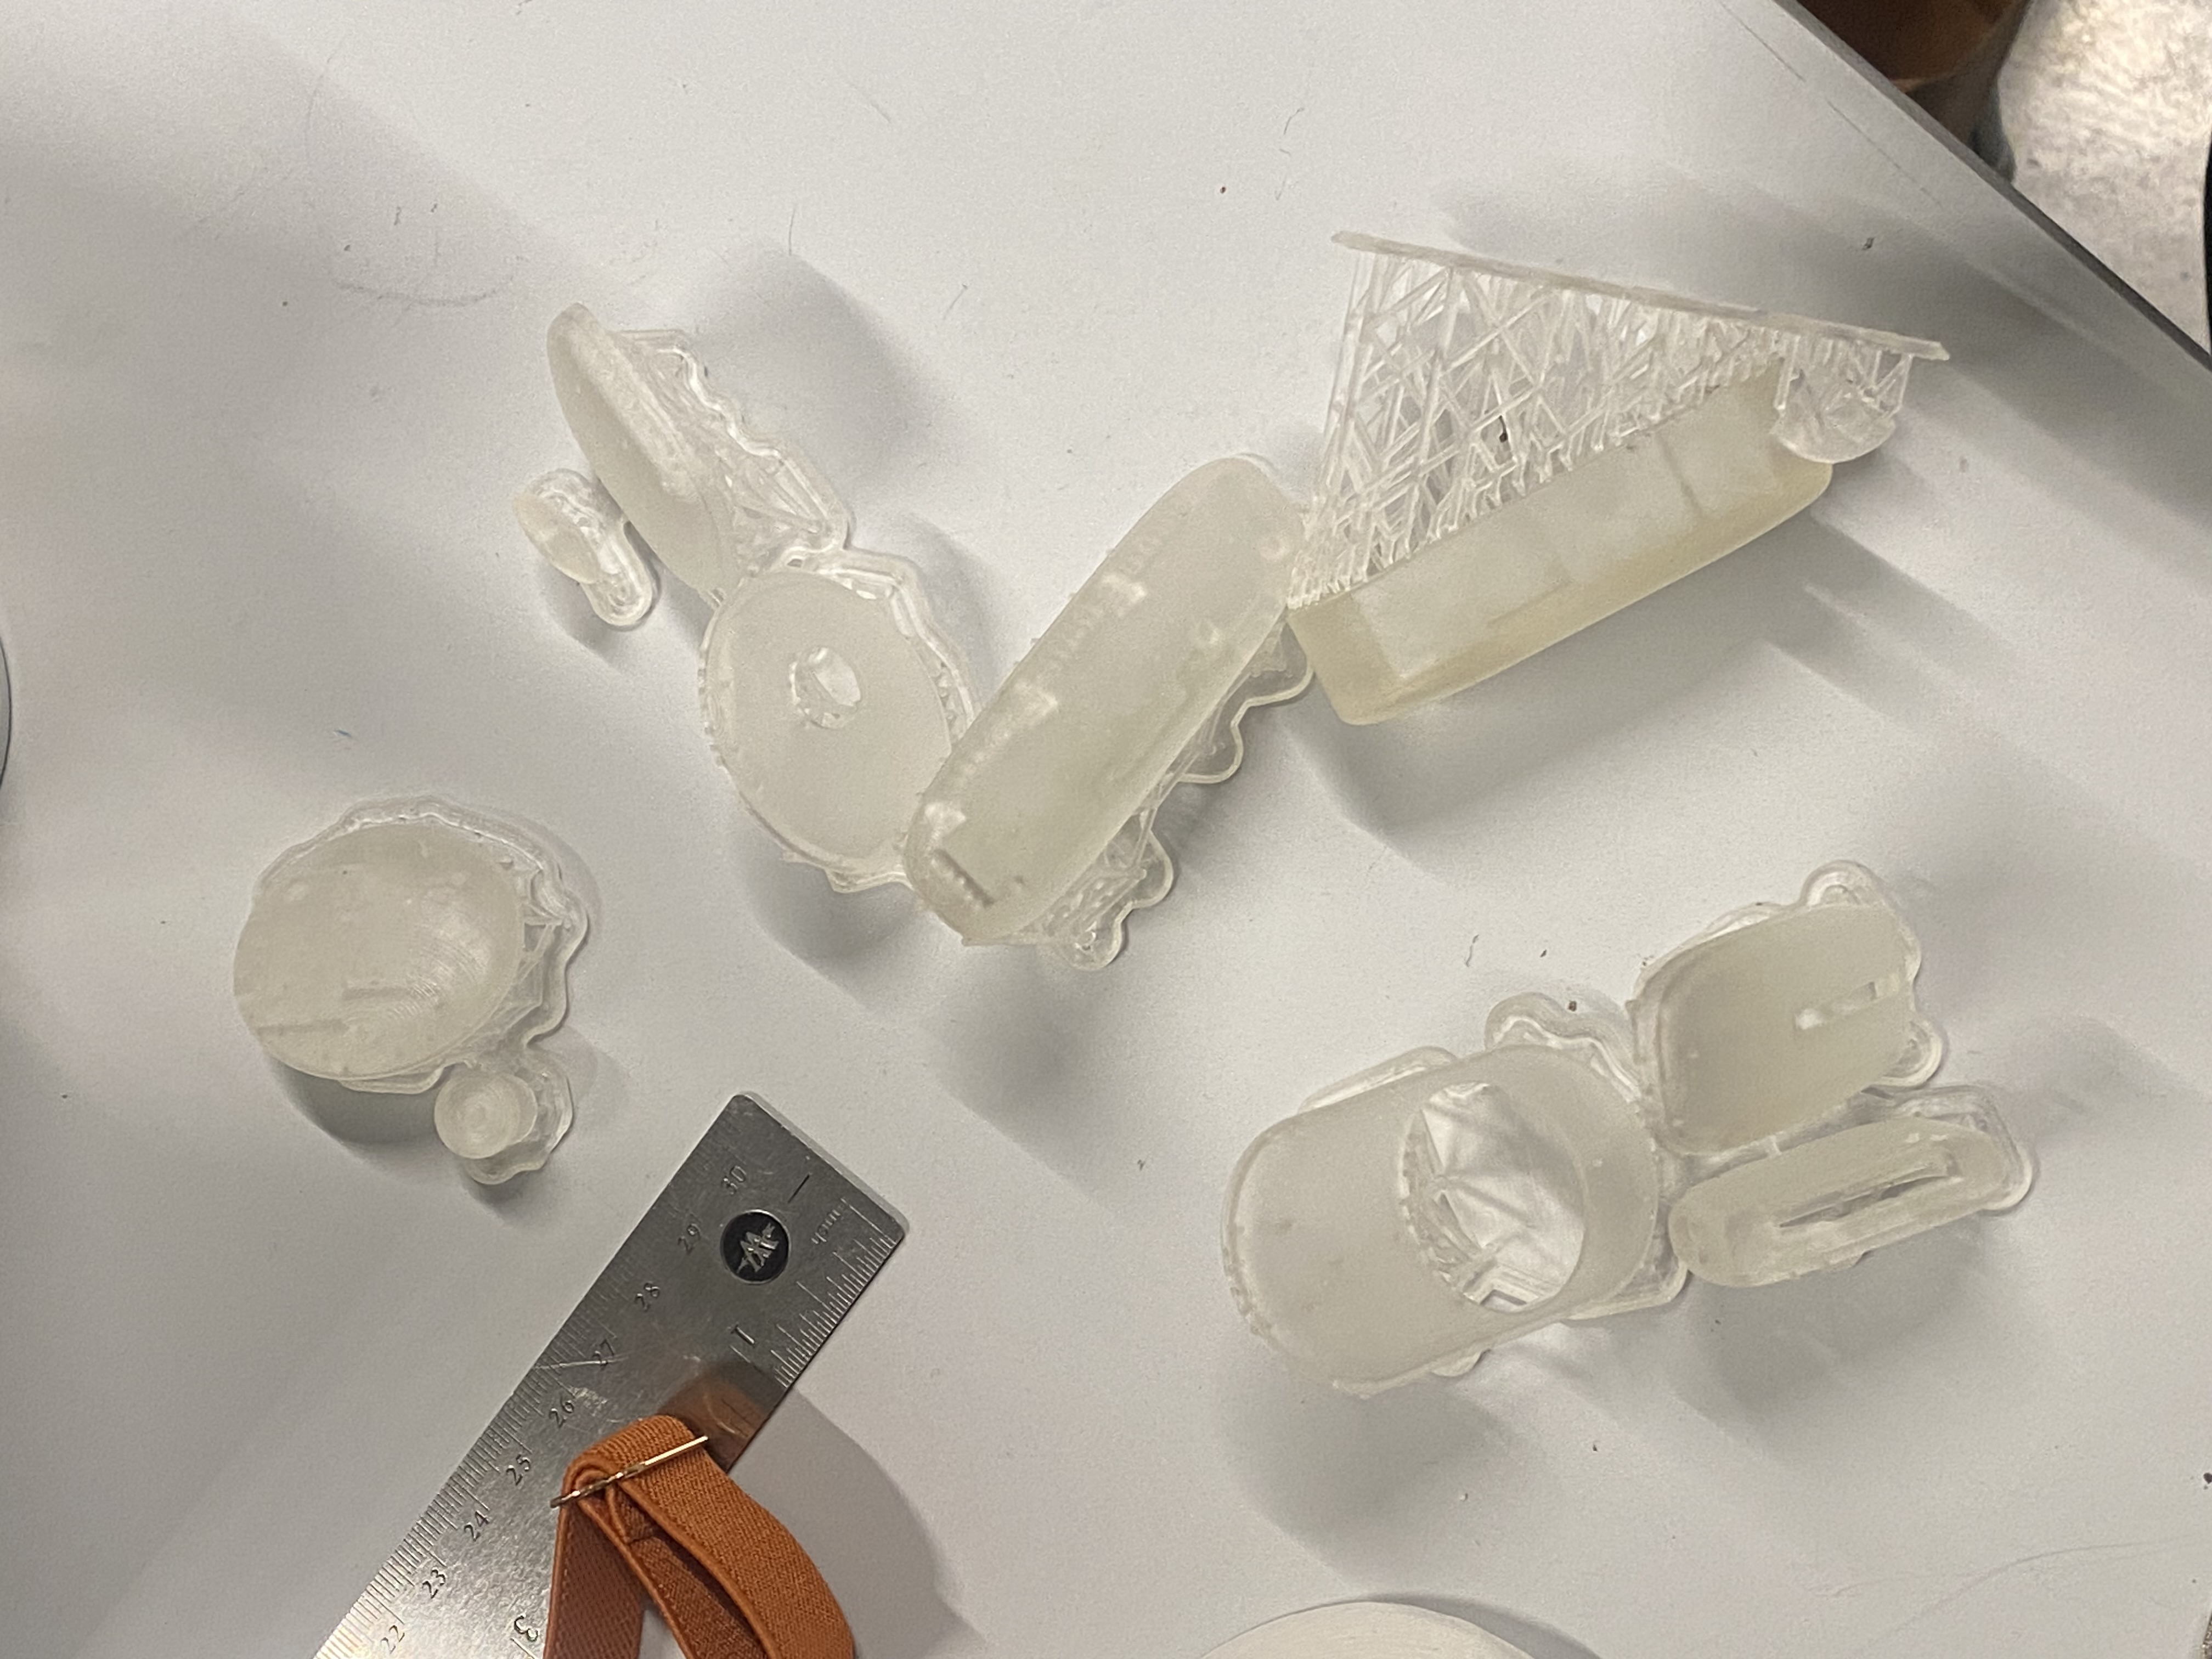
First, I put 3D models into Preform software(slicer for Formlabs), and then when the print came out, I moved them into a washing tray - and washed them with isopropyl alcohol to remove resin on the surface.
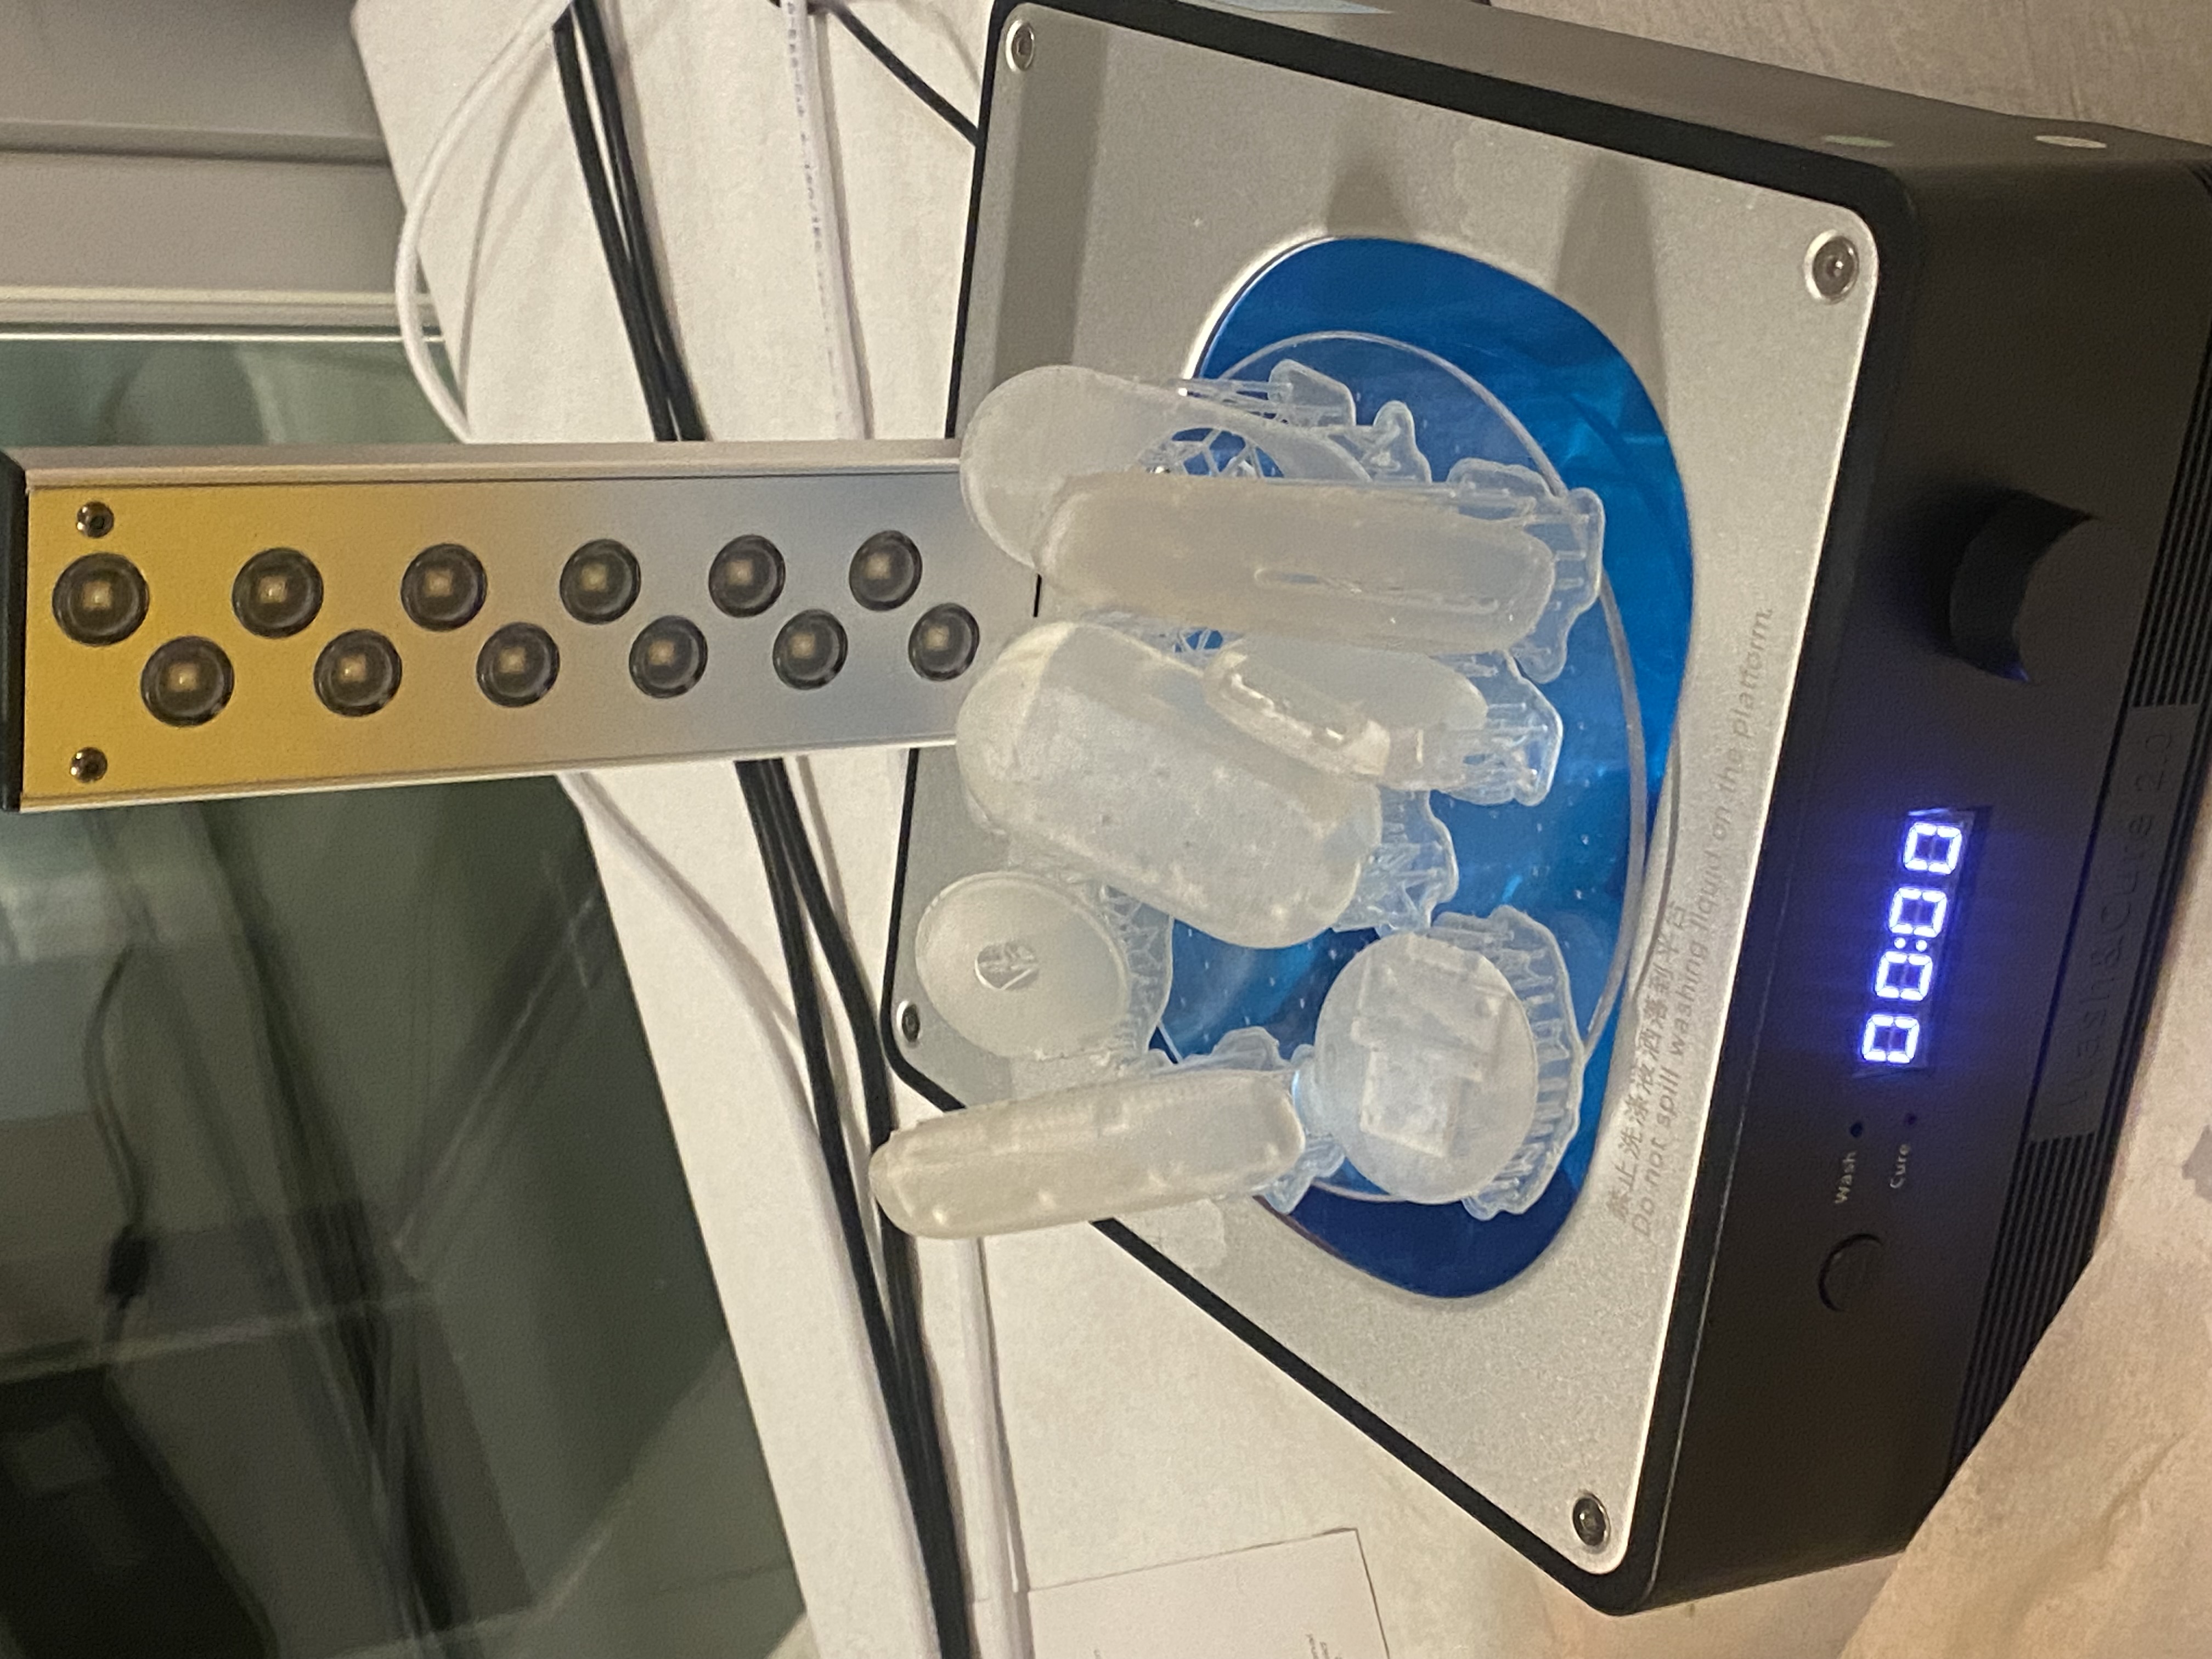

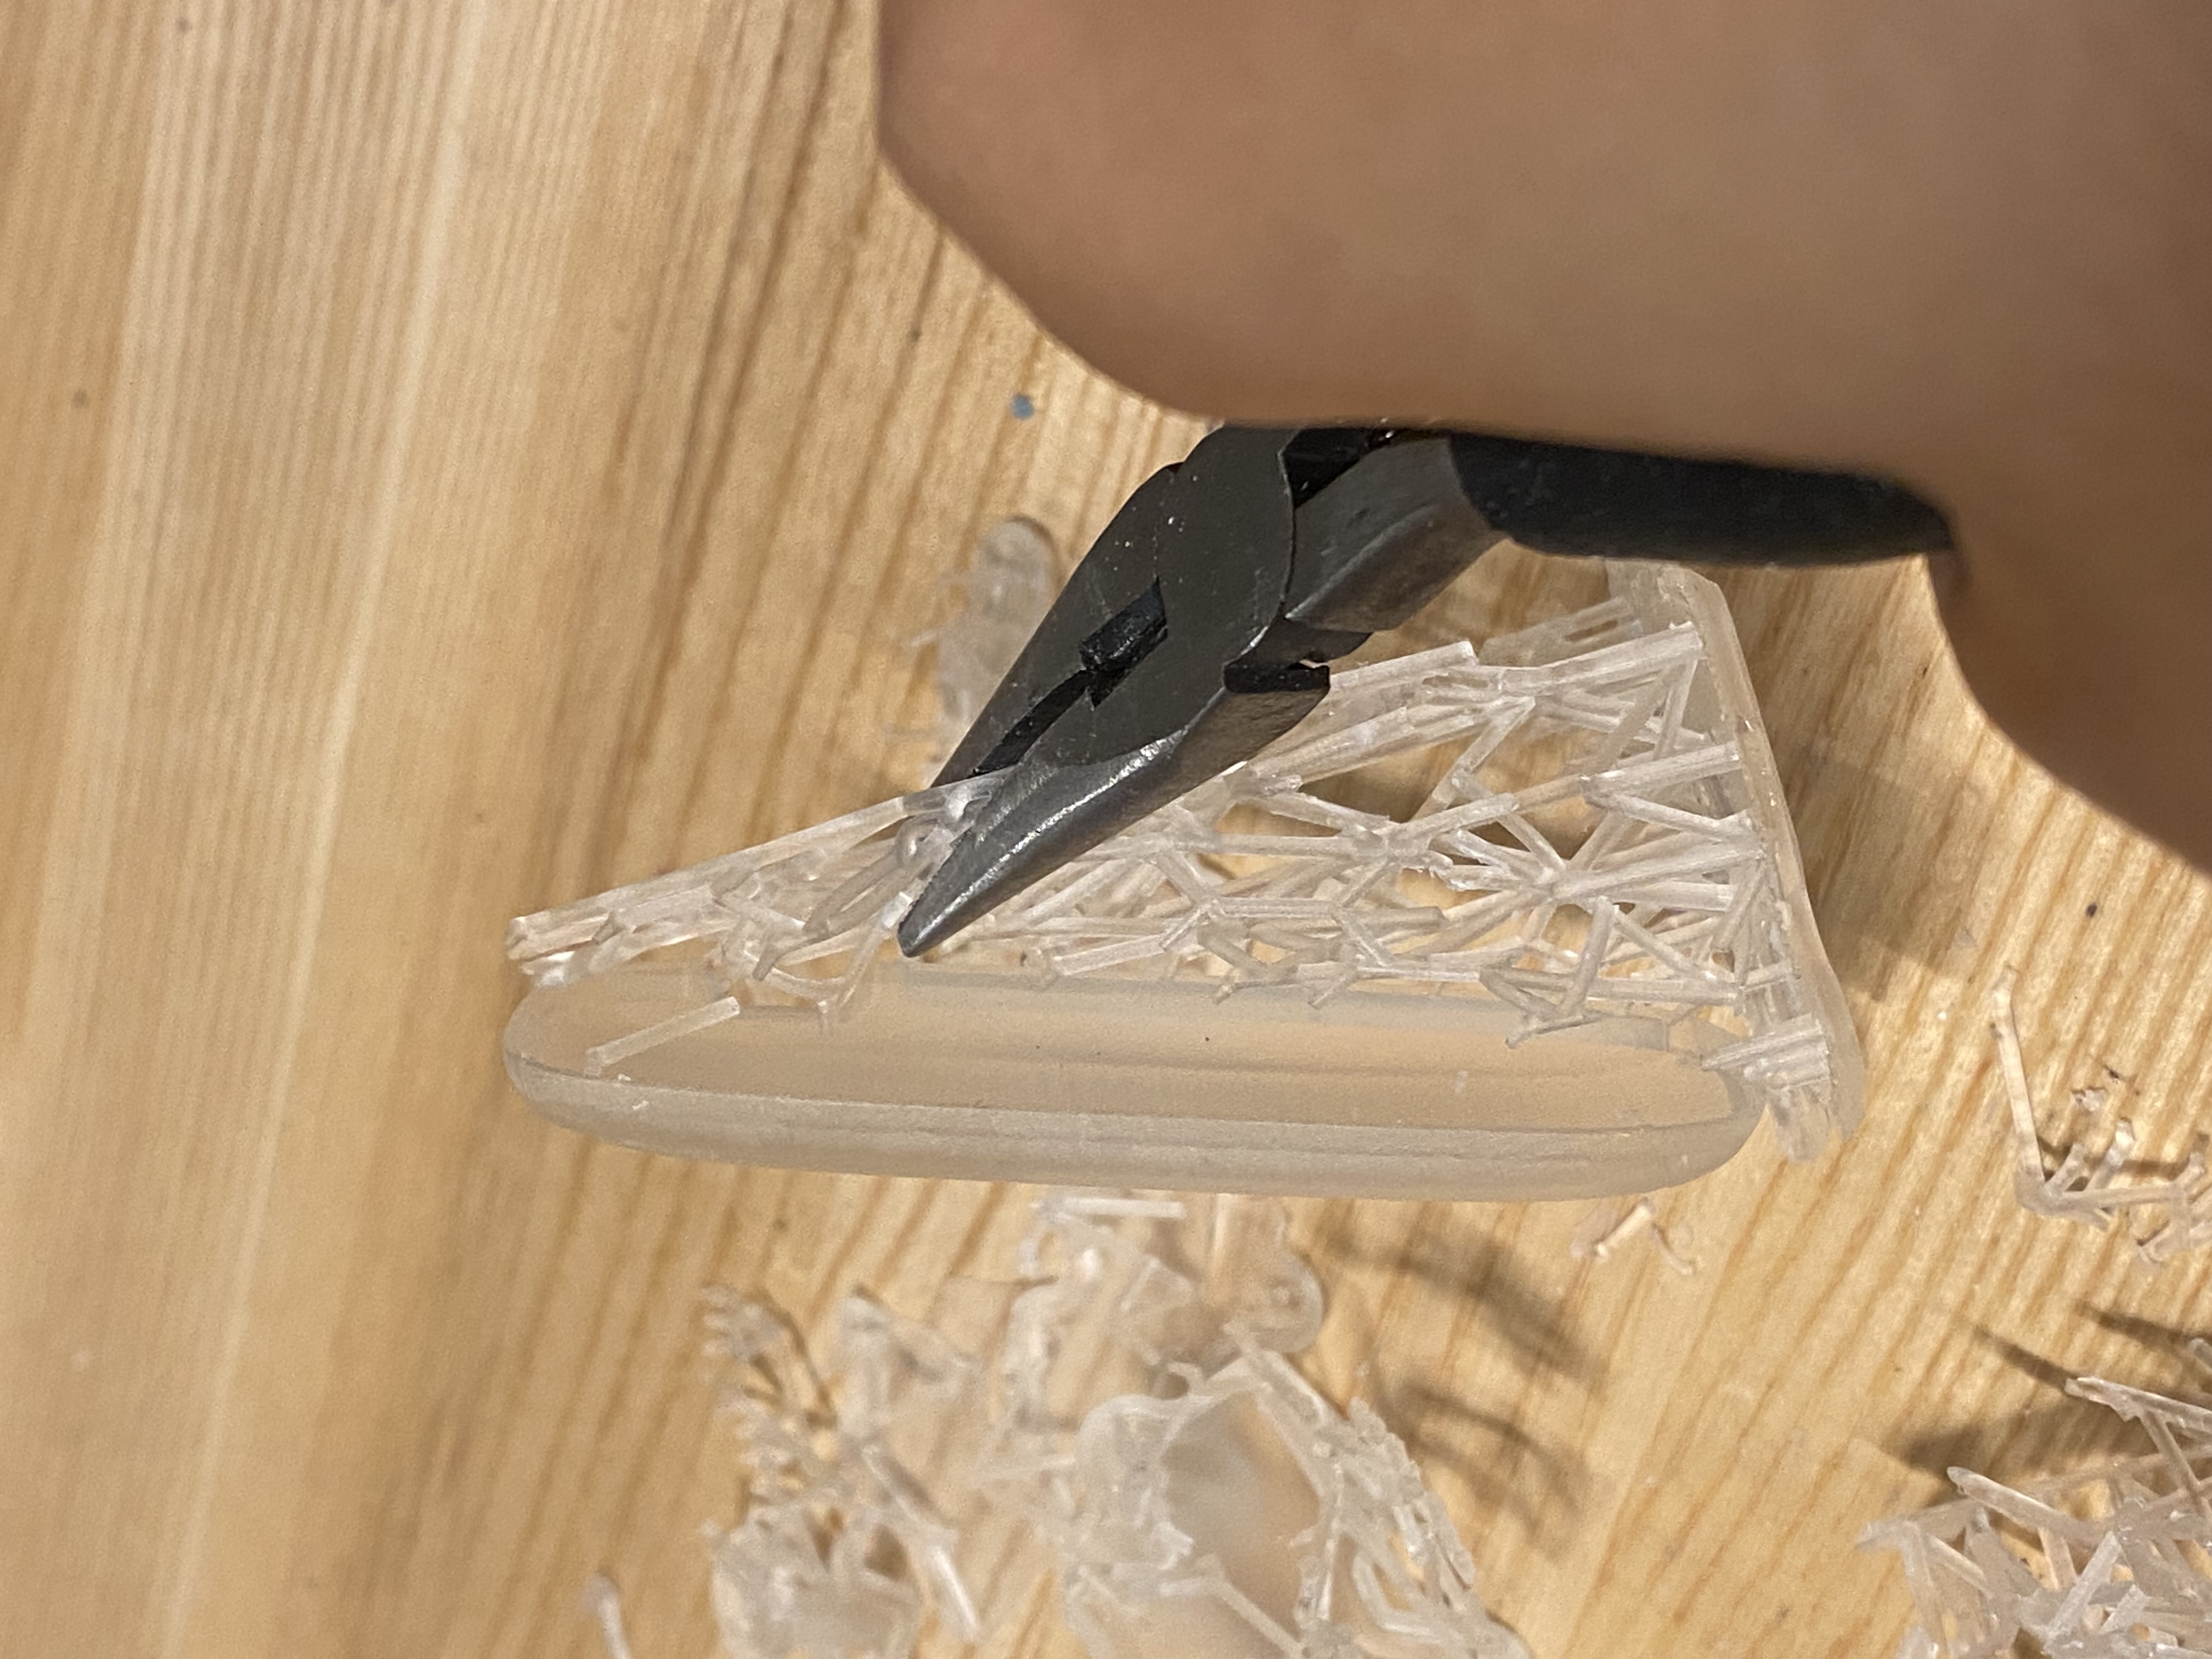
Then I put them into a curing tray - after curing, the supports are surprisingly easy to take off - but I highly recommend using safety glasses when doing this - supports will fly all over the table, and you might get hurt when a sharp piece of them hits you.
TADA!
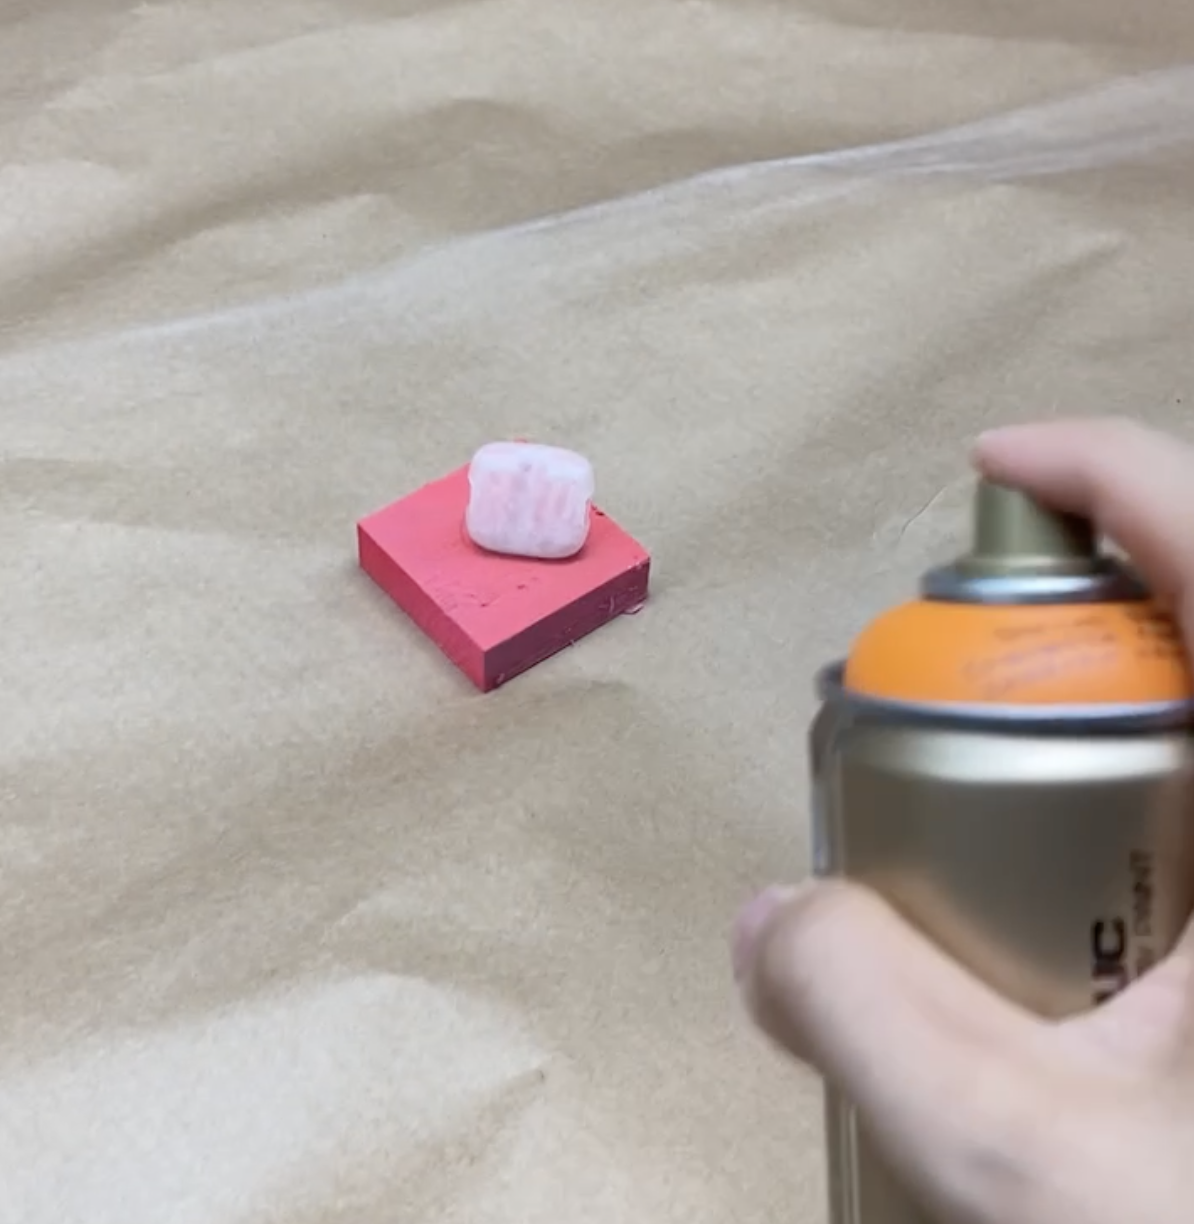
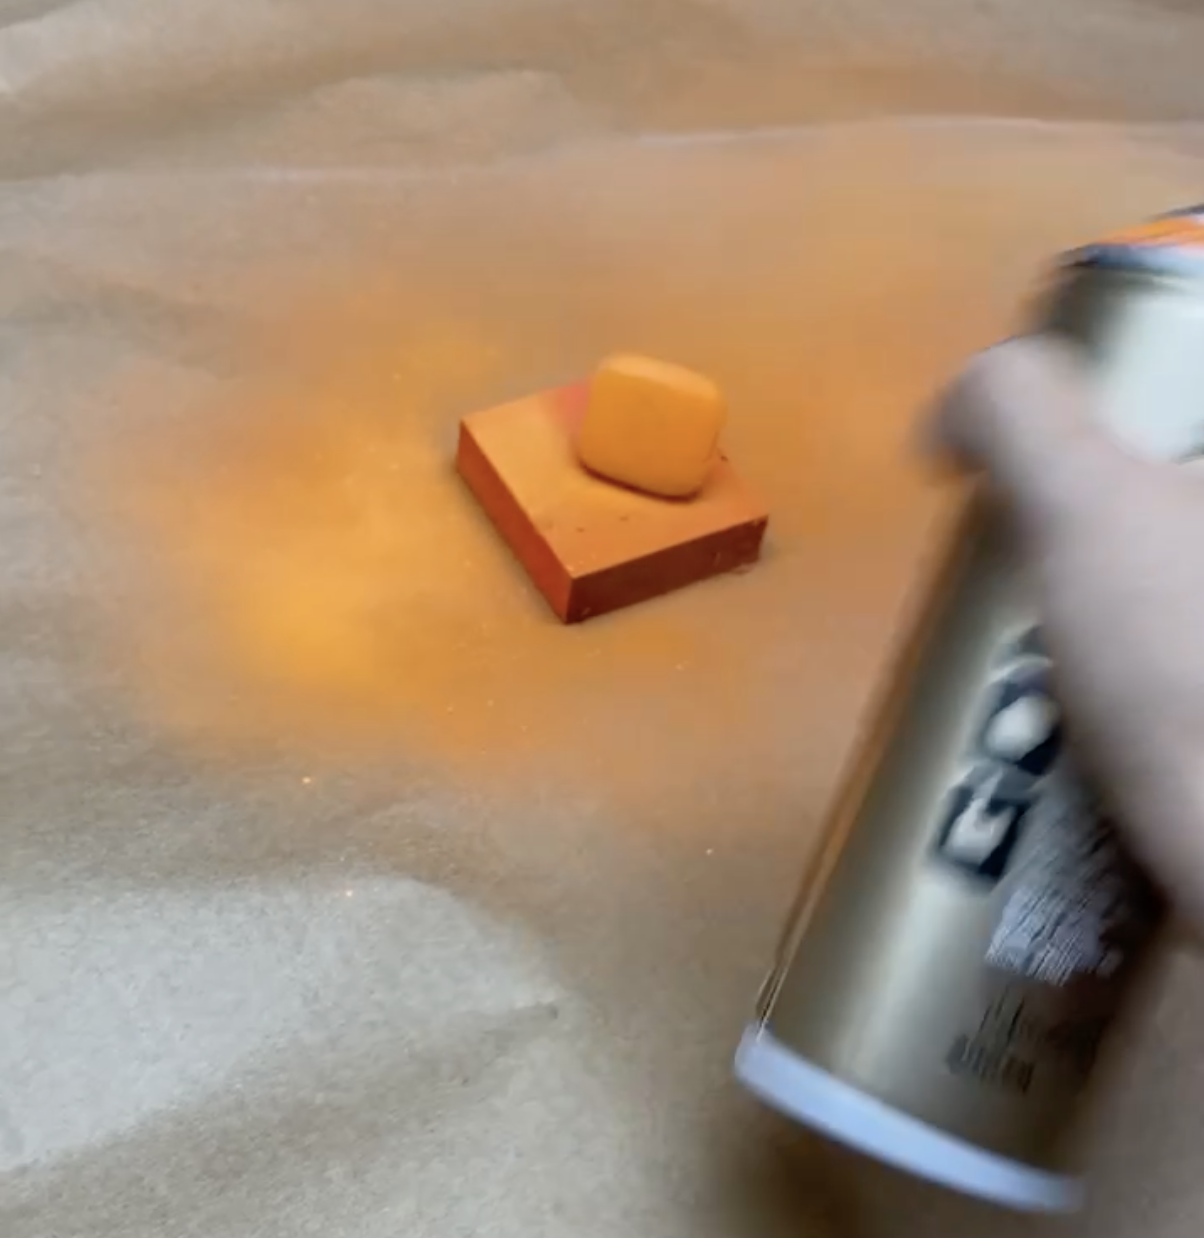
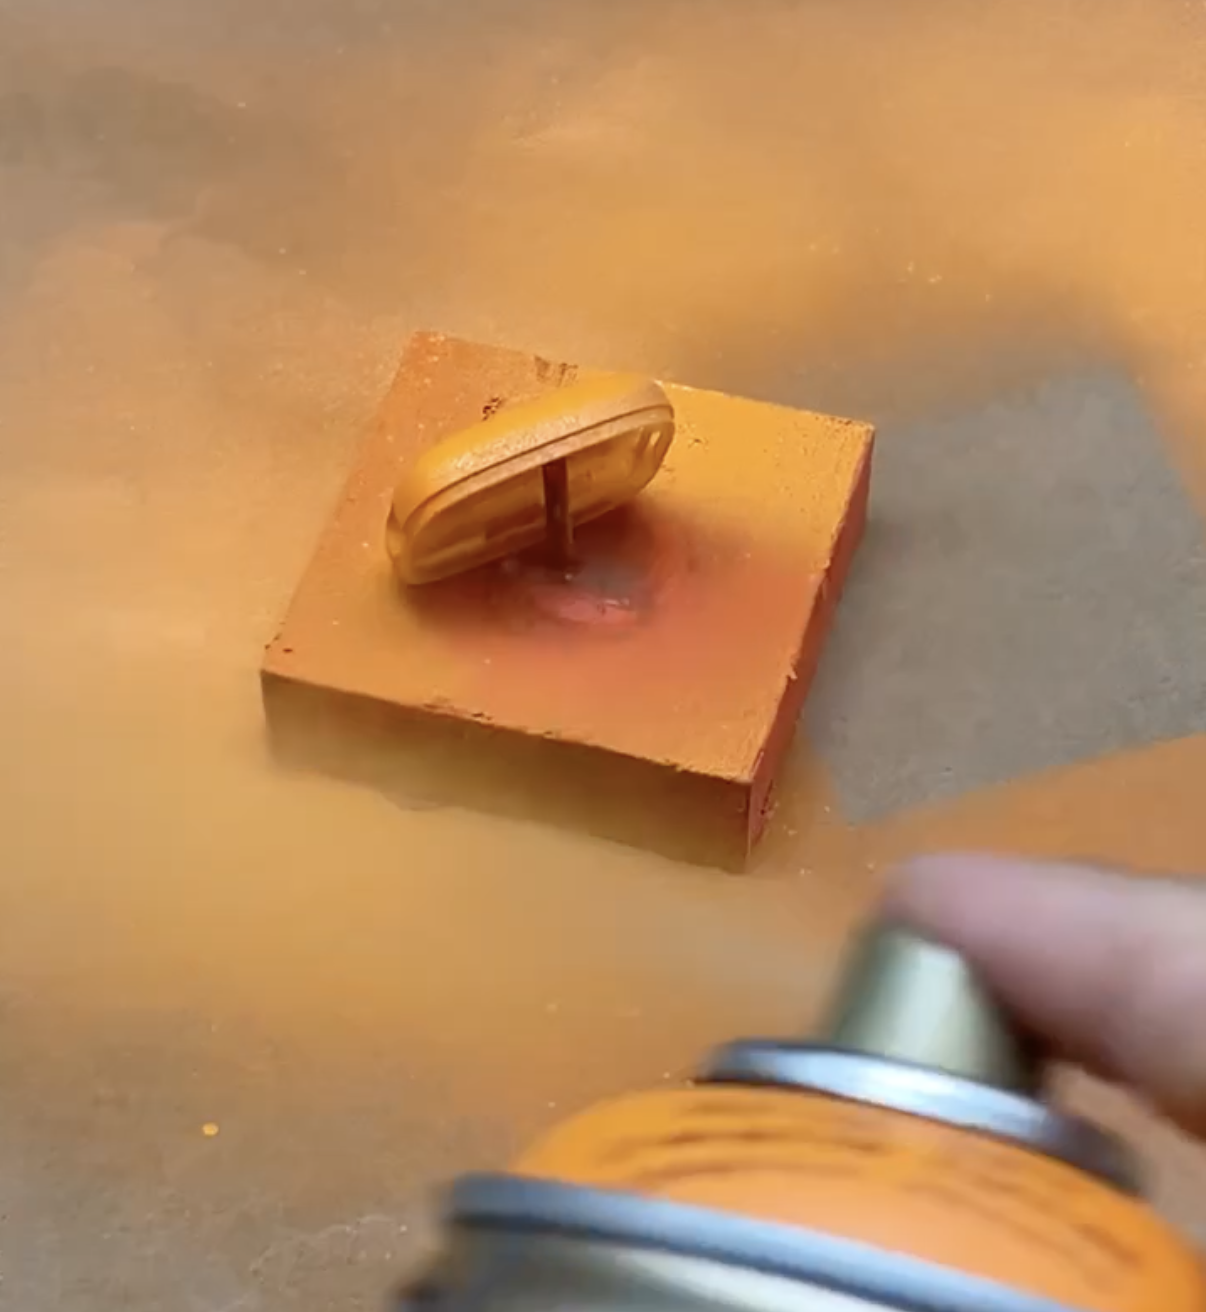
Testing Spraypainting
Output B: 3D scanning a vertical mouse


So I changed the object from a stainless steel Apple watch to a matt finish vertical mouse.


Even when you’re lost when moving around while scanning, the software automatically align the positions of the data so that it
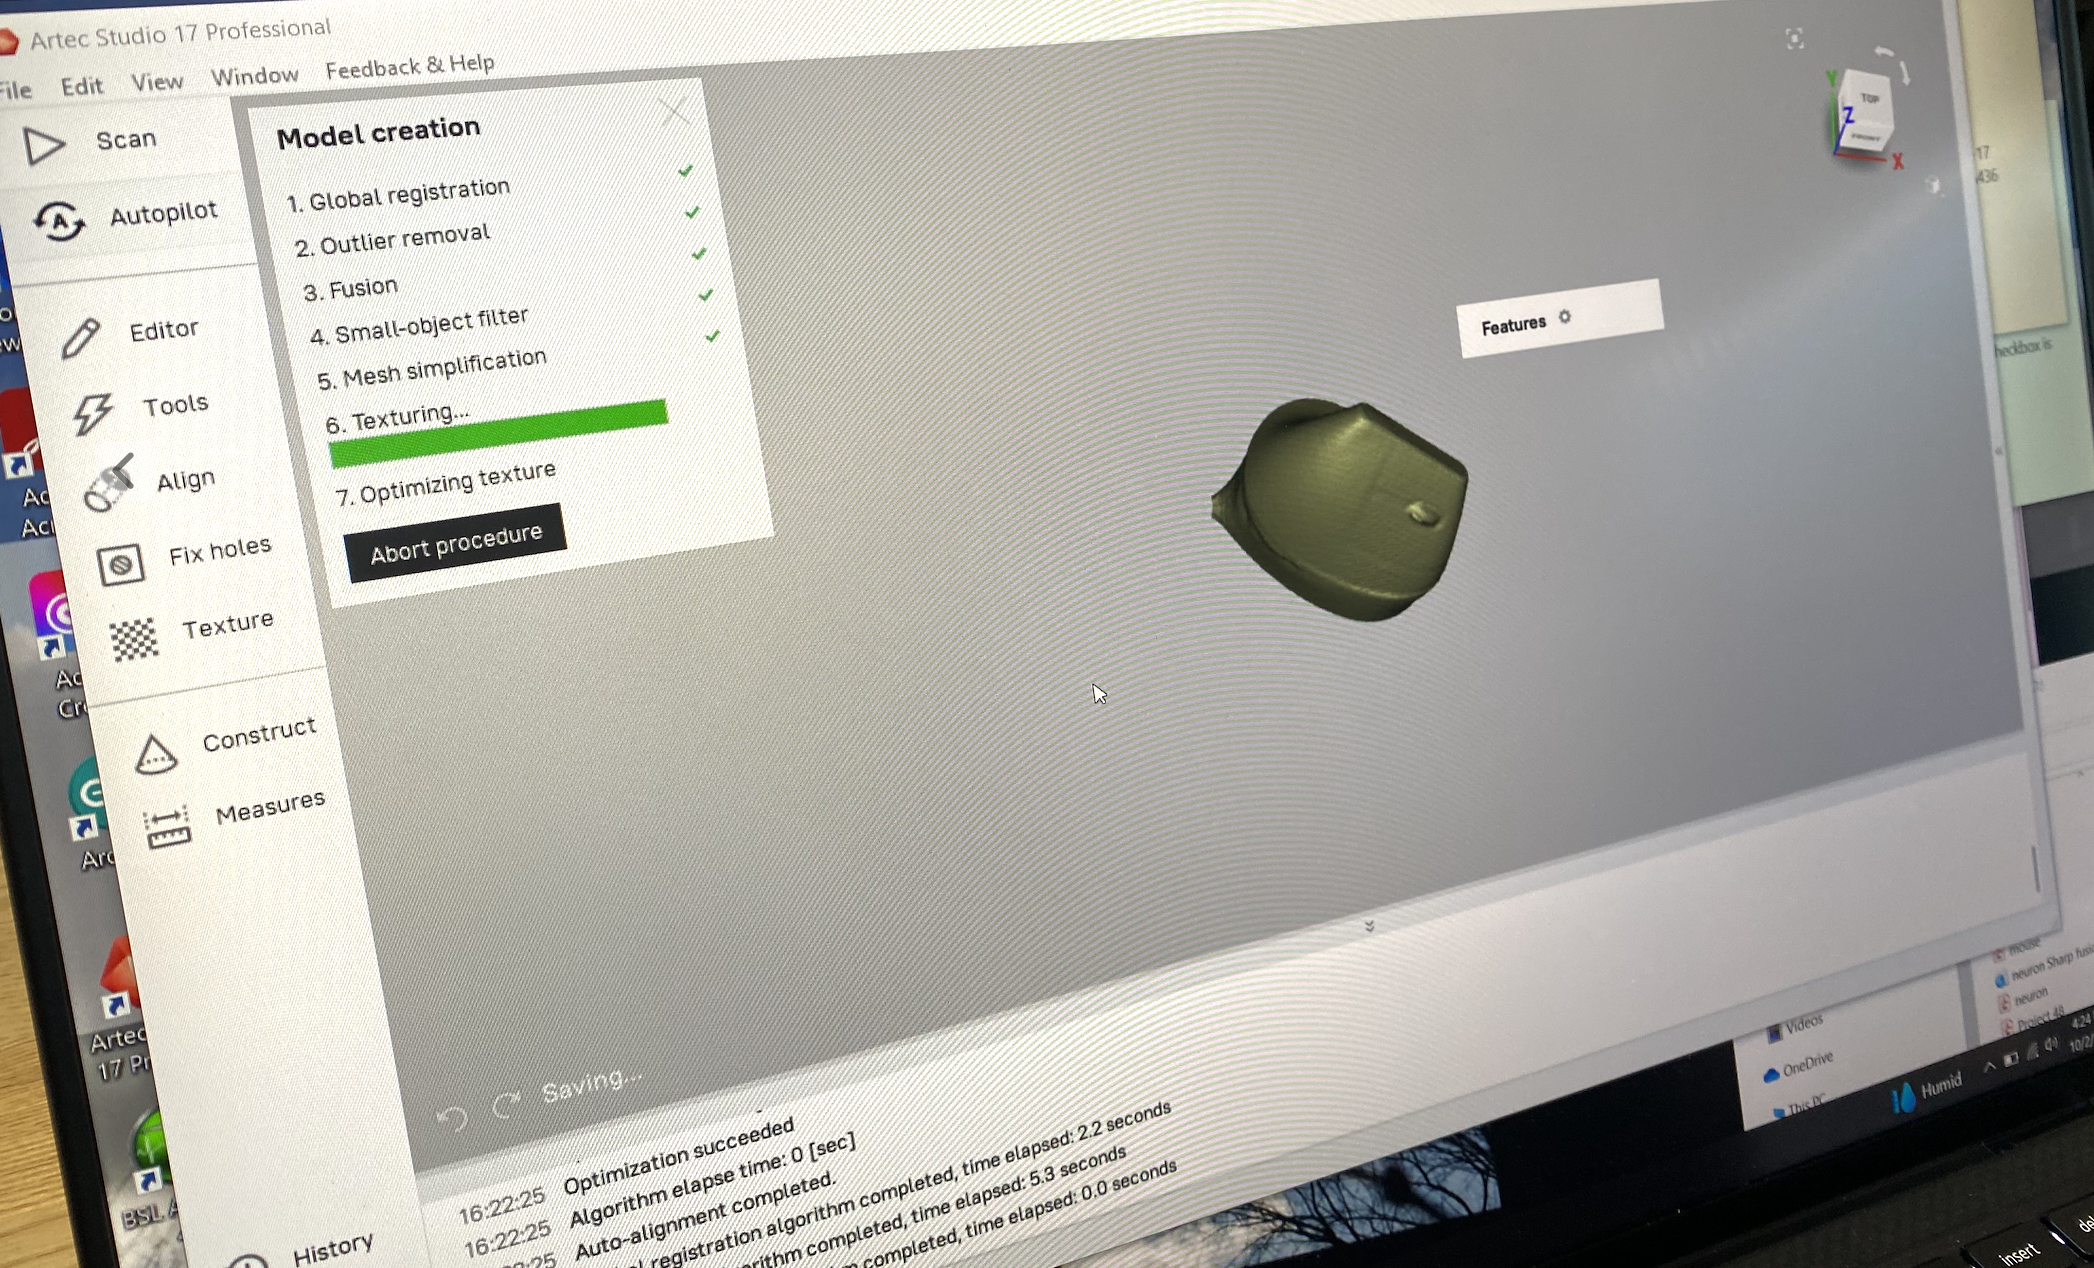

And then I got my mouse with impressively correct color and shape. I had to cut out the bottom part - but it turned out it was part of the mouse ;)
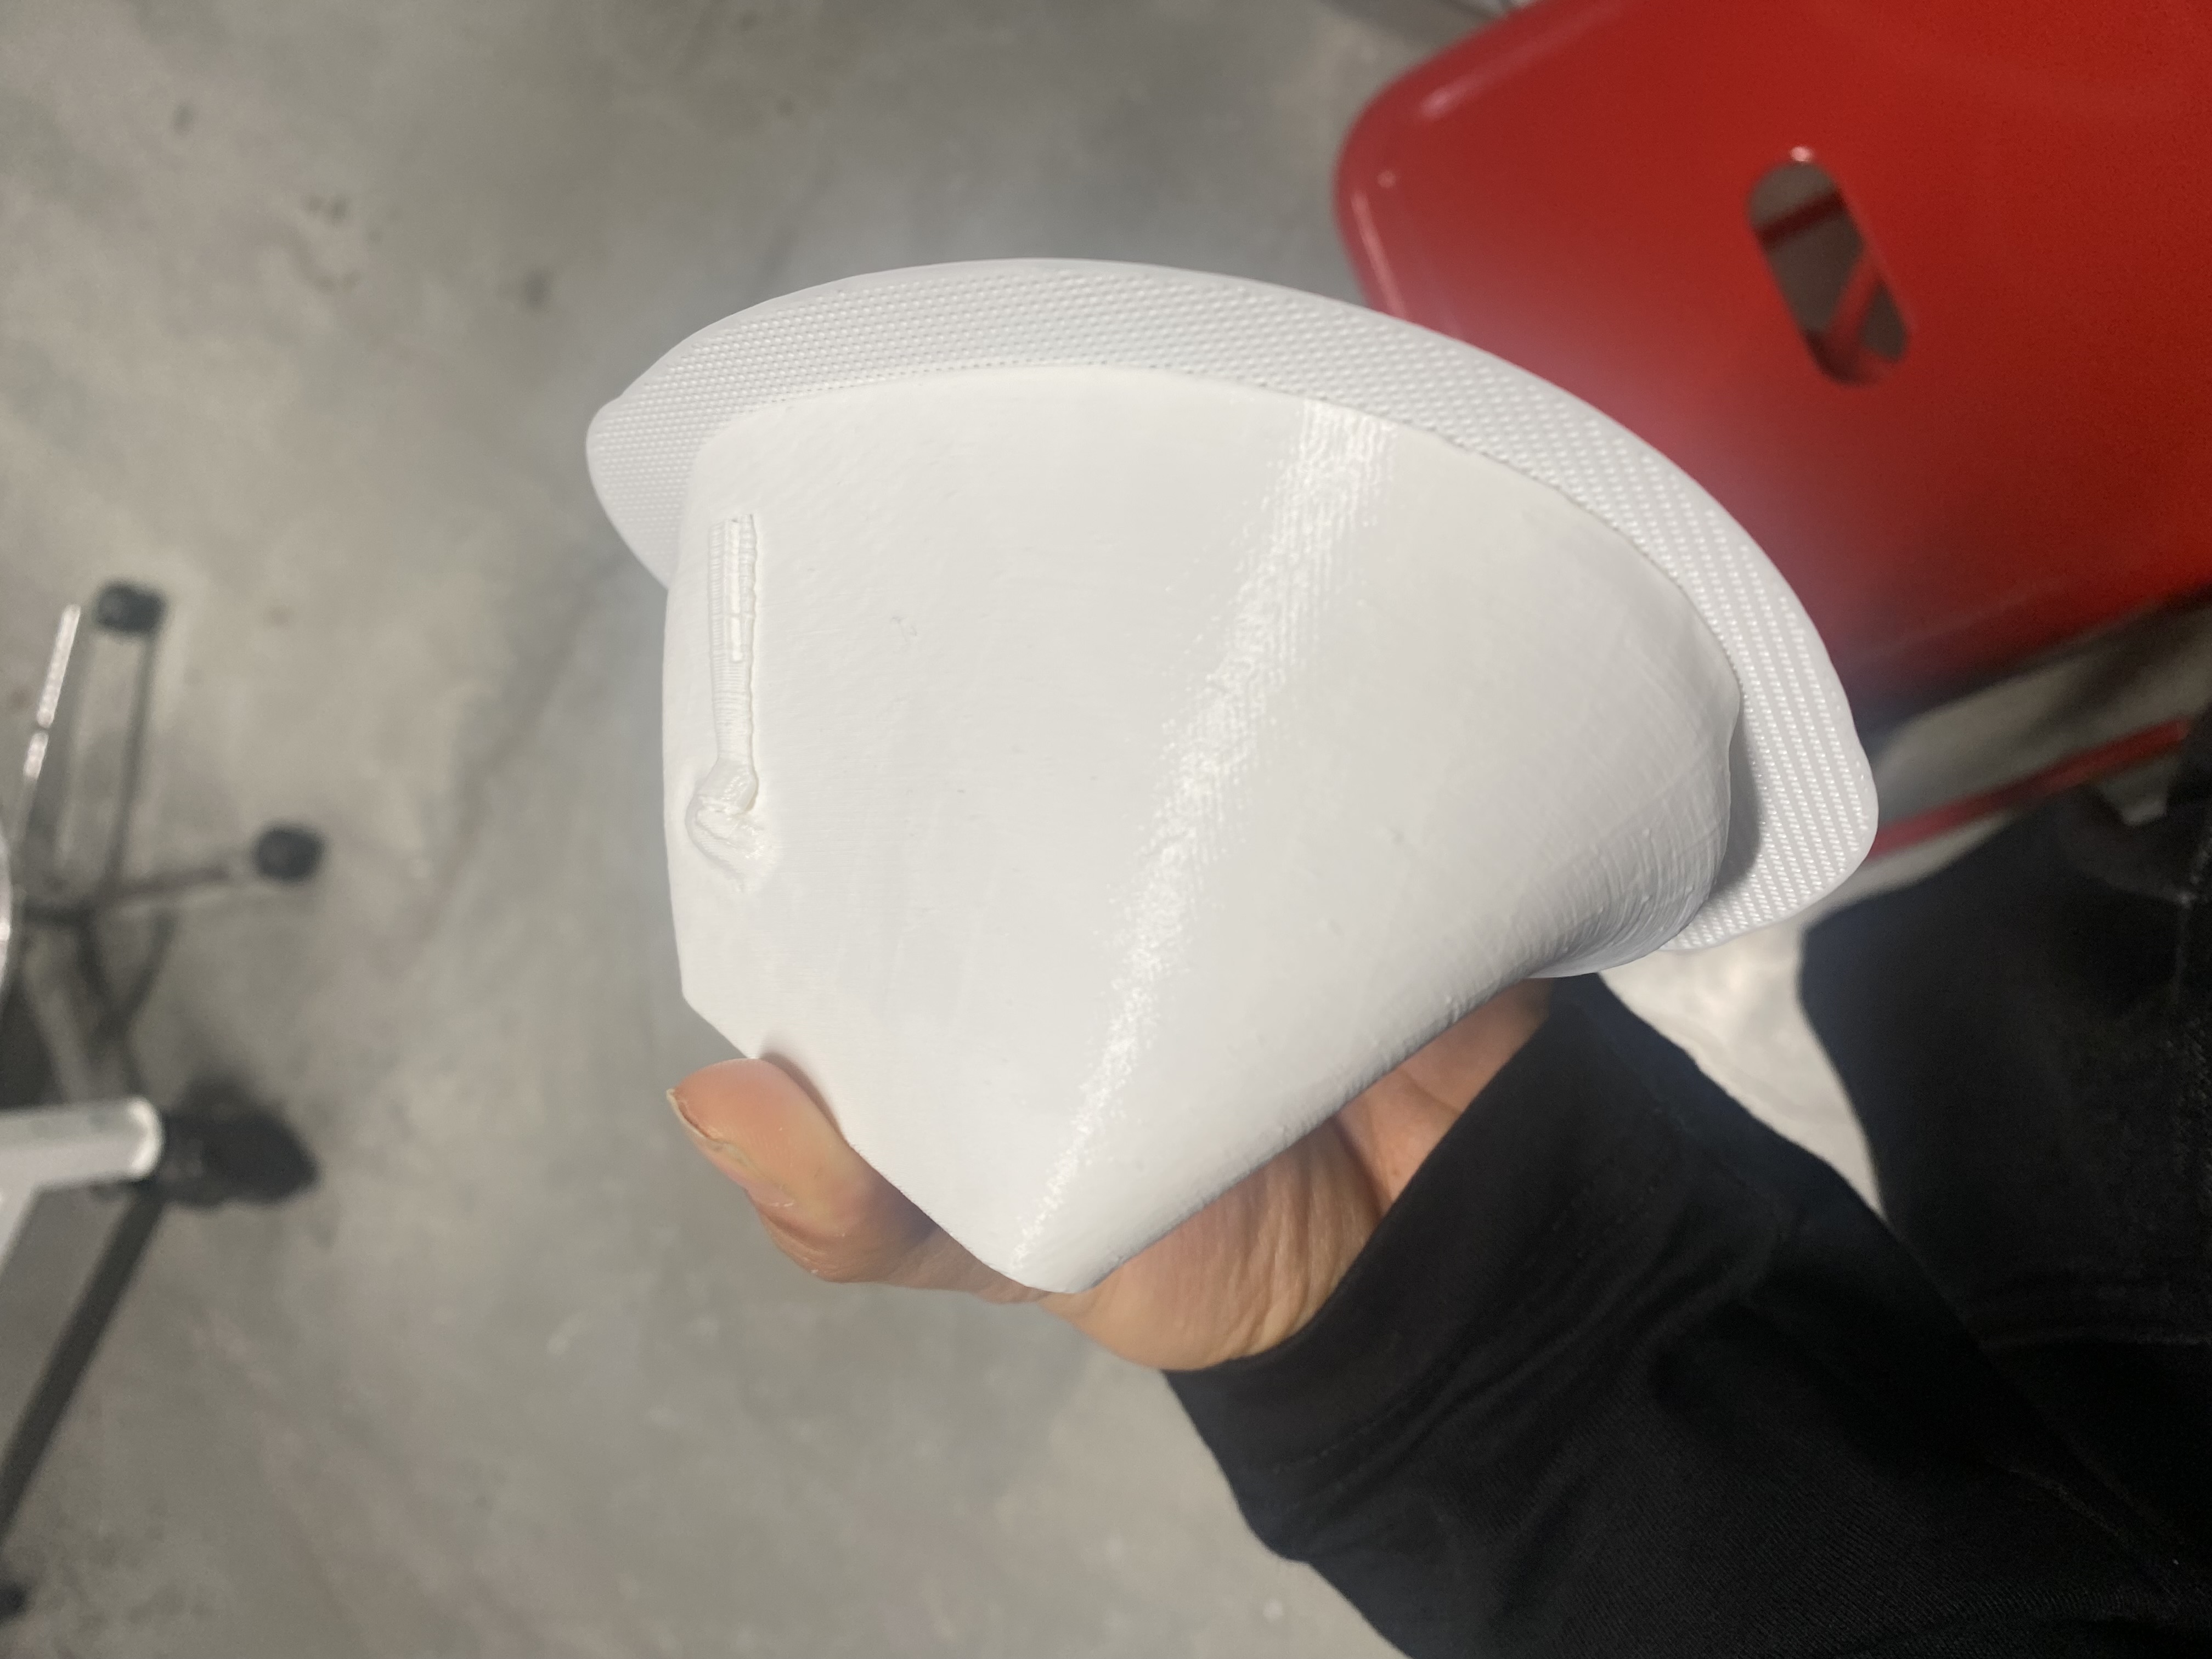
Then all you need is to put the data into slicer program and print it.
*Special Thanks to Quincy for letting me use his Form3 in his fabulous studio!
*Disclaimer: This project is based on my WIP personal/professional project. Connected to the prior week’s output
Concept