Week7
Molding and CastingCloning my bike key
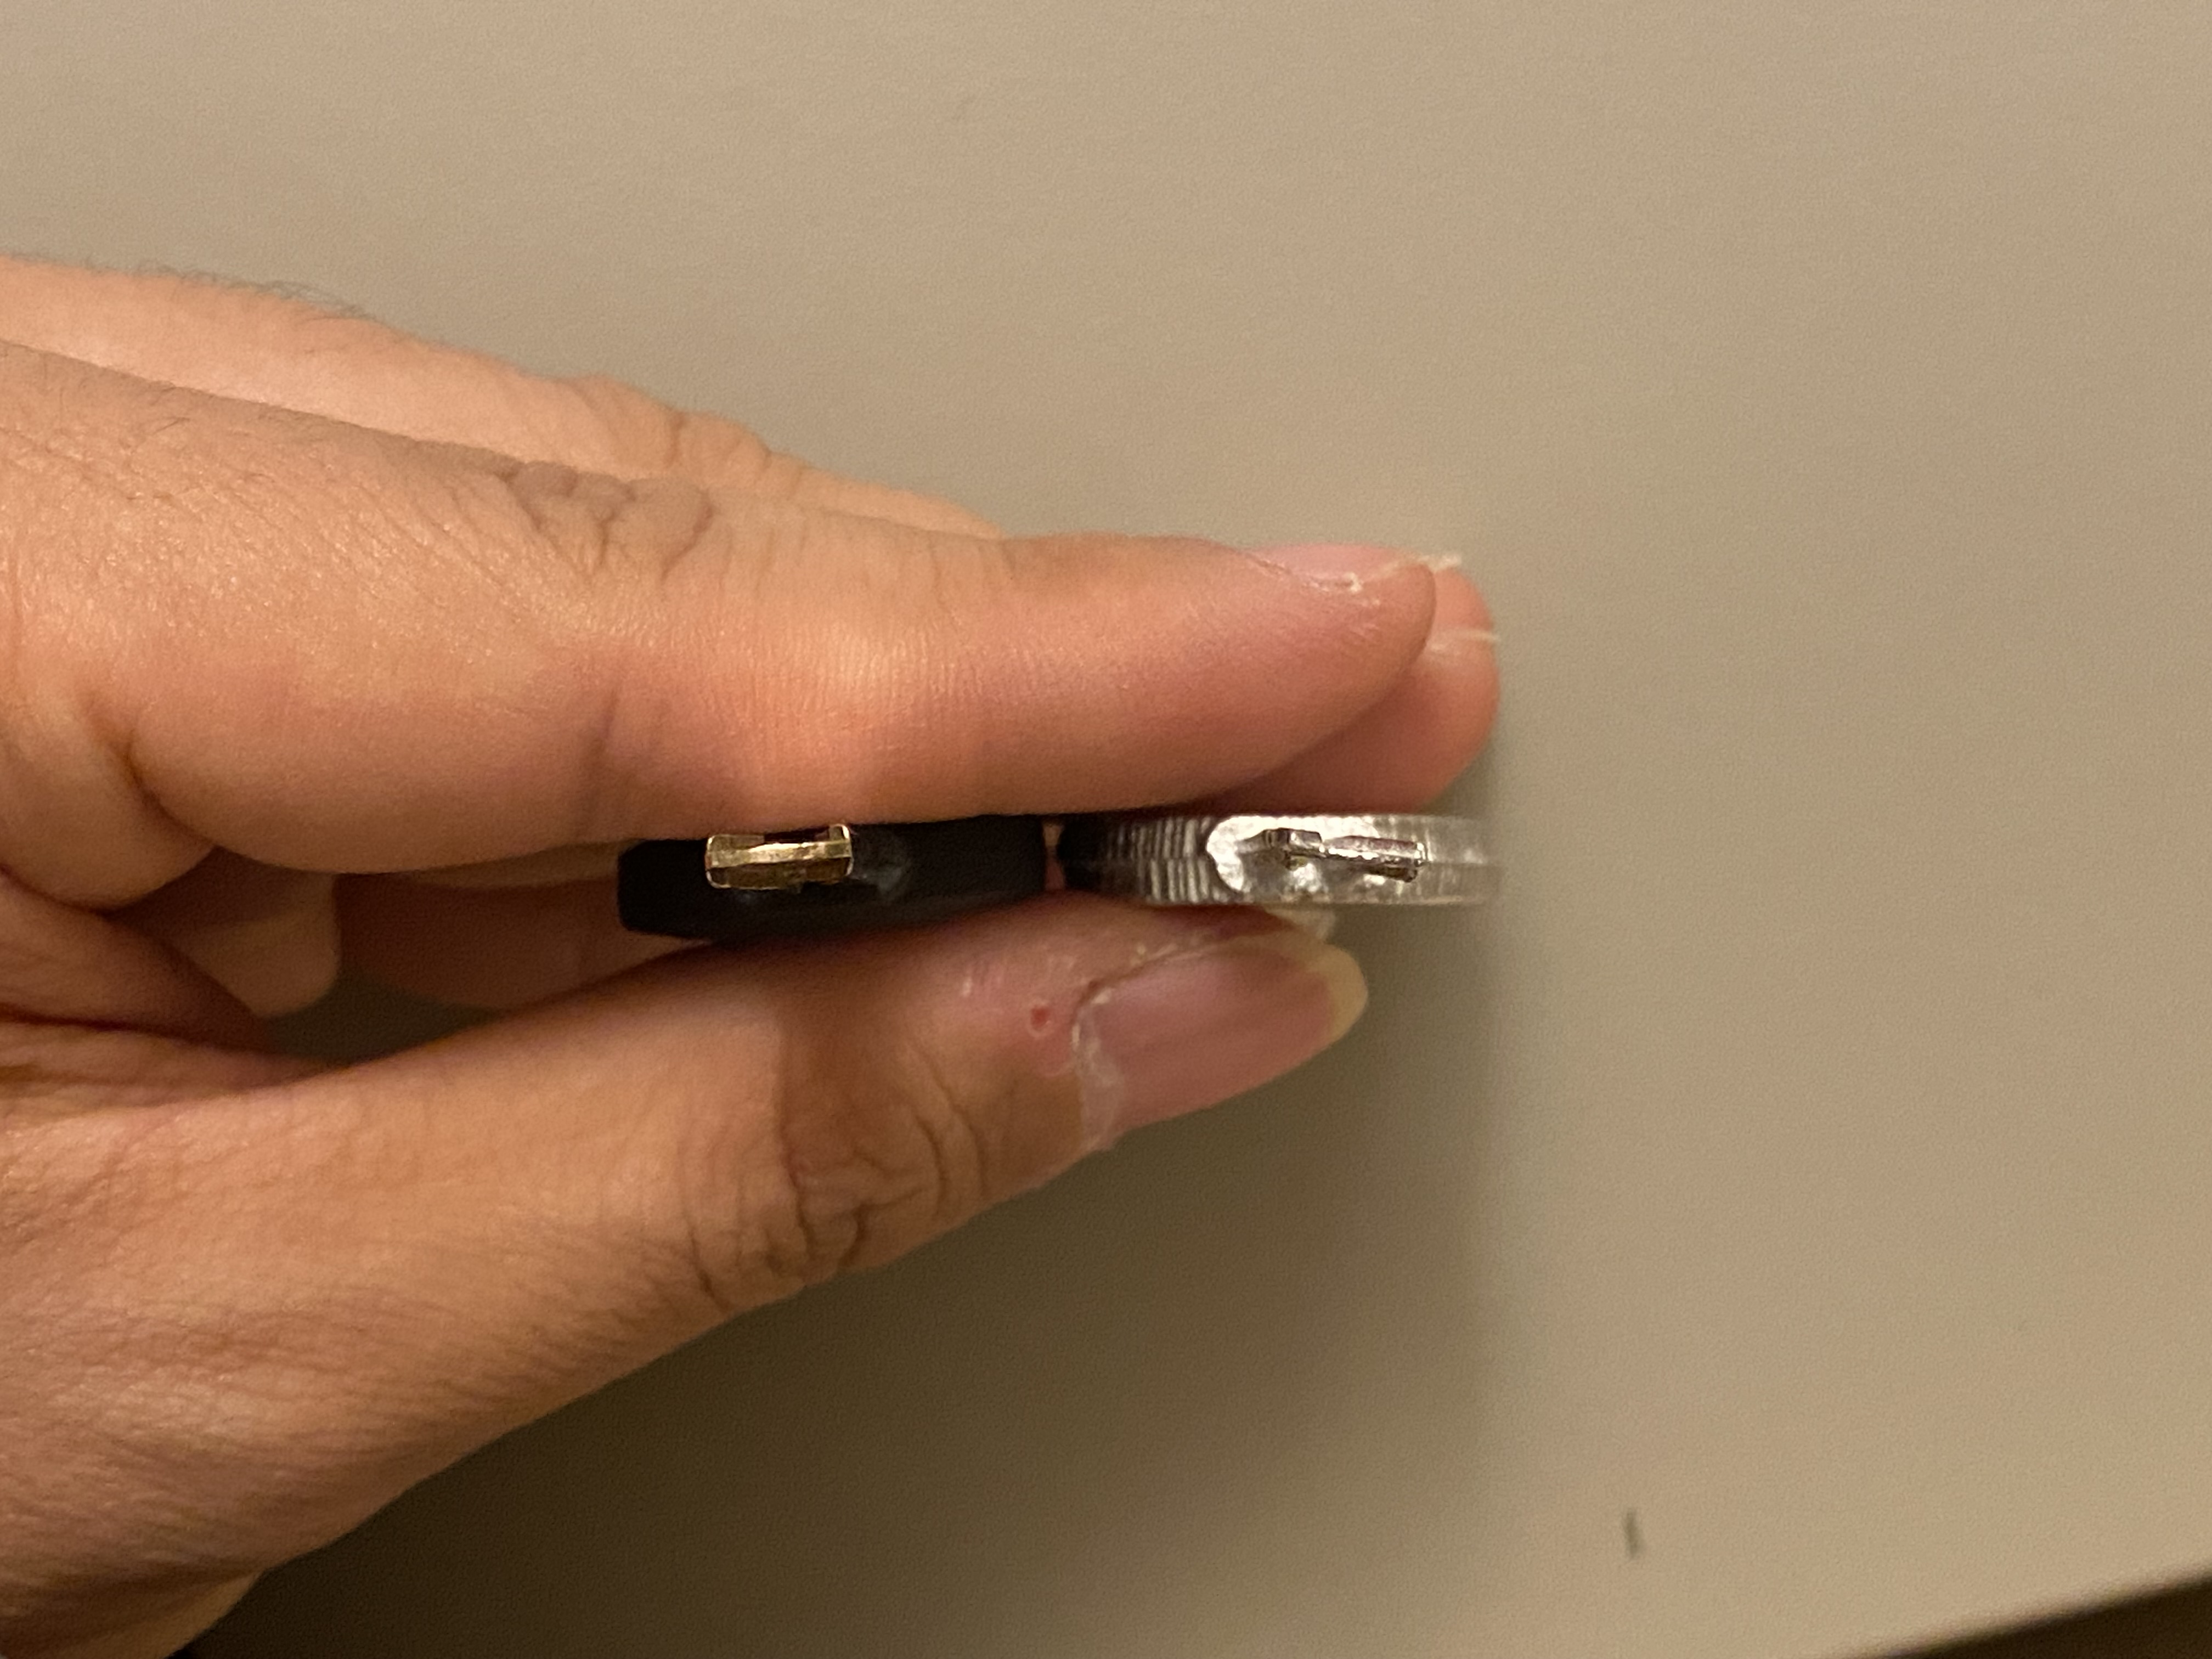
I’m always using my bike to commute. And one day, I thought, what if I lose all the keys of the bike lock? So I decided to clone my bike key.

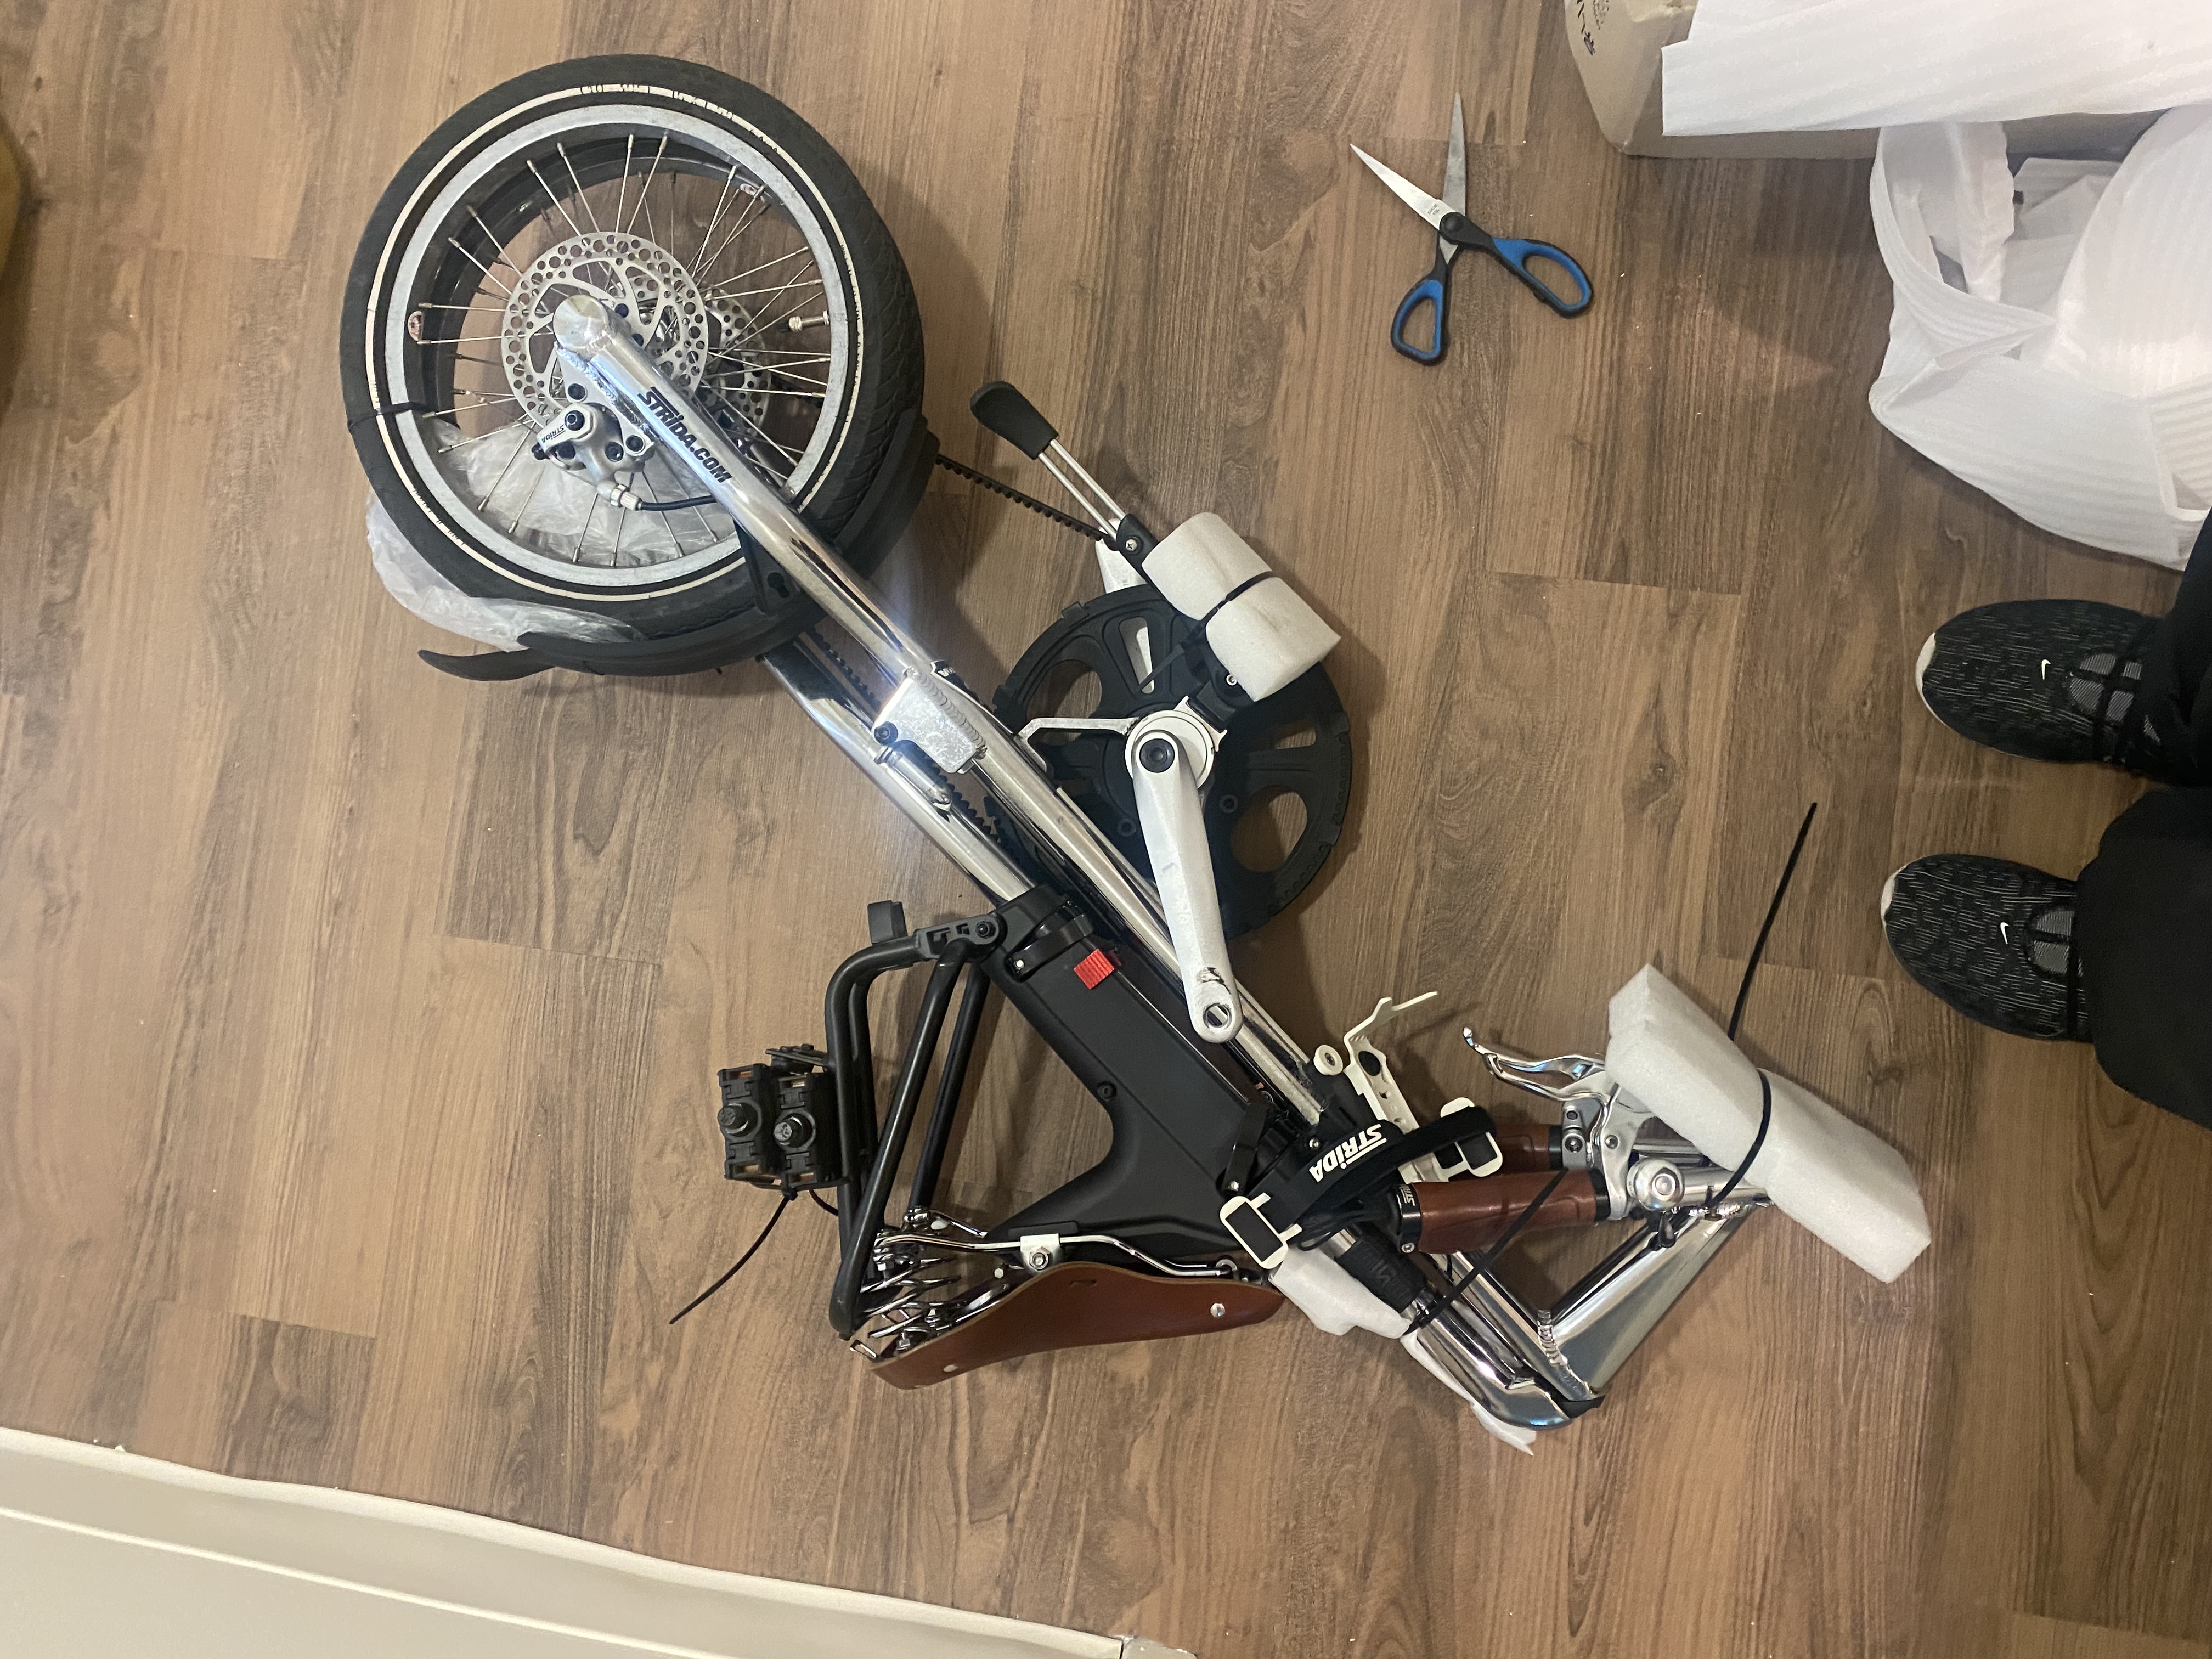
(yes, it’s foldable!)
So here’s the plan.
Original Plan: 3D scan the key -> Put the data into CAD program -> Mill the mold of the mold -> Cast the mold -> Cast the Key
Revised Plan: 3D modle the key -> Put the data into CAD program -> Mill the mold of the mold -> Cast the mold -> Cast the Key
Process - I tried to 3D scan it first, and it was a total failure

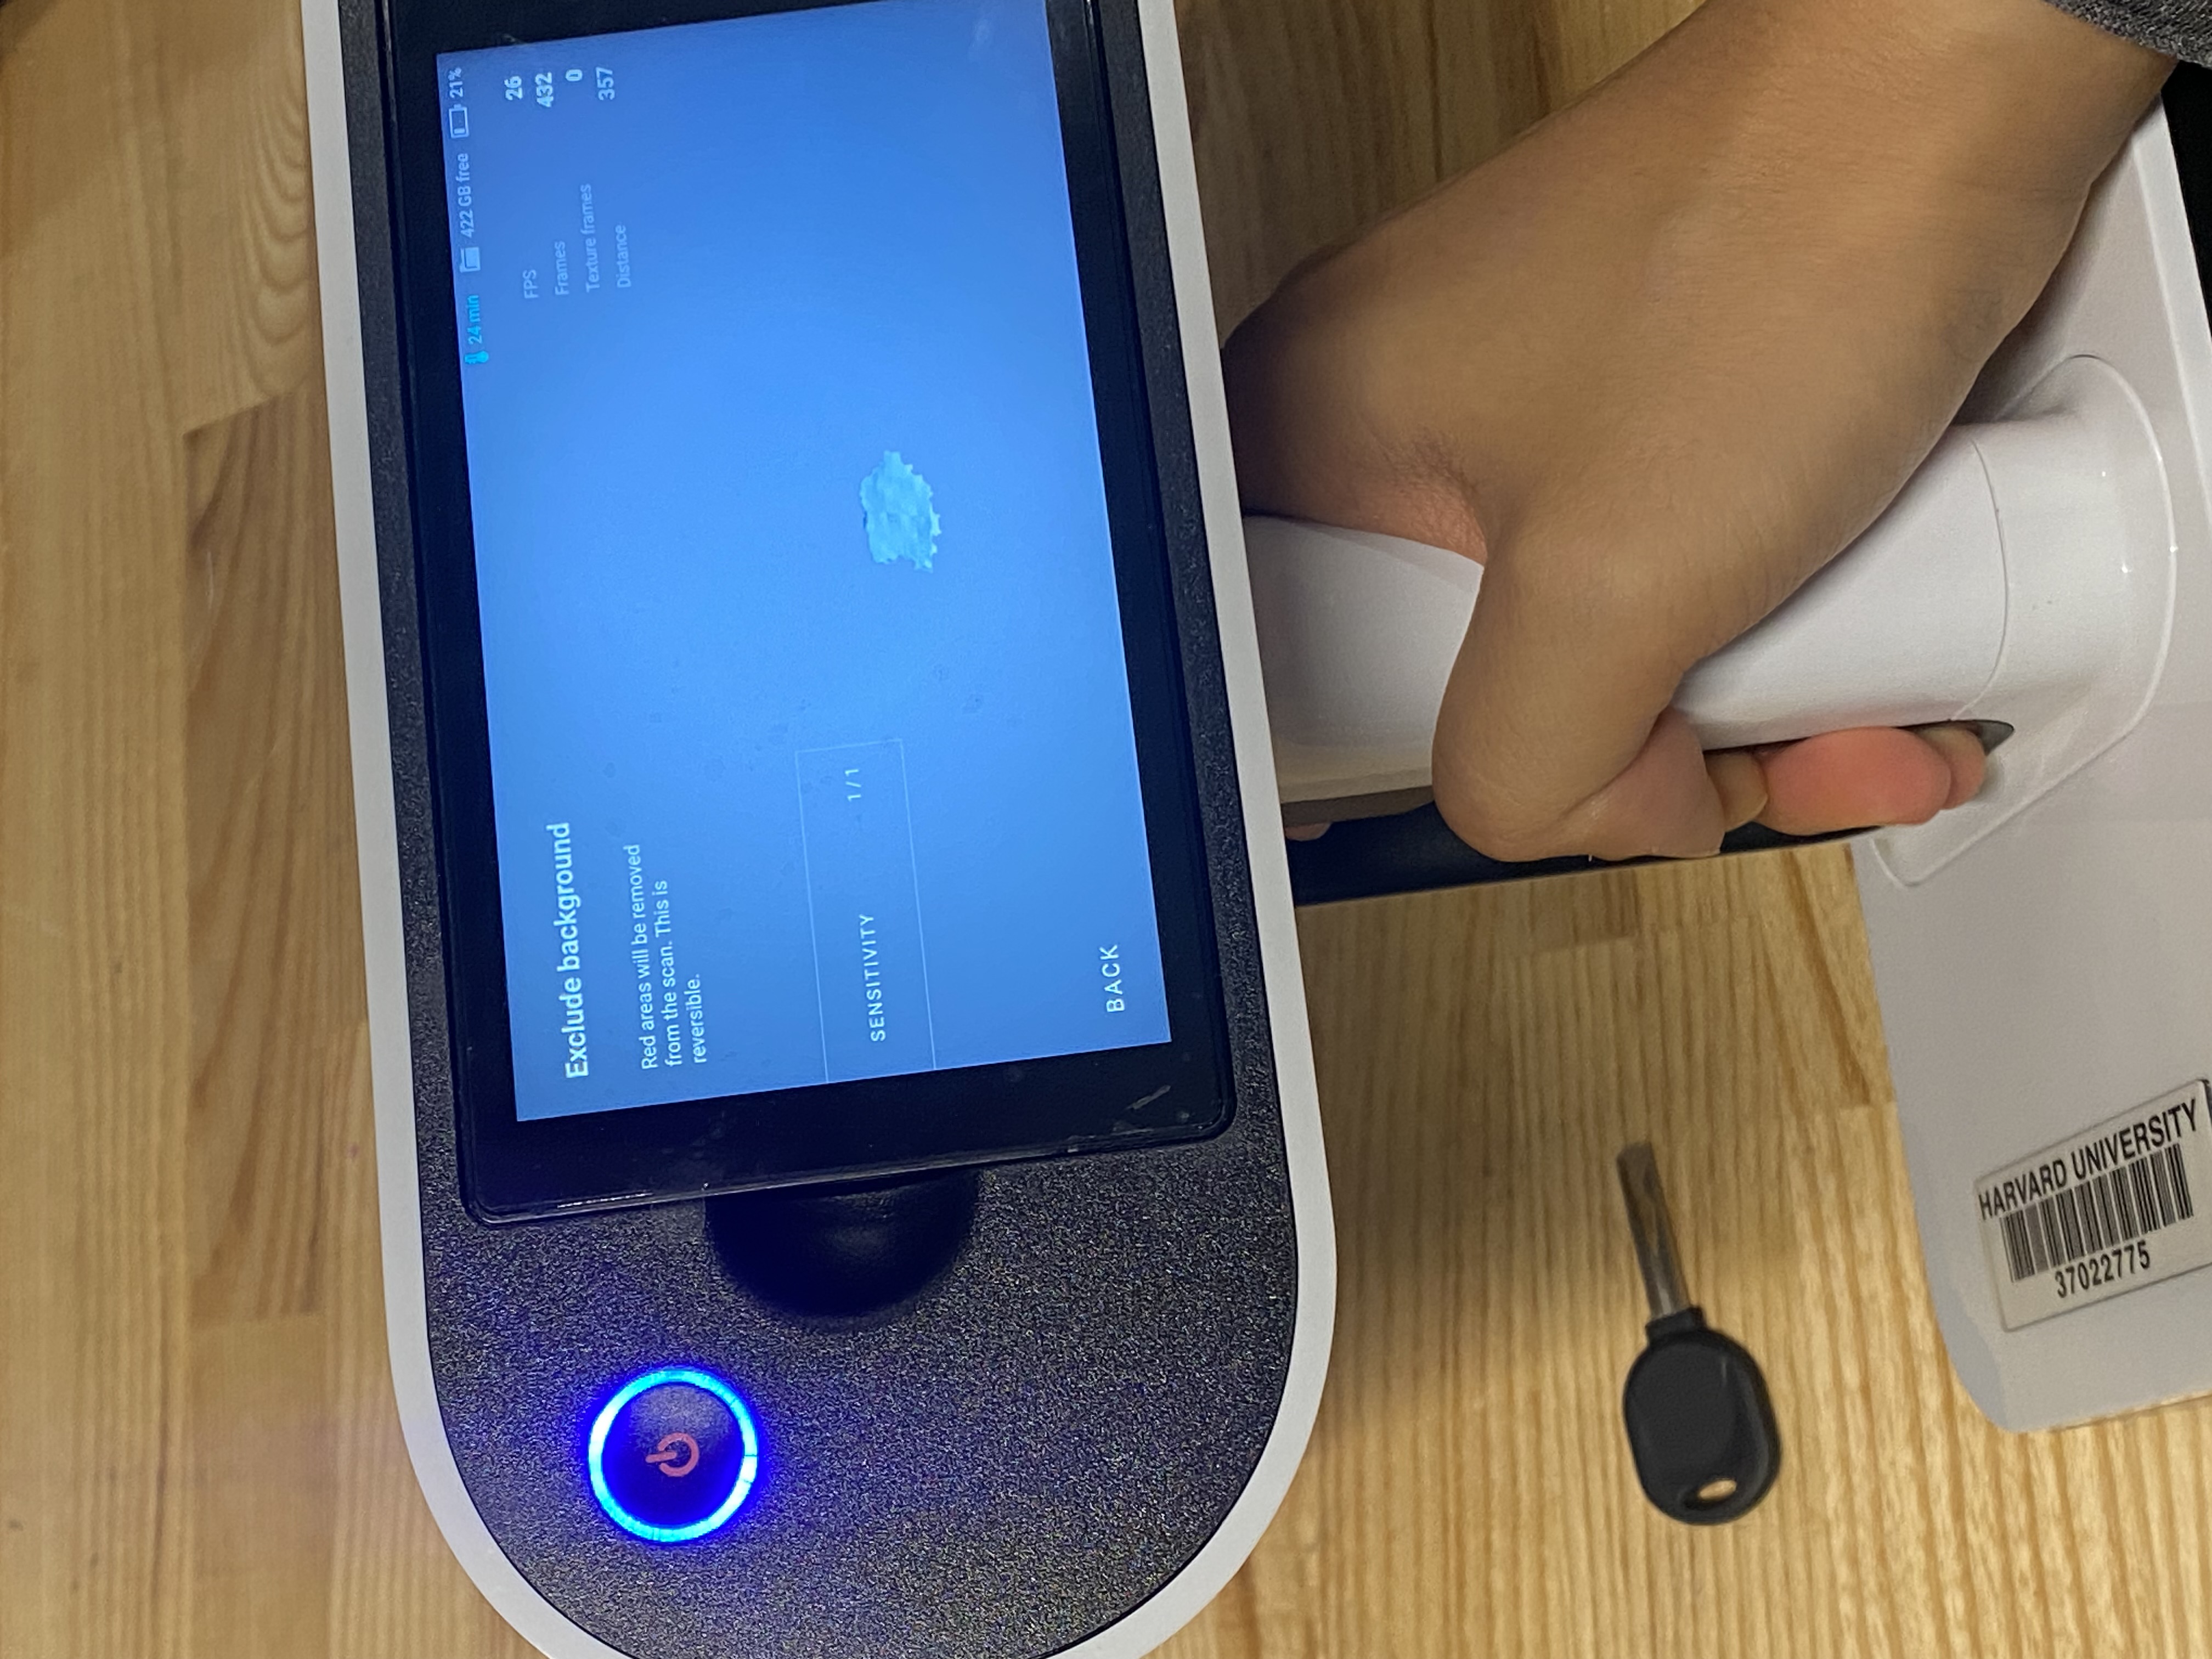
It turns out even that level of reflection on the surface of metal part of the key - is critical to 3D scanner.
So I had only one choice - to 3D model it.
Process - A. 3D model the mold of the key
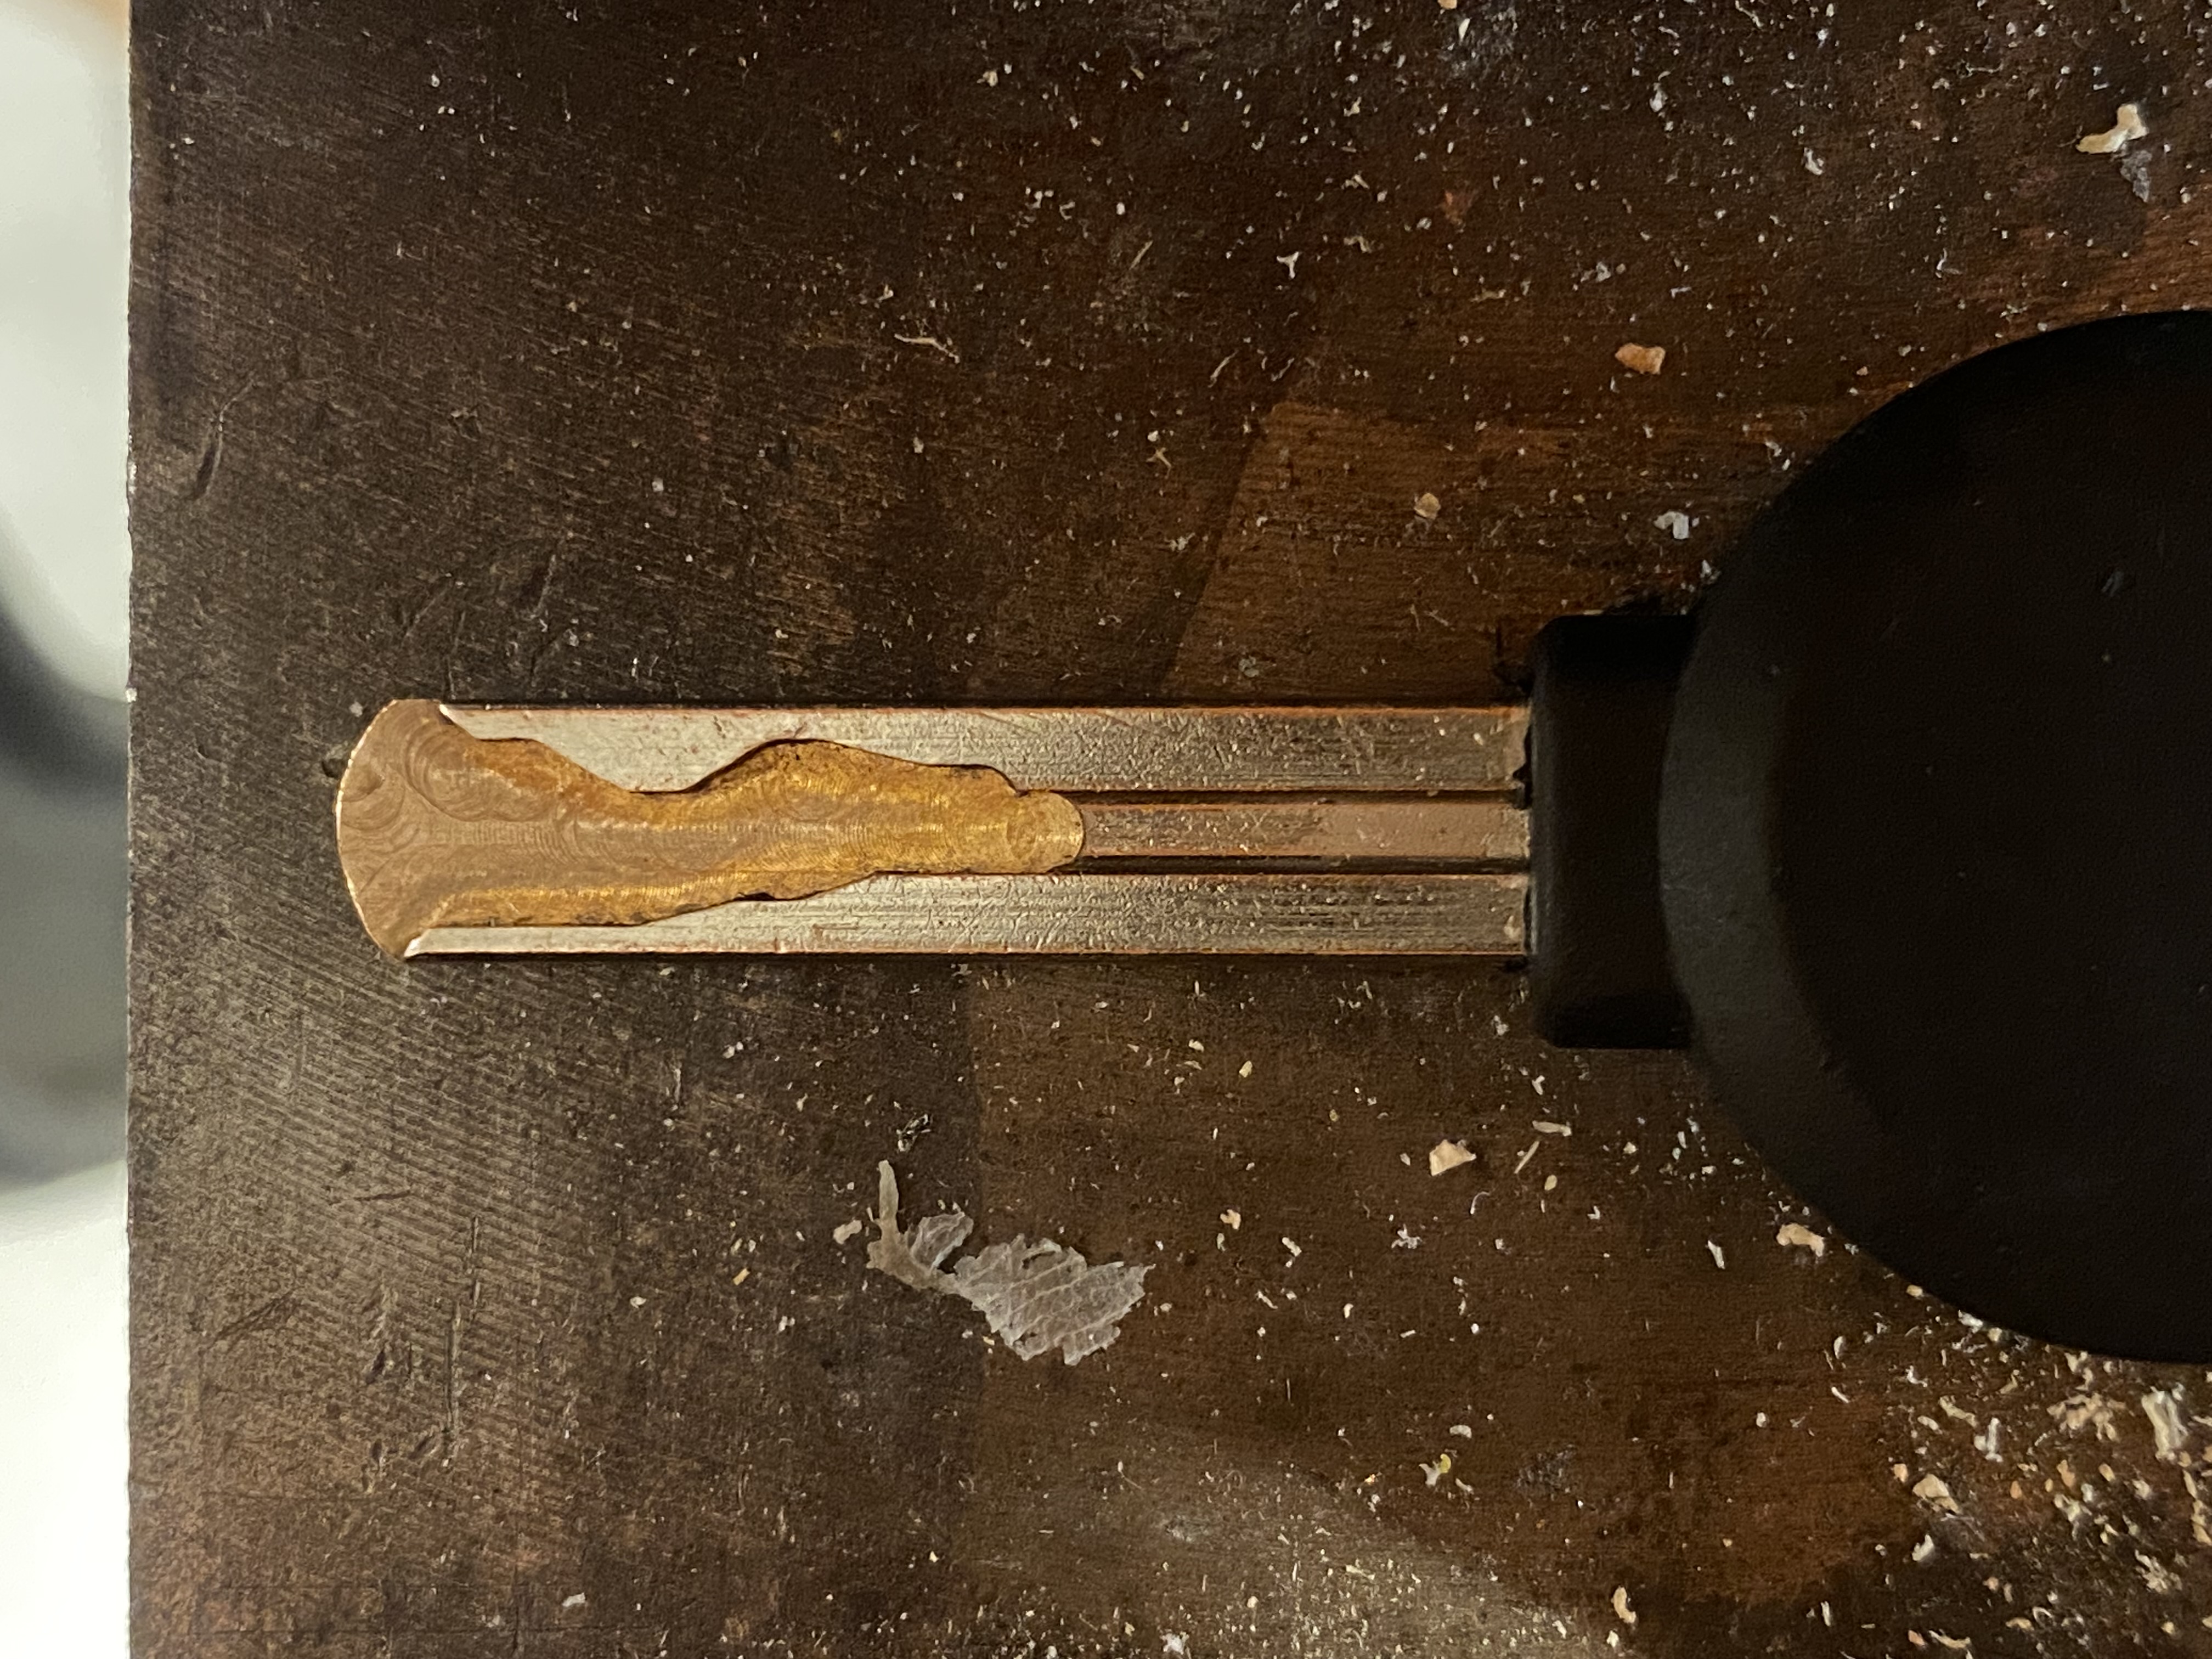
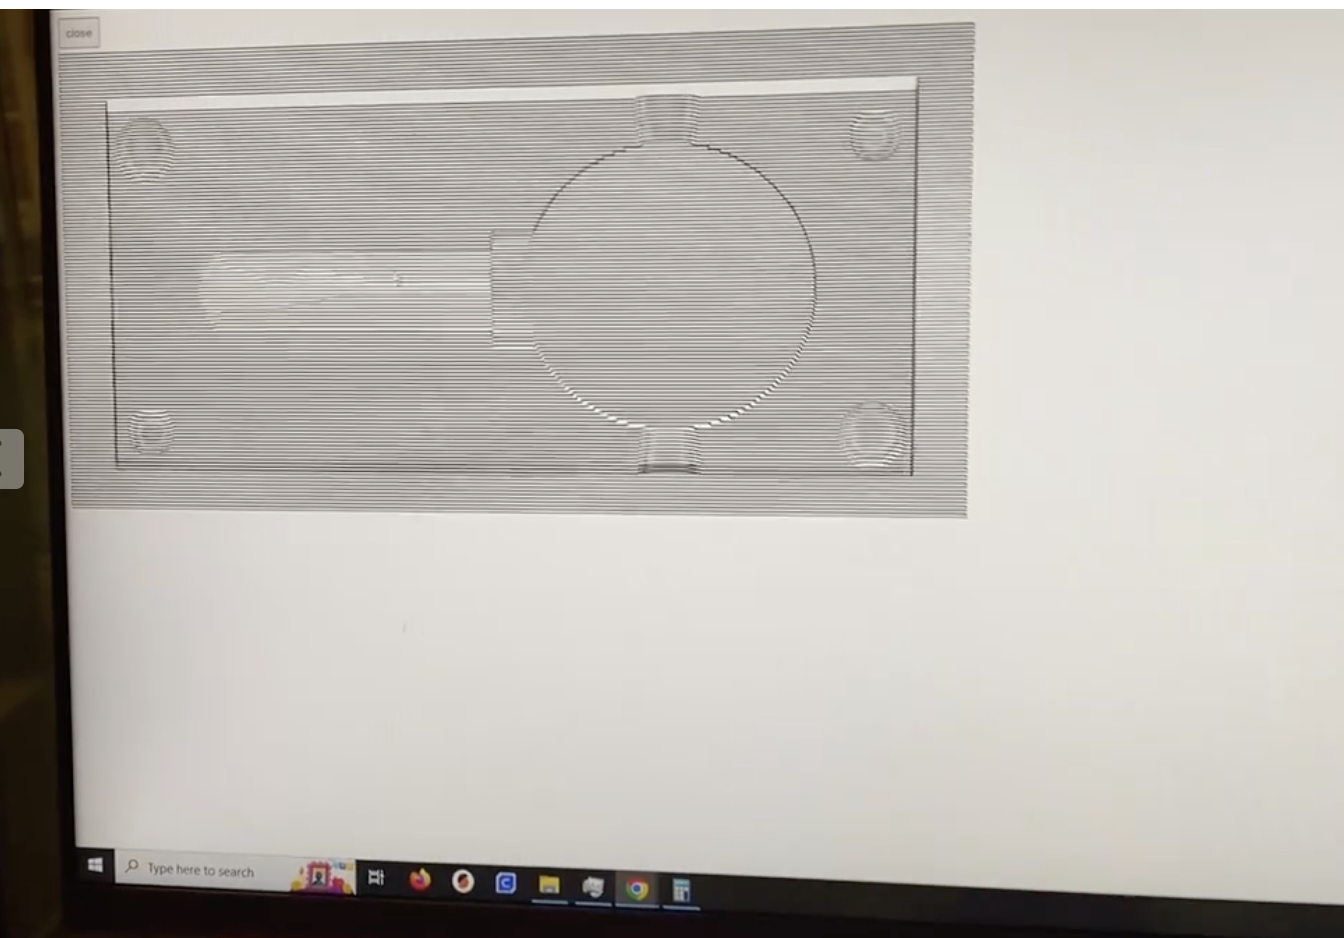
But the problem is - How can I scan the shape exactly? First I tried to use a scanner (not 3D, a 2D paper scanner), but I found a vise! so I put the key on the bottom and took pictrue of it while putting the phone on a perfectly horizental surface above the key. Below is the result.
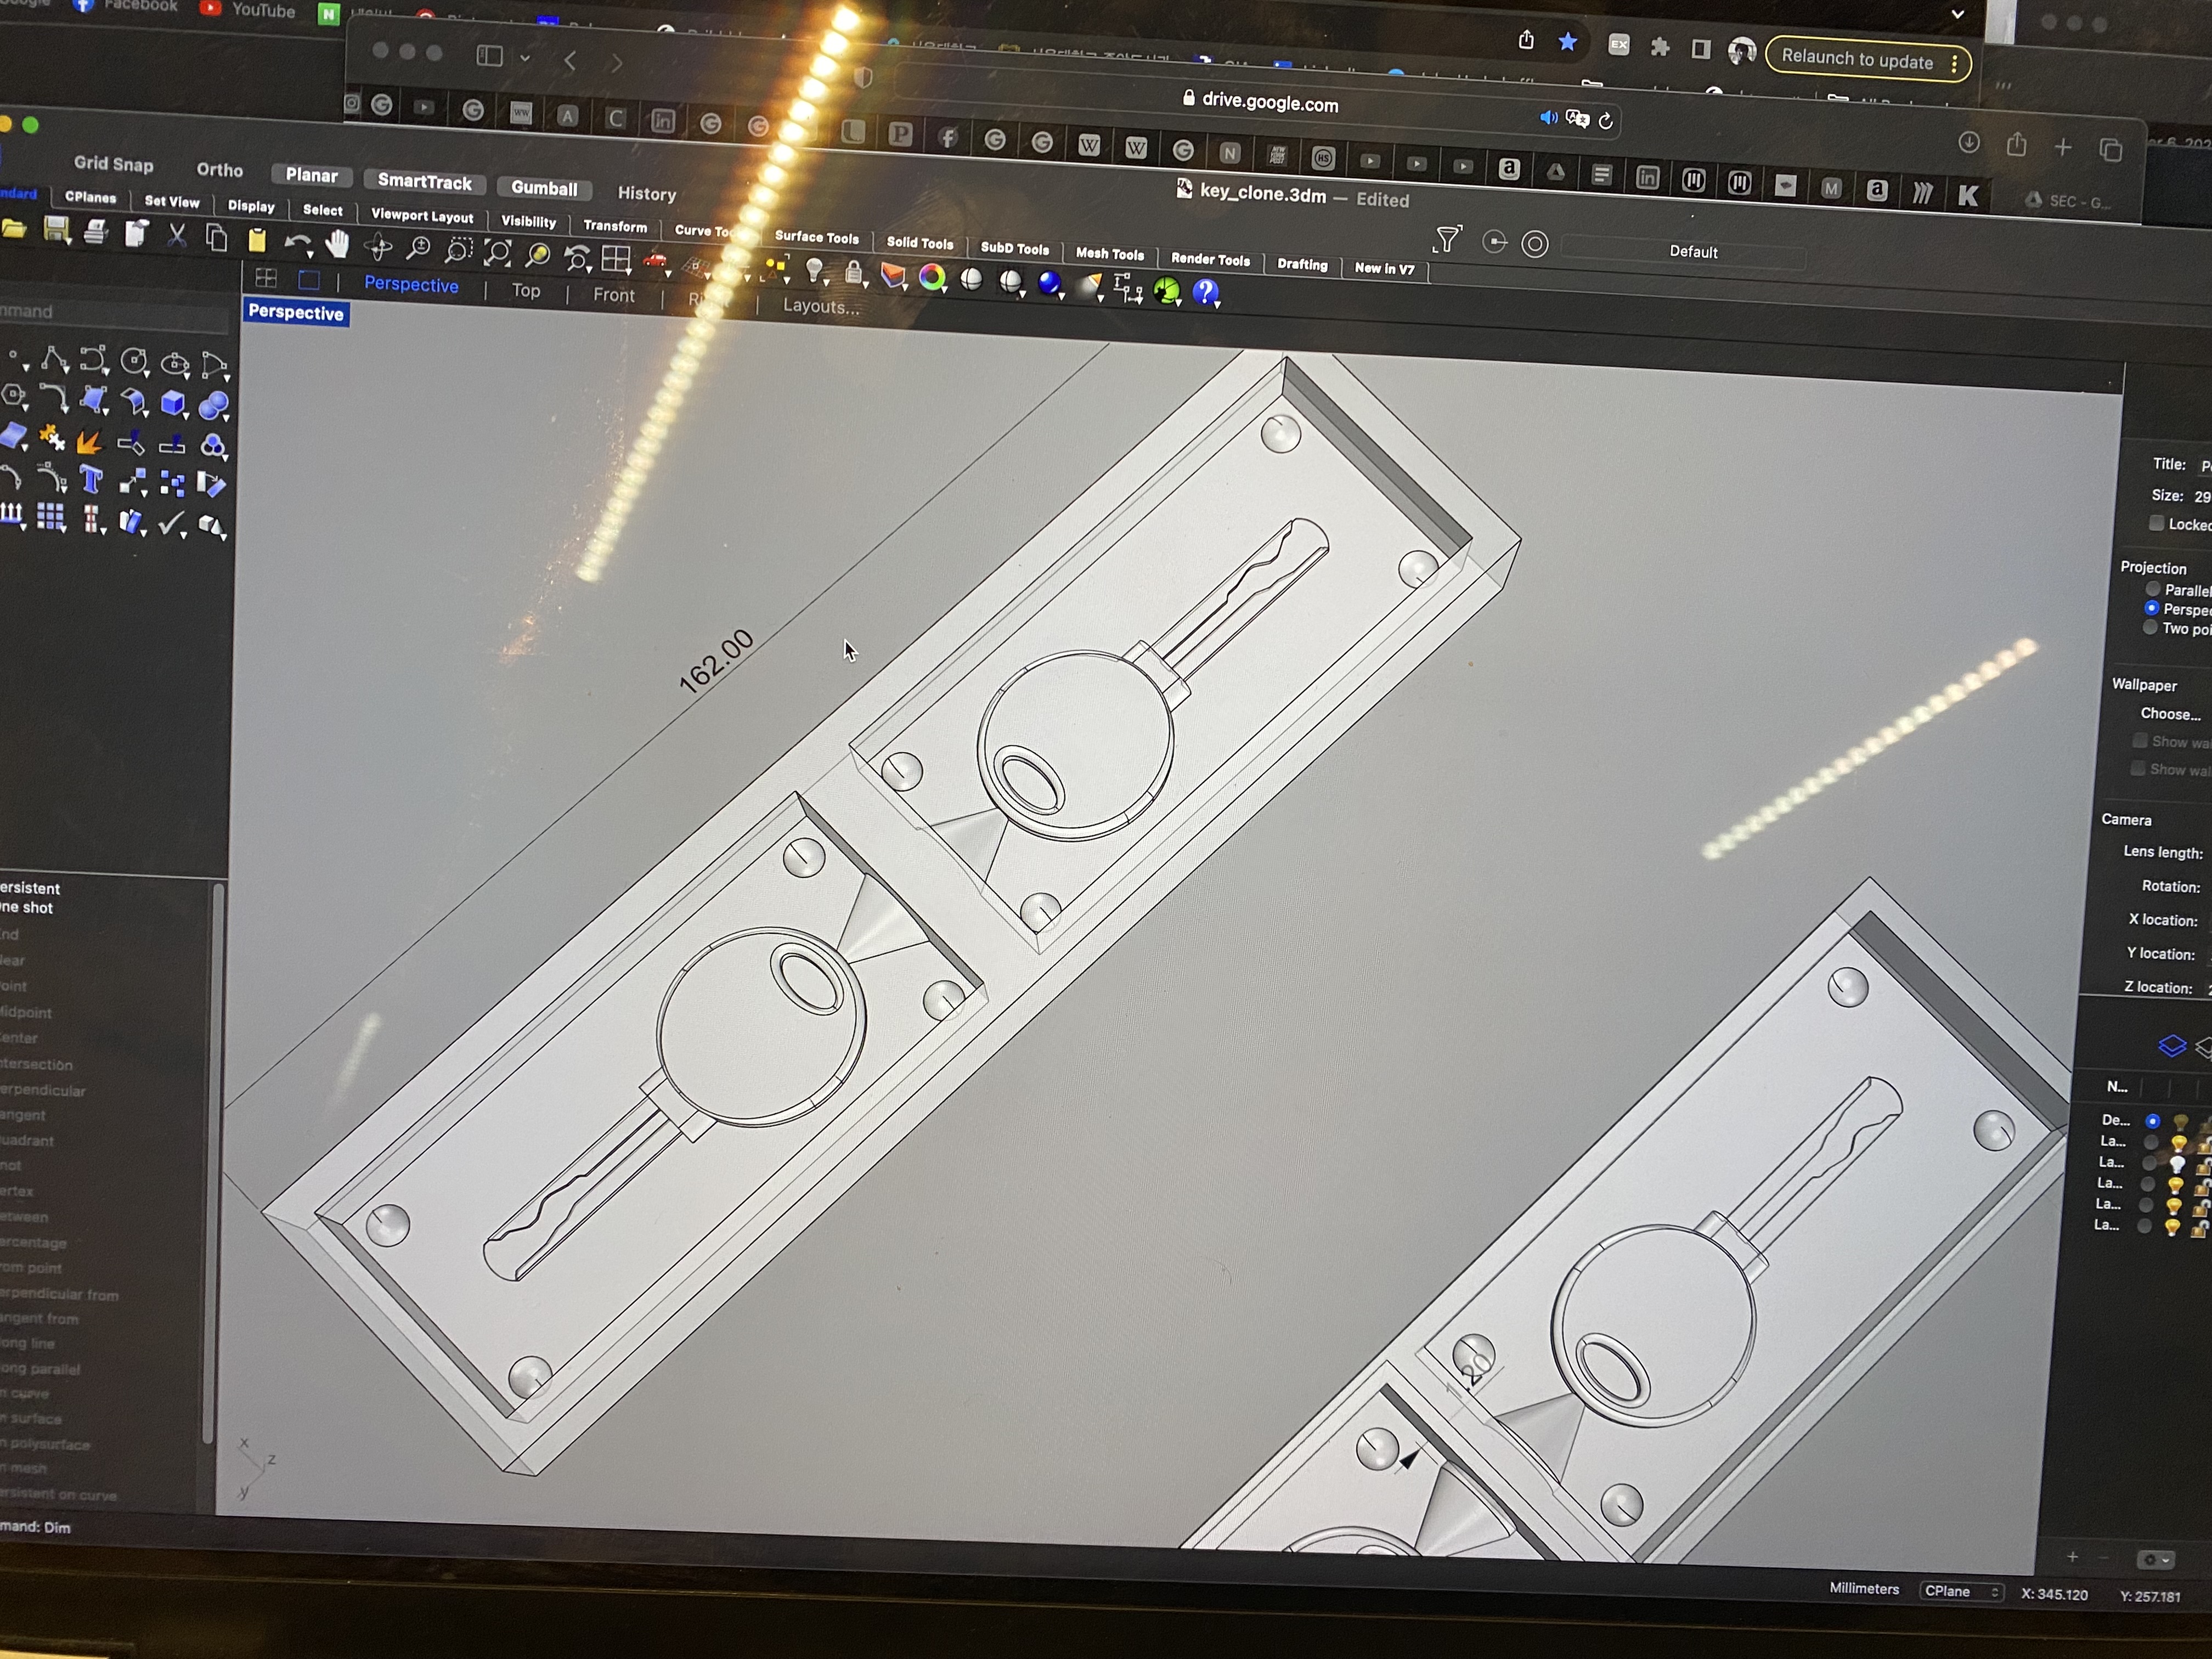
And put that into a CAD program. I used calipers to make sure the dimensions of the digital footprint is same with the physical one.

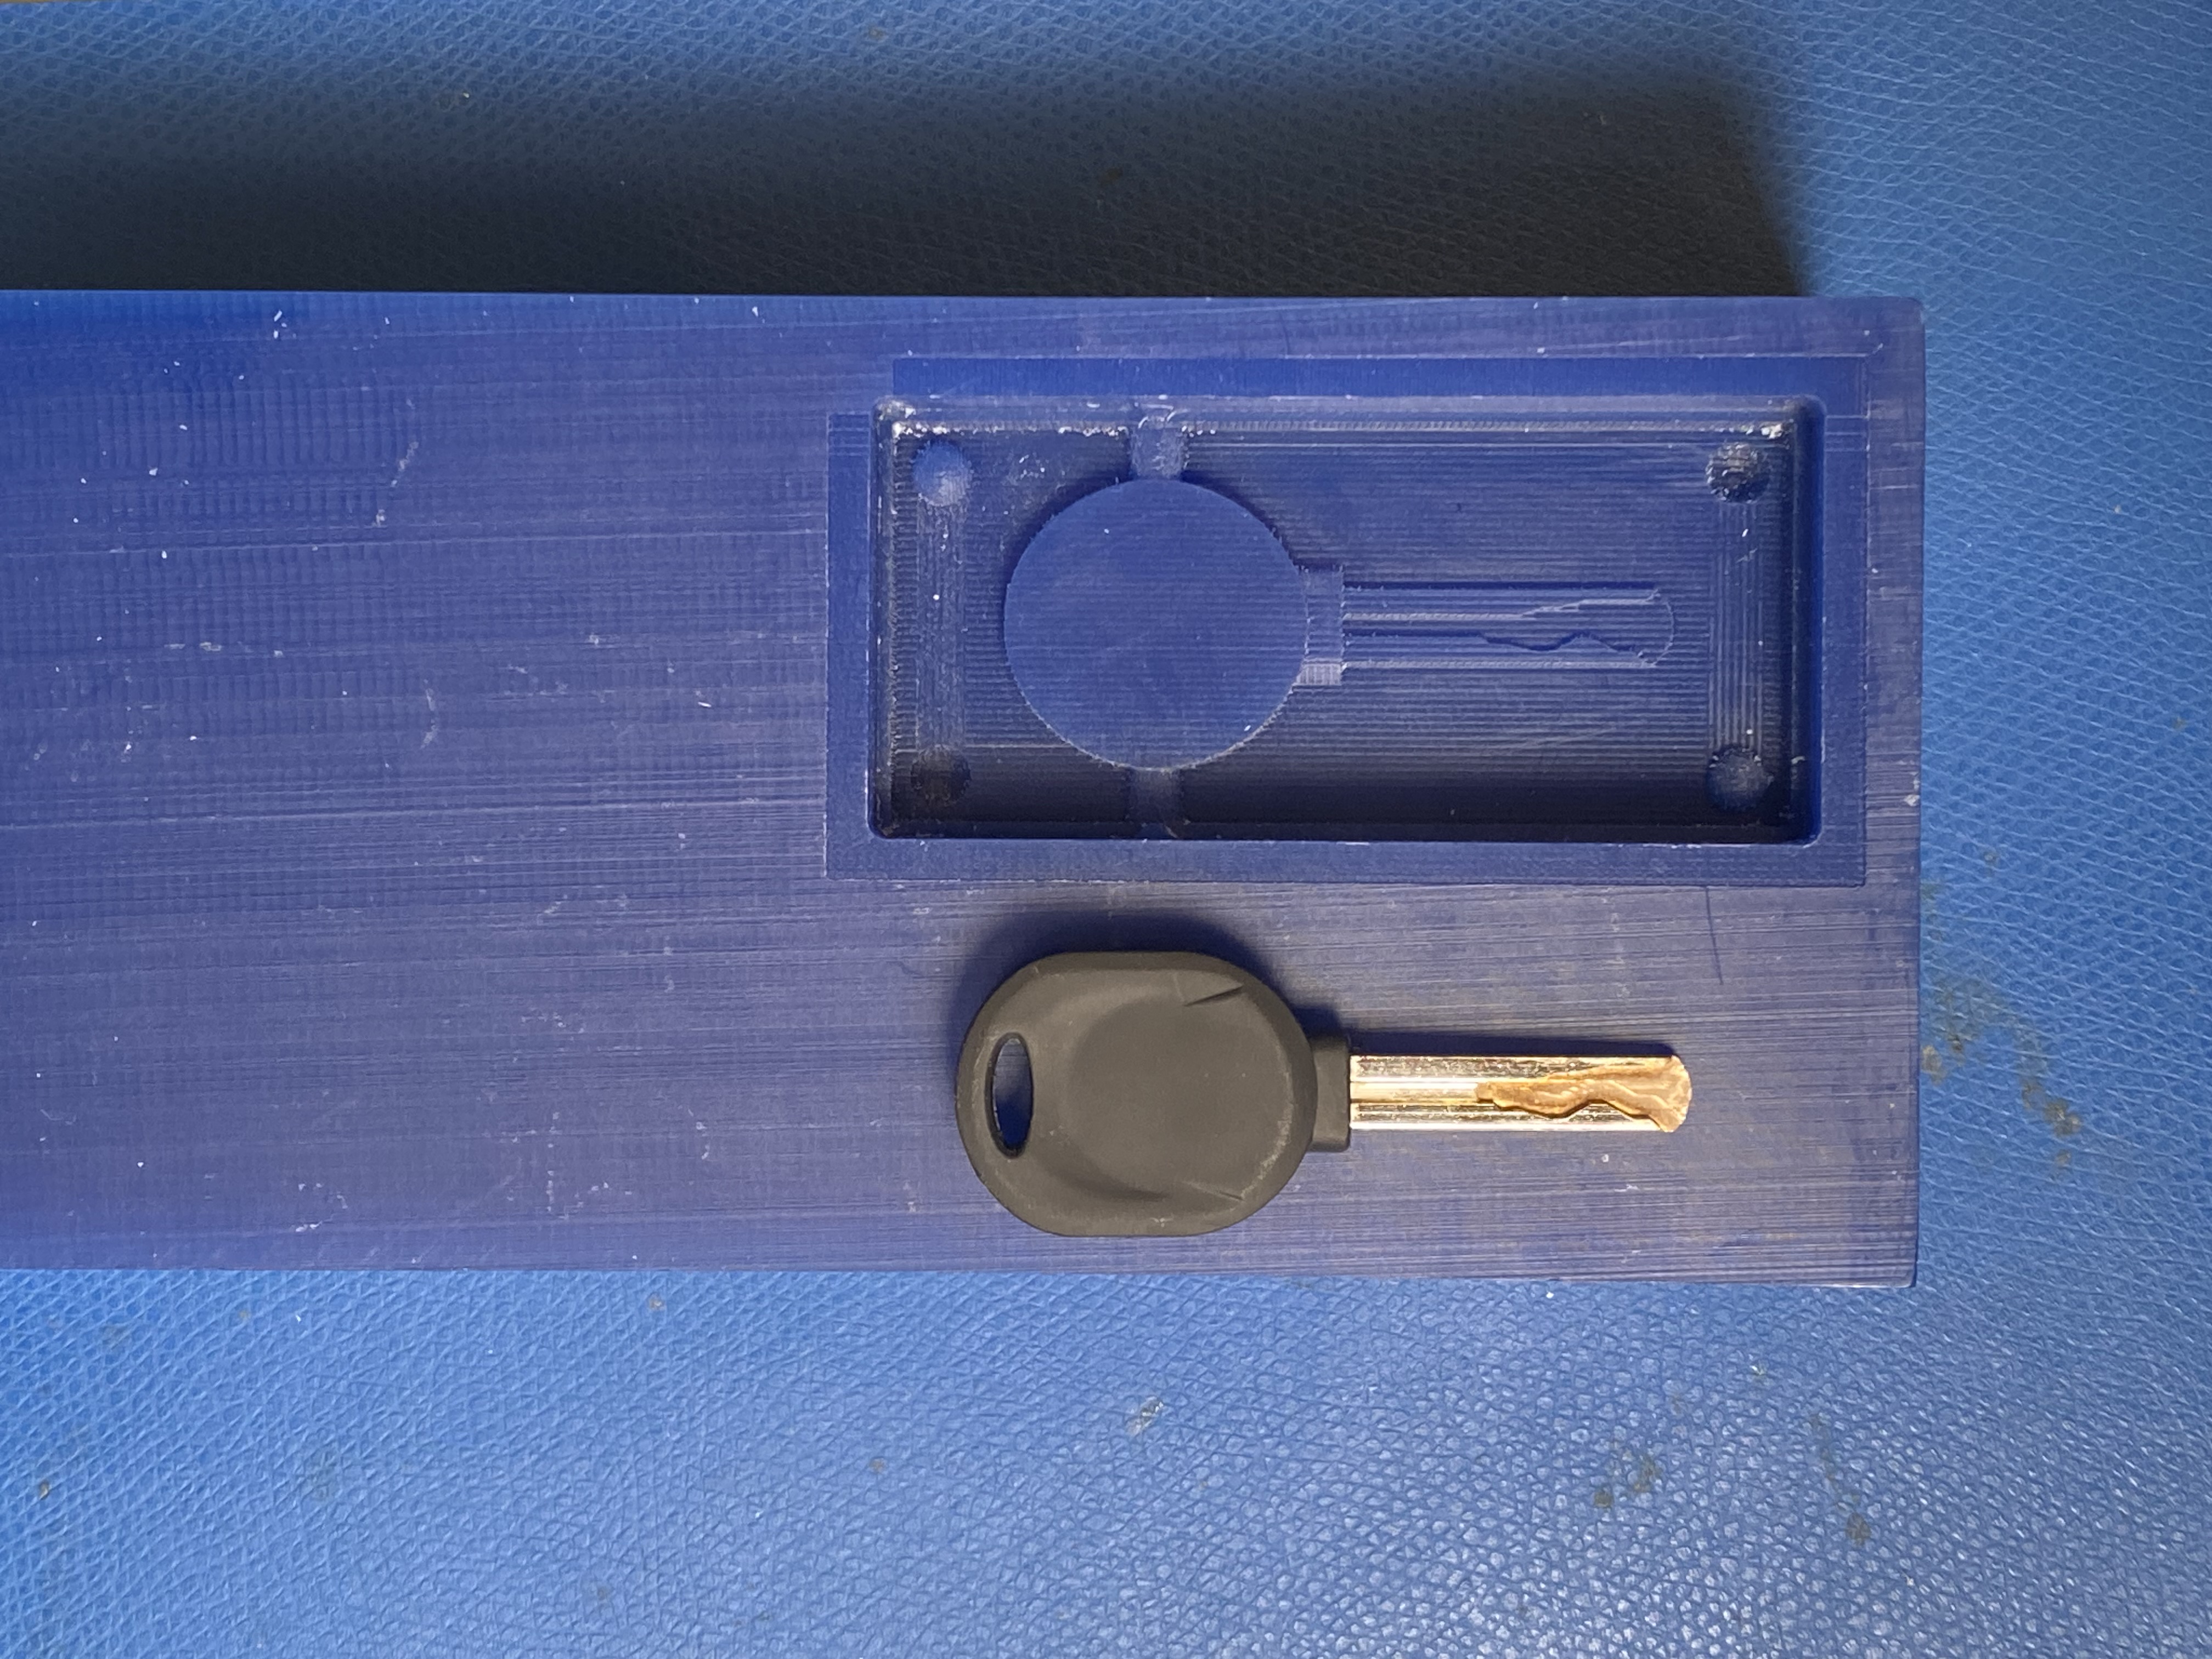
3D model the key, and boolean the key from the mold - you can see the mistake I made - actually I was following the instruction of one of the TAs ; ) but that’s how you learn. I did not realize what’s wrong before trying to put oomoo in the mold.

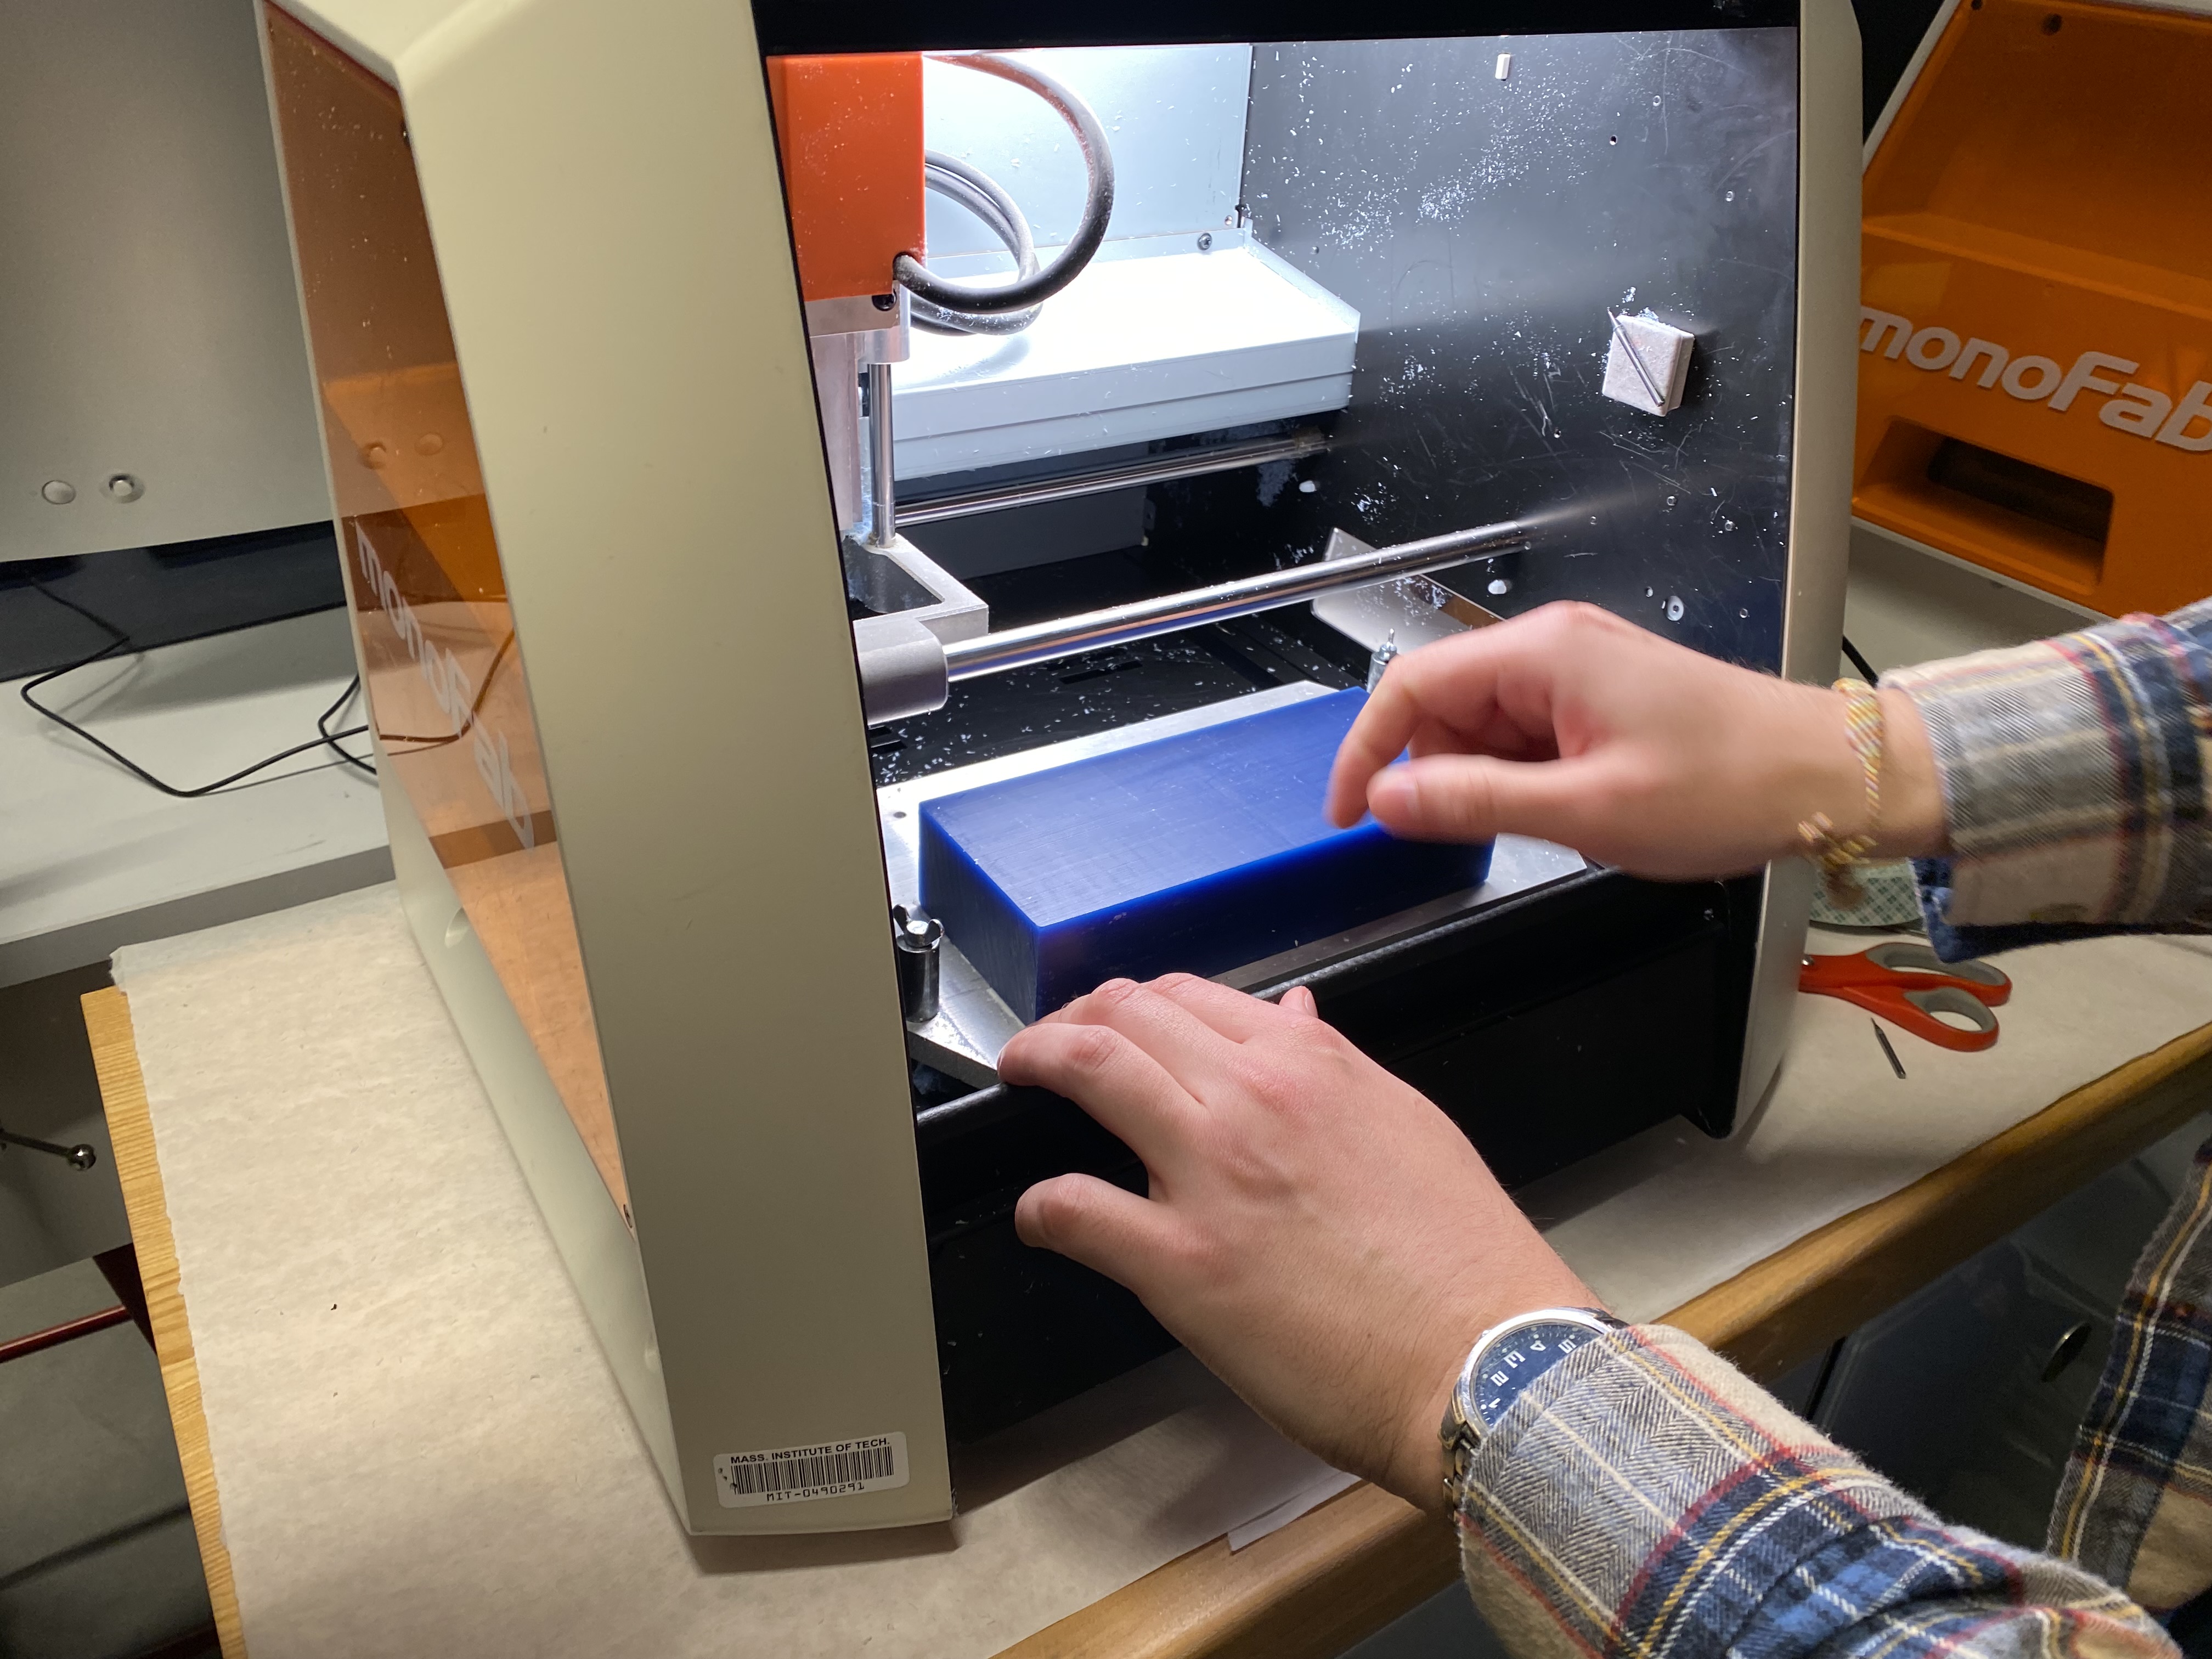
Process - B. Mill the mold of the mold
When I’m ready with the 3D file, I turned on the computer linked to the CNC.
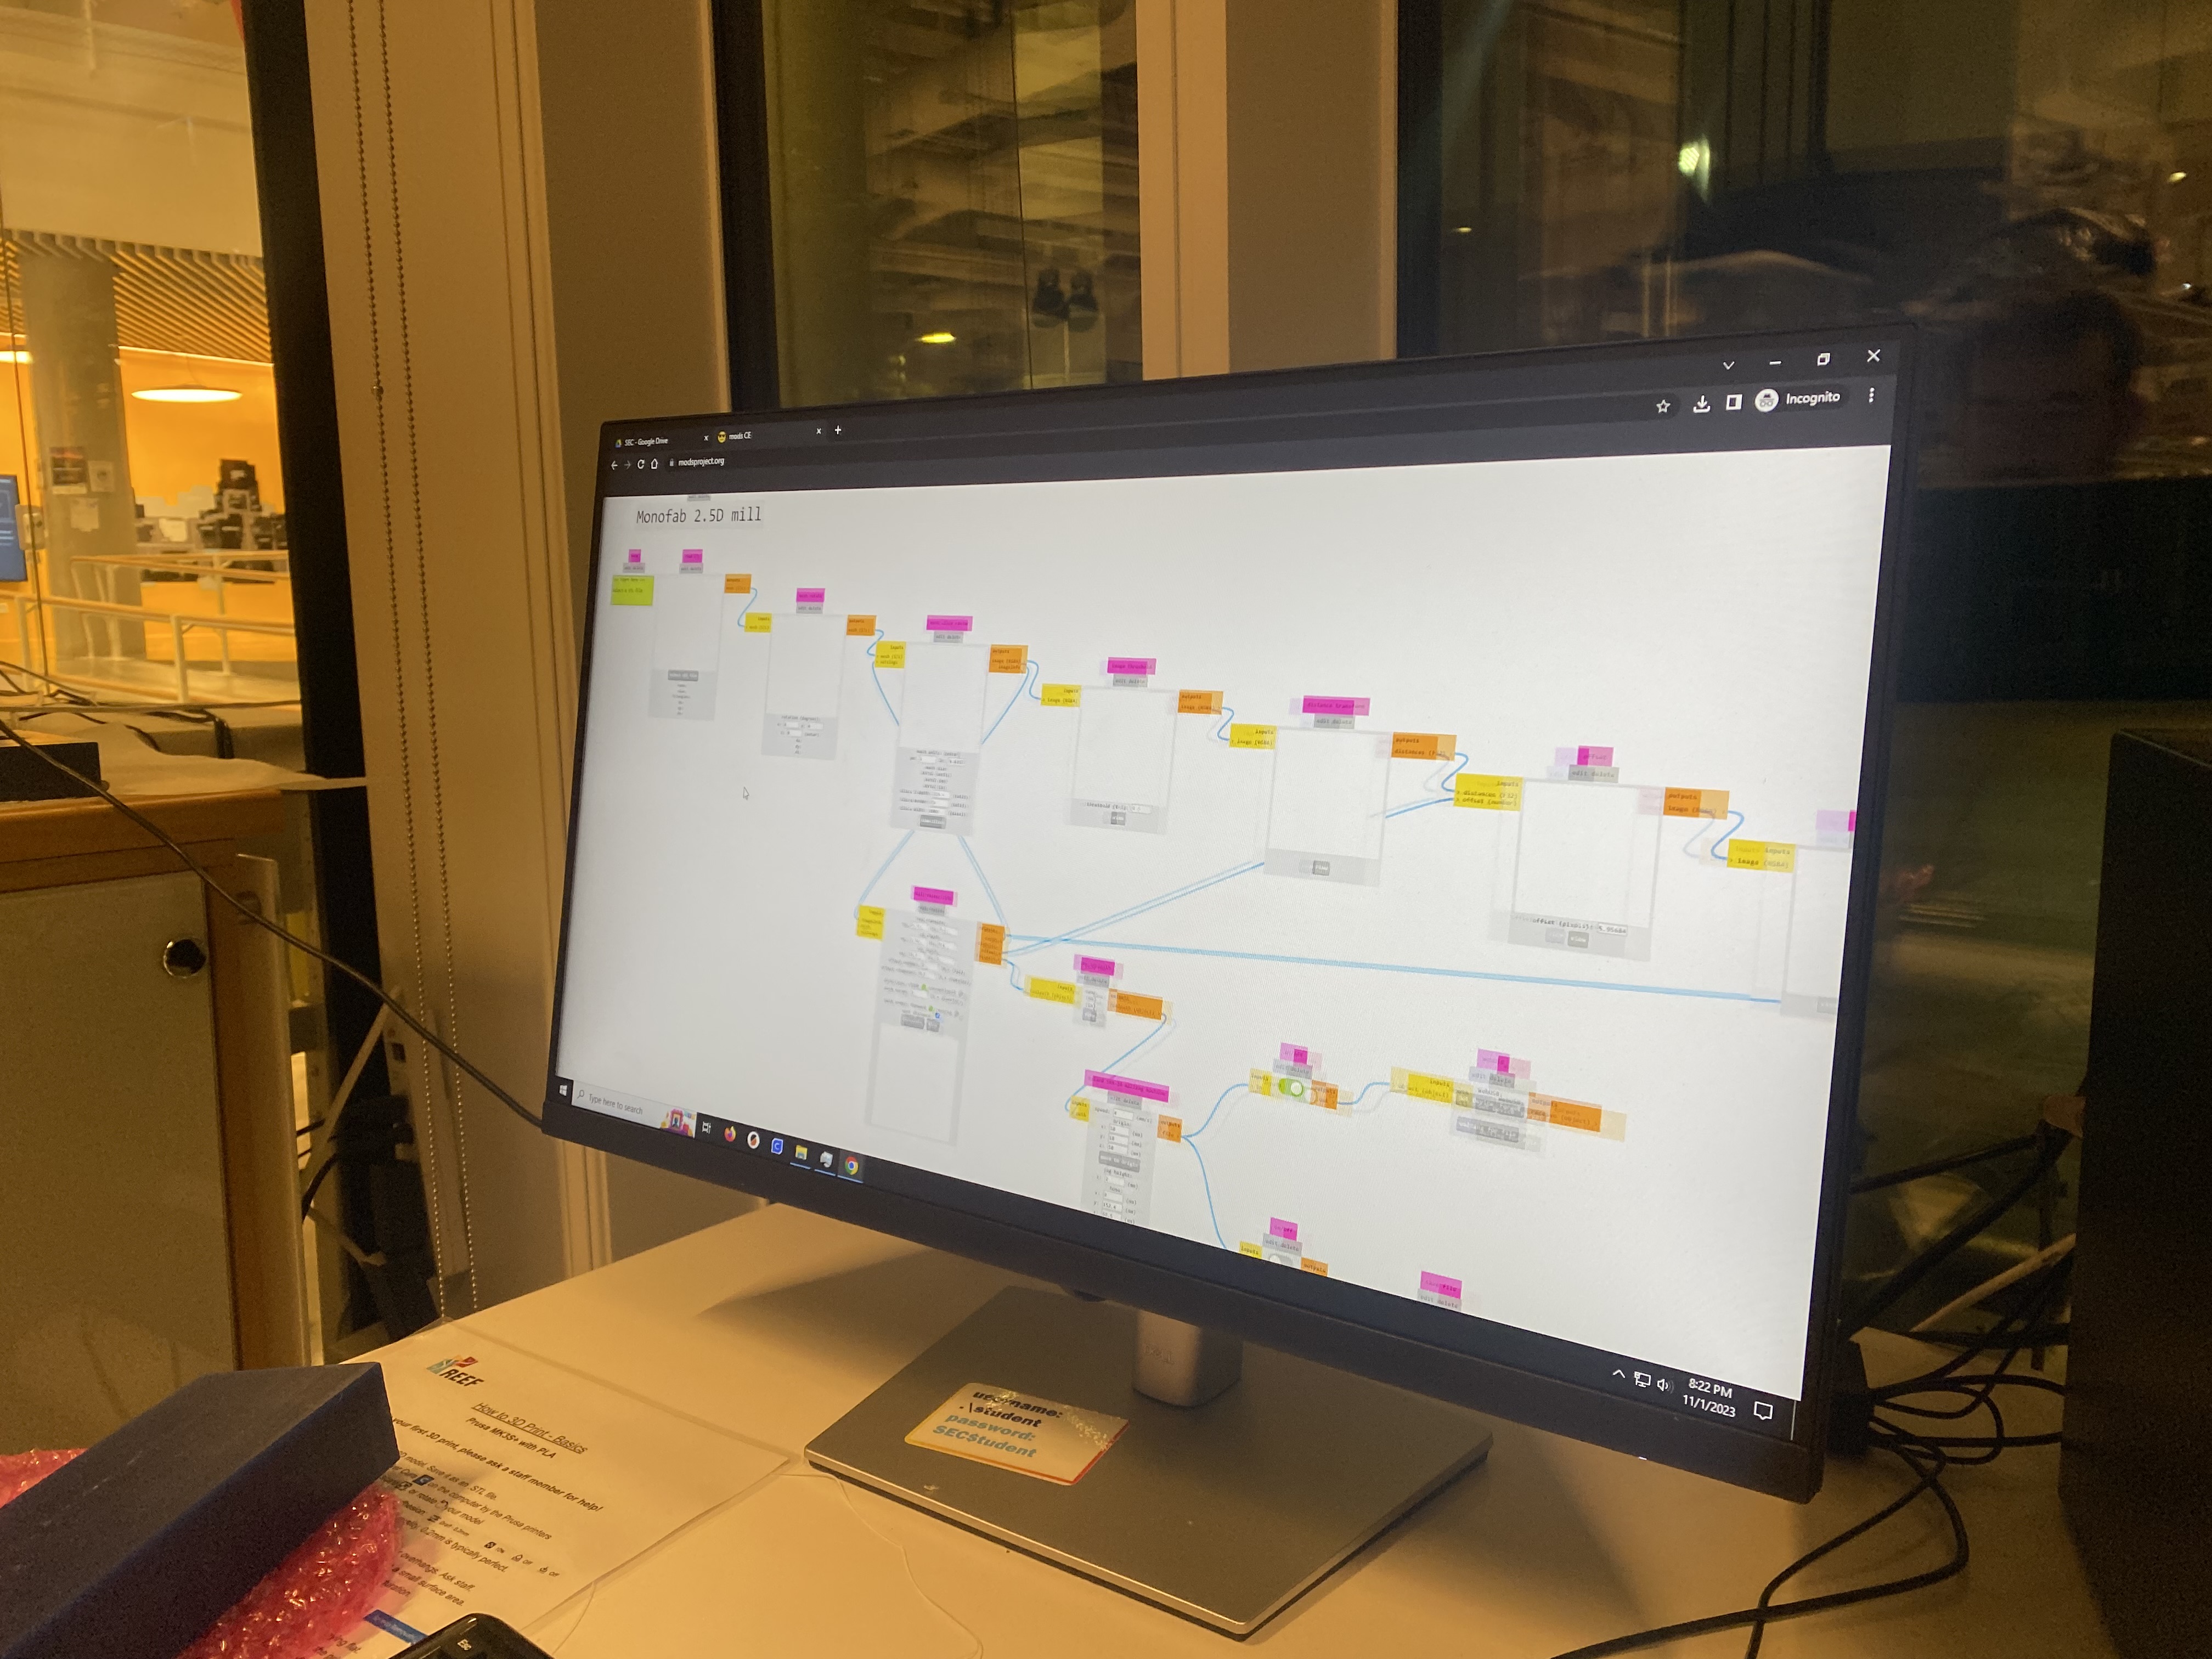
I
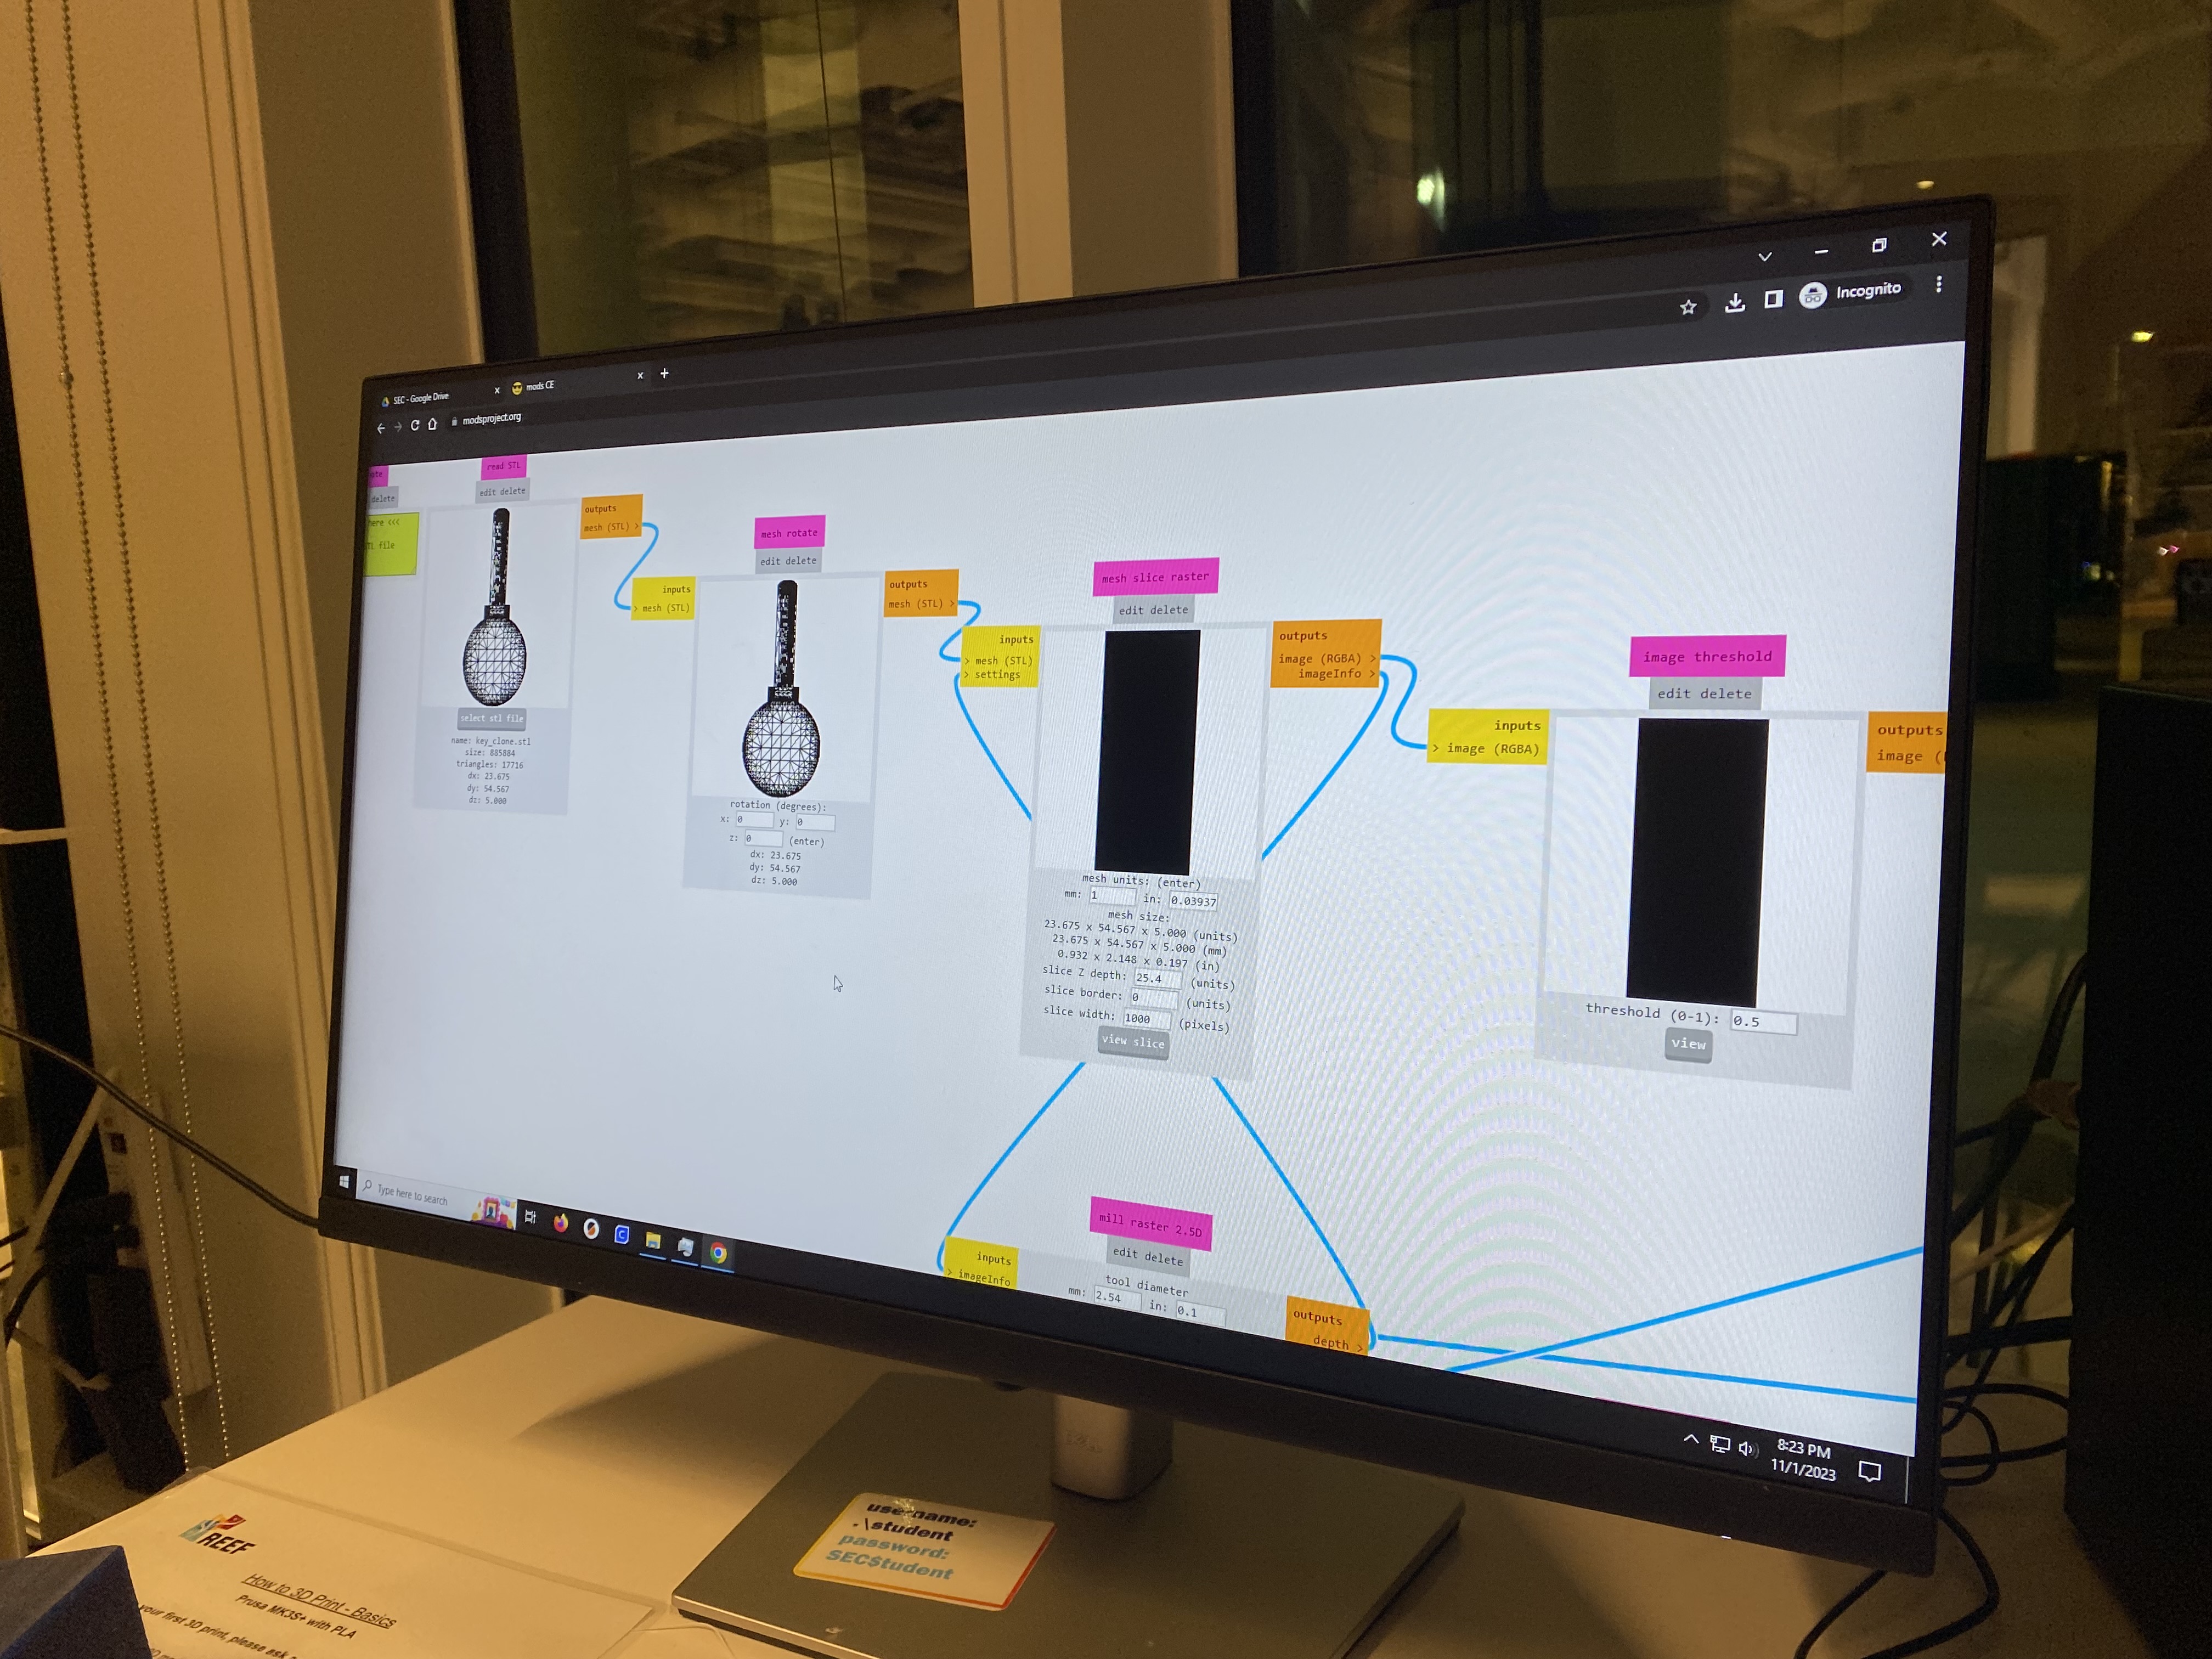
By using mods, I co
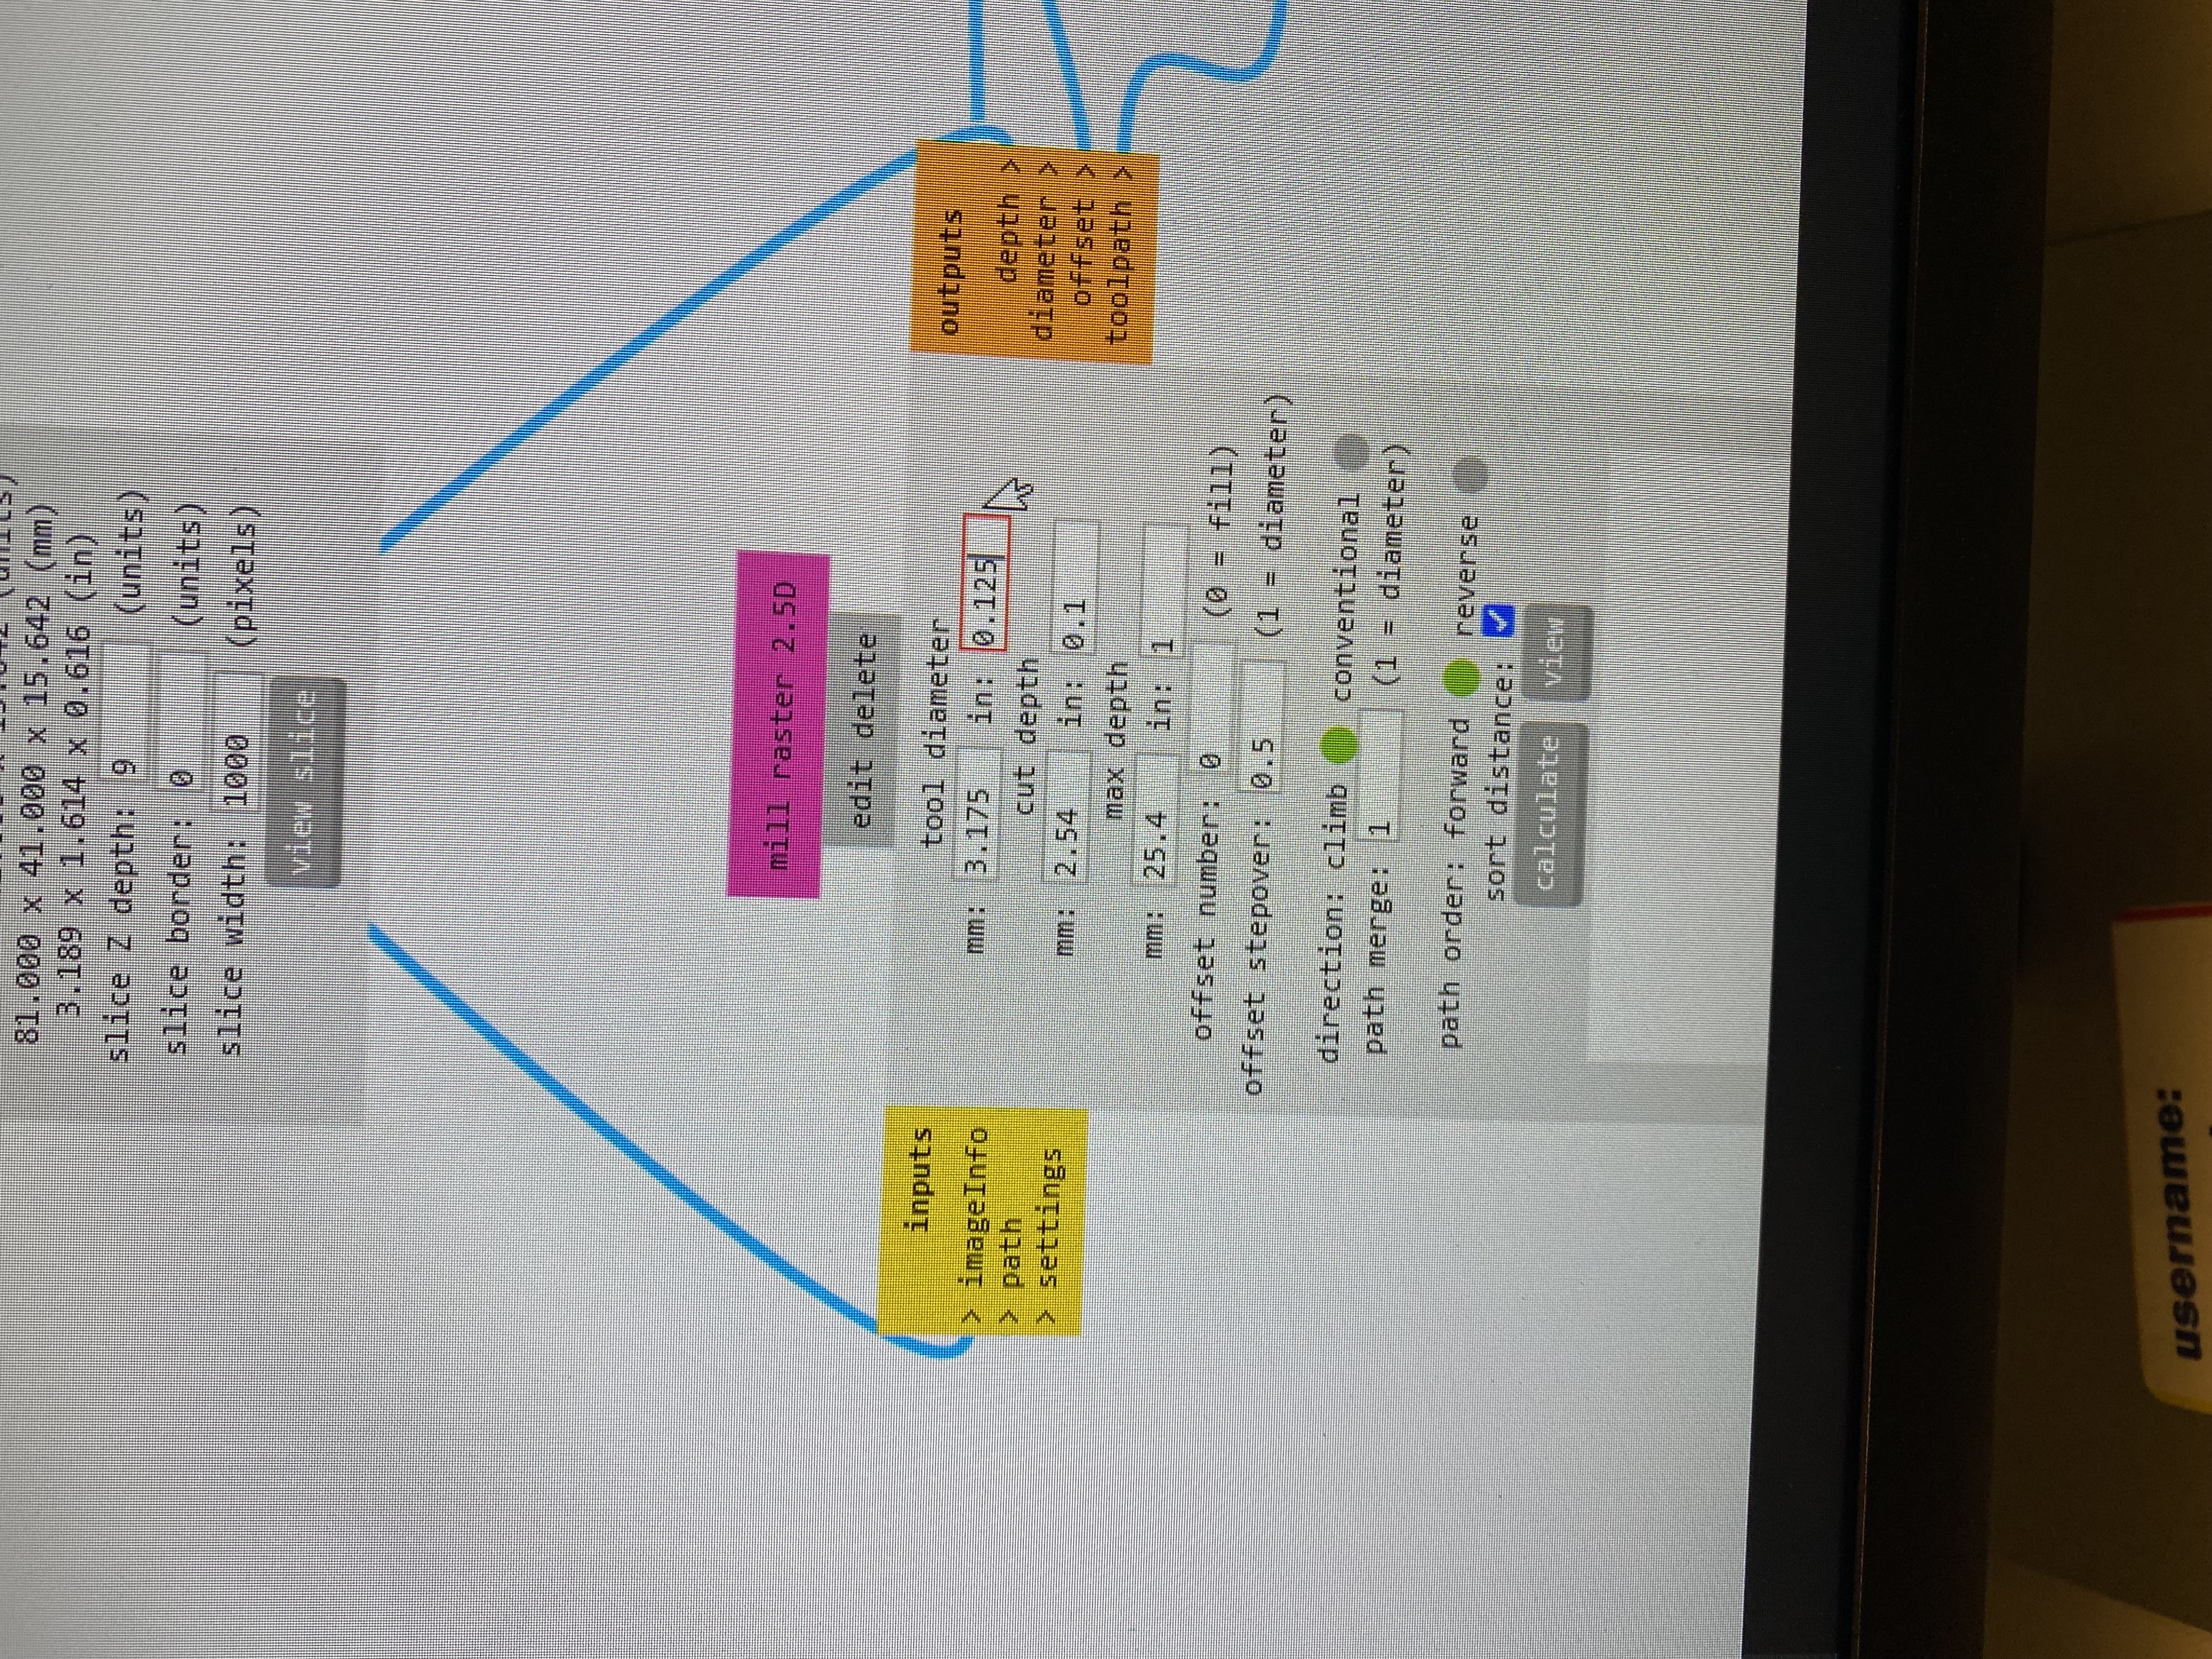

I had to remember the setting - matching the right endmill size and diemnsions.
After then. I could get the below in the preivew for the second cut (3D).

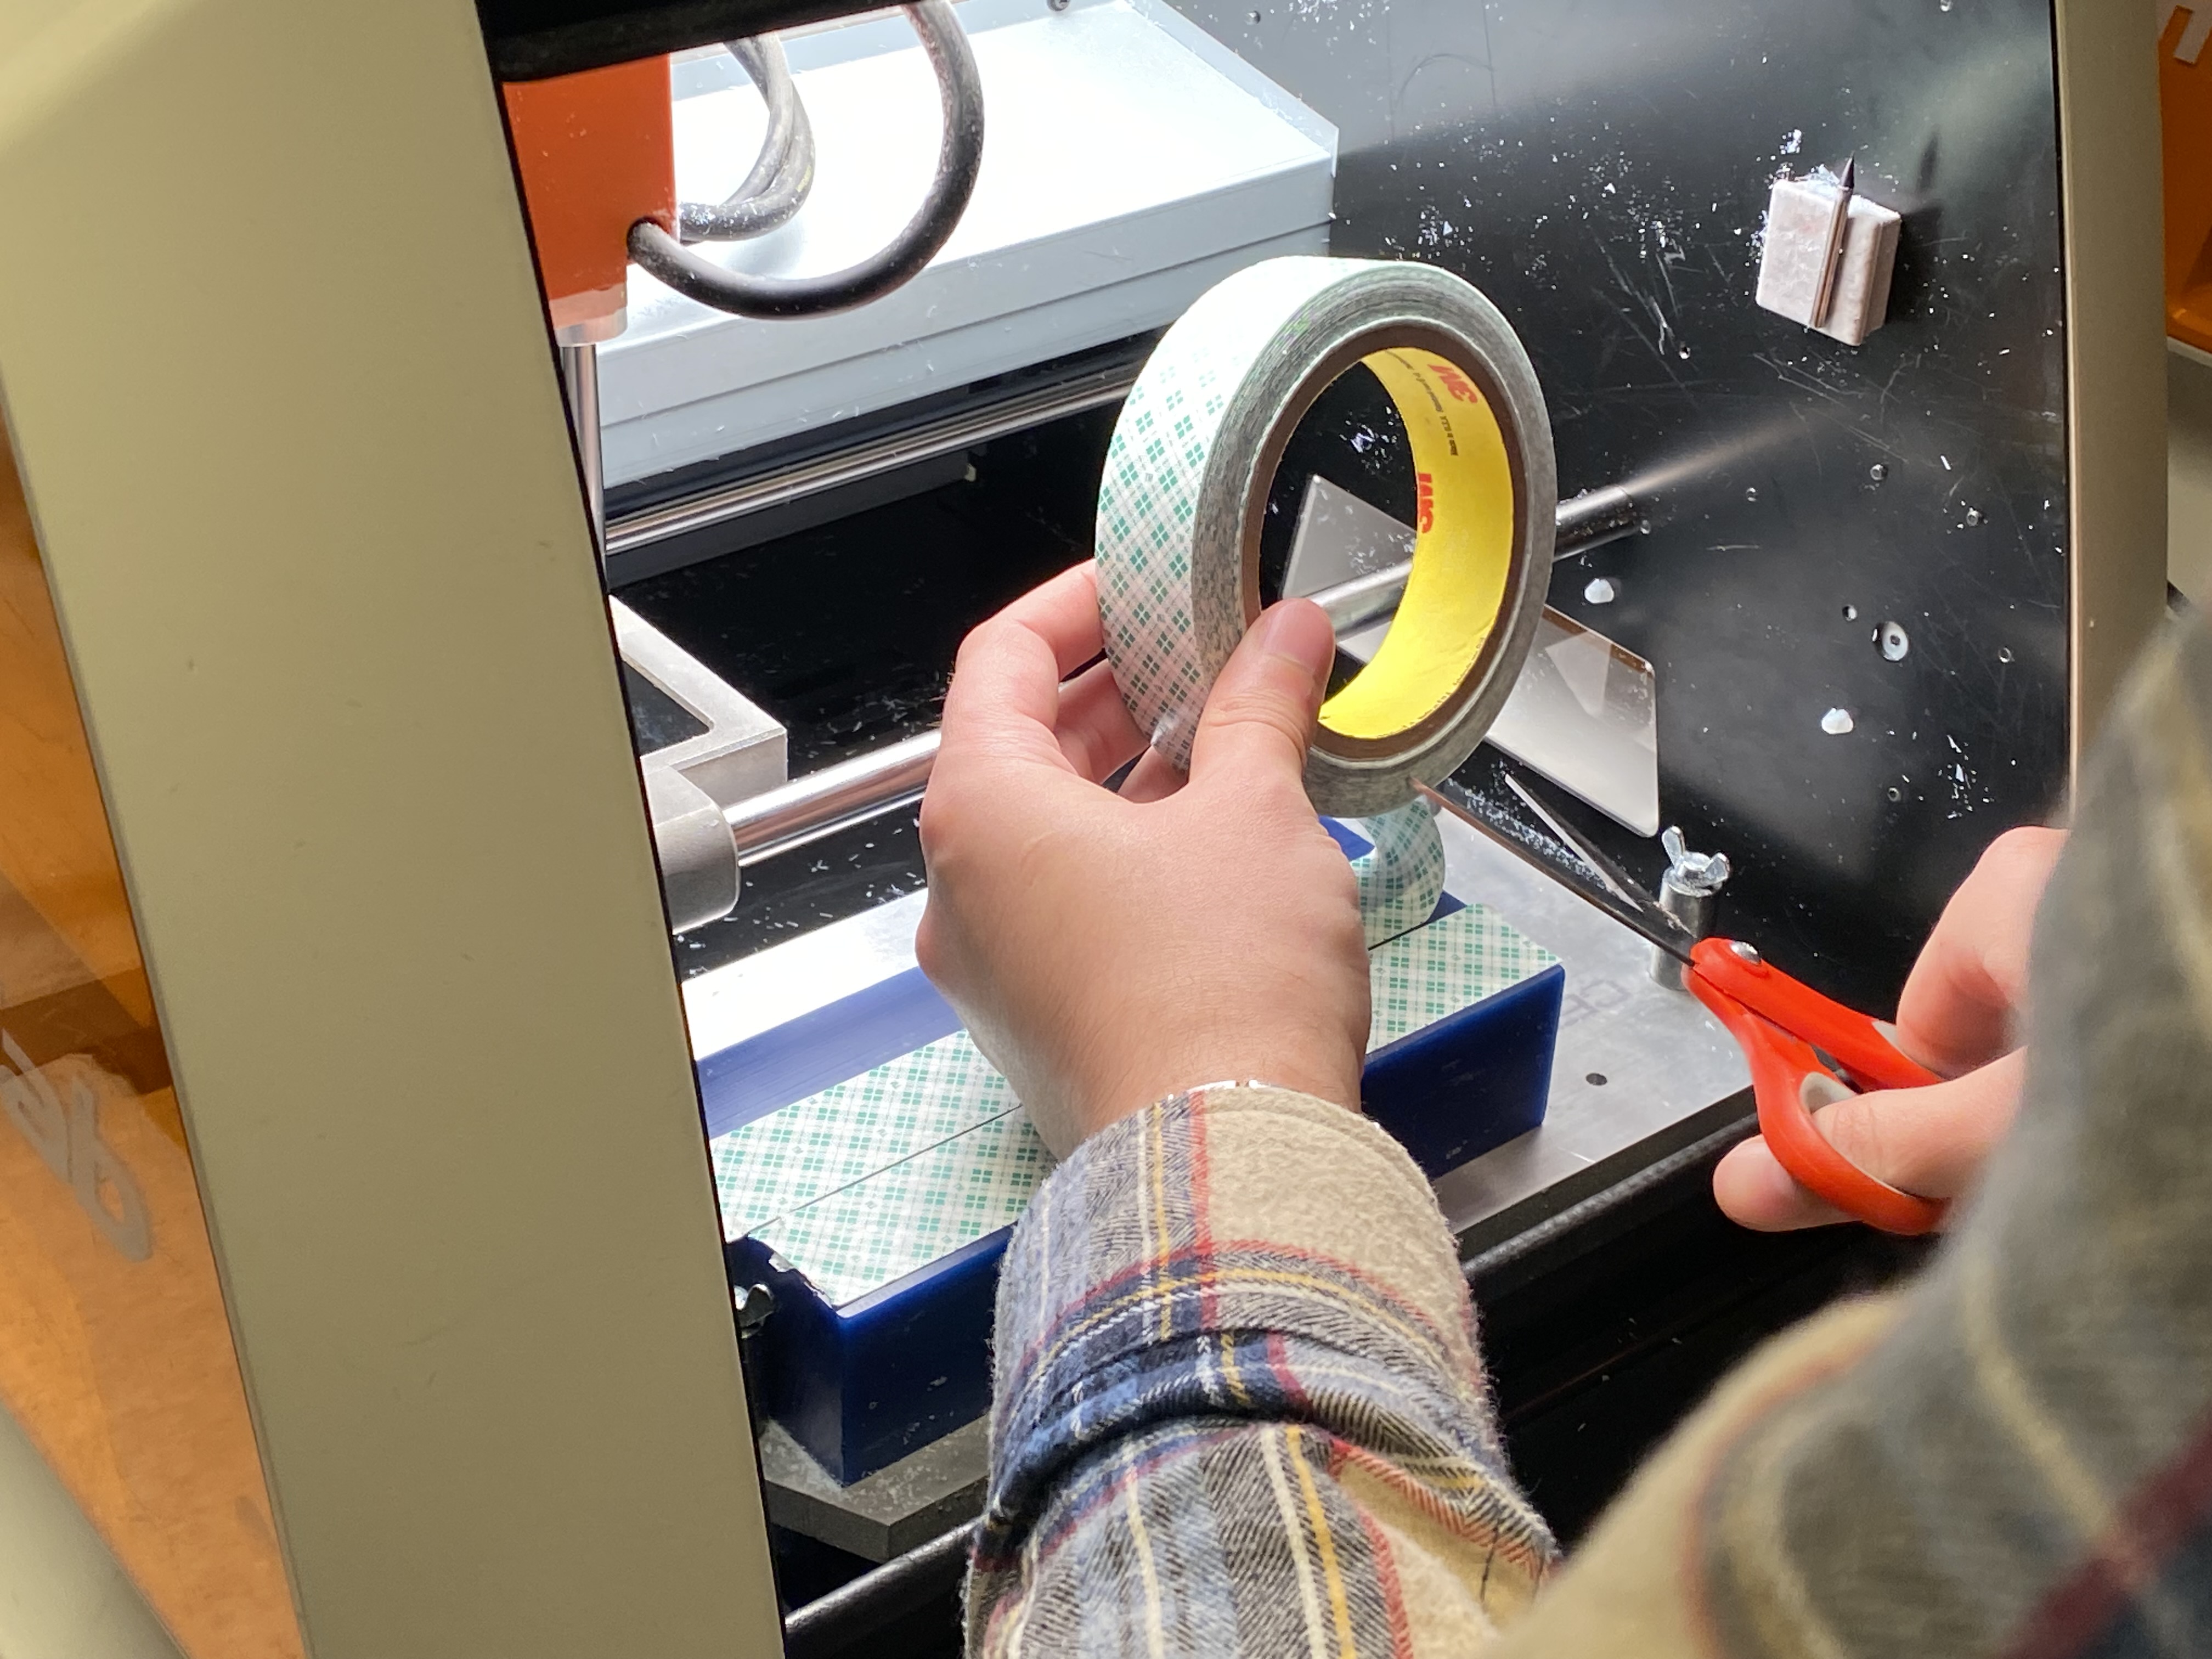
By using double-sided tapes, we can attach a block of wax easliy on the bed surface.
When the file and wax were ready, I had to make sure it has a right origin position.


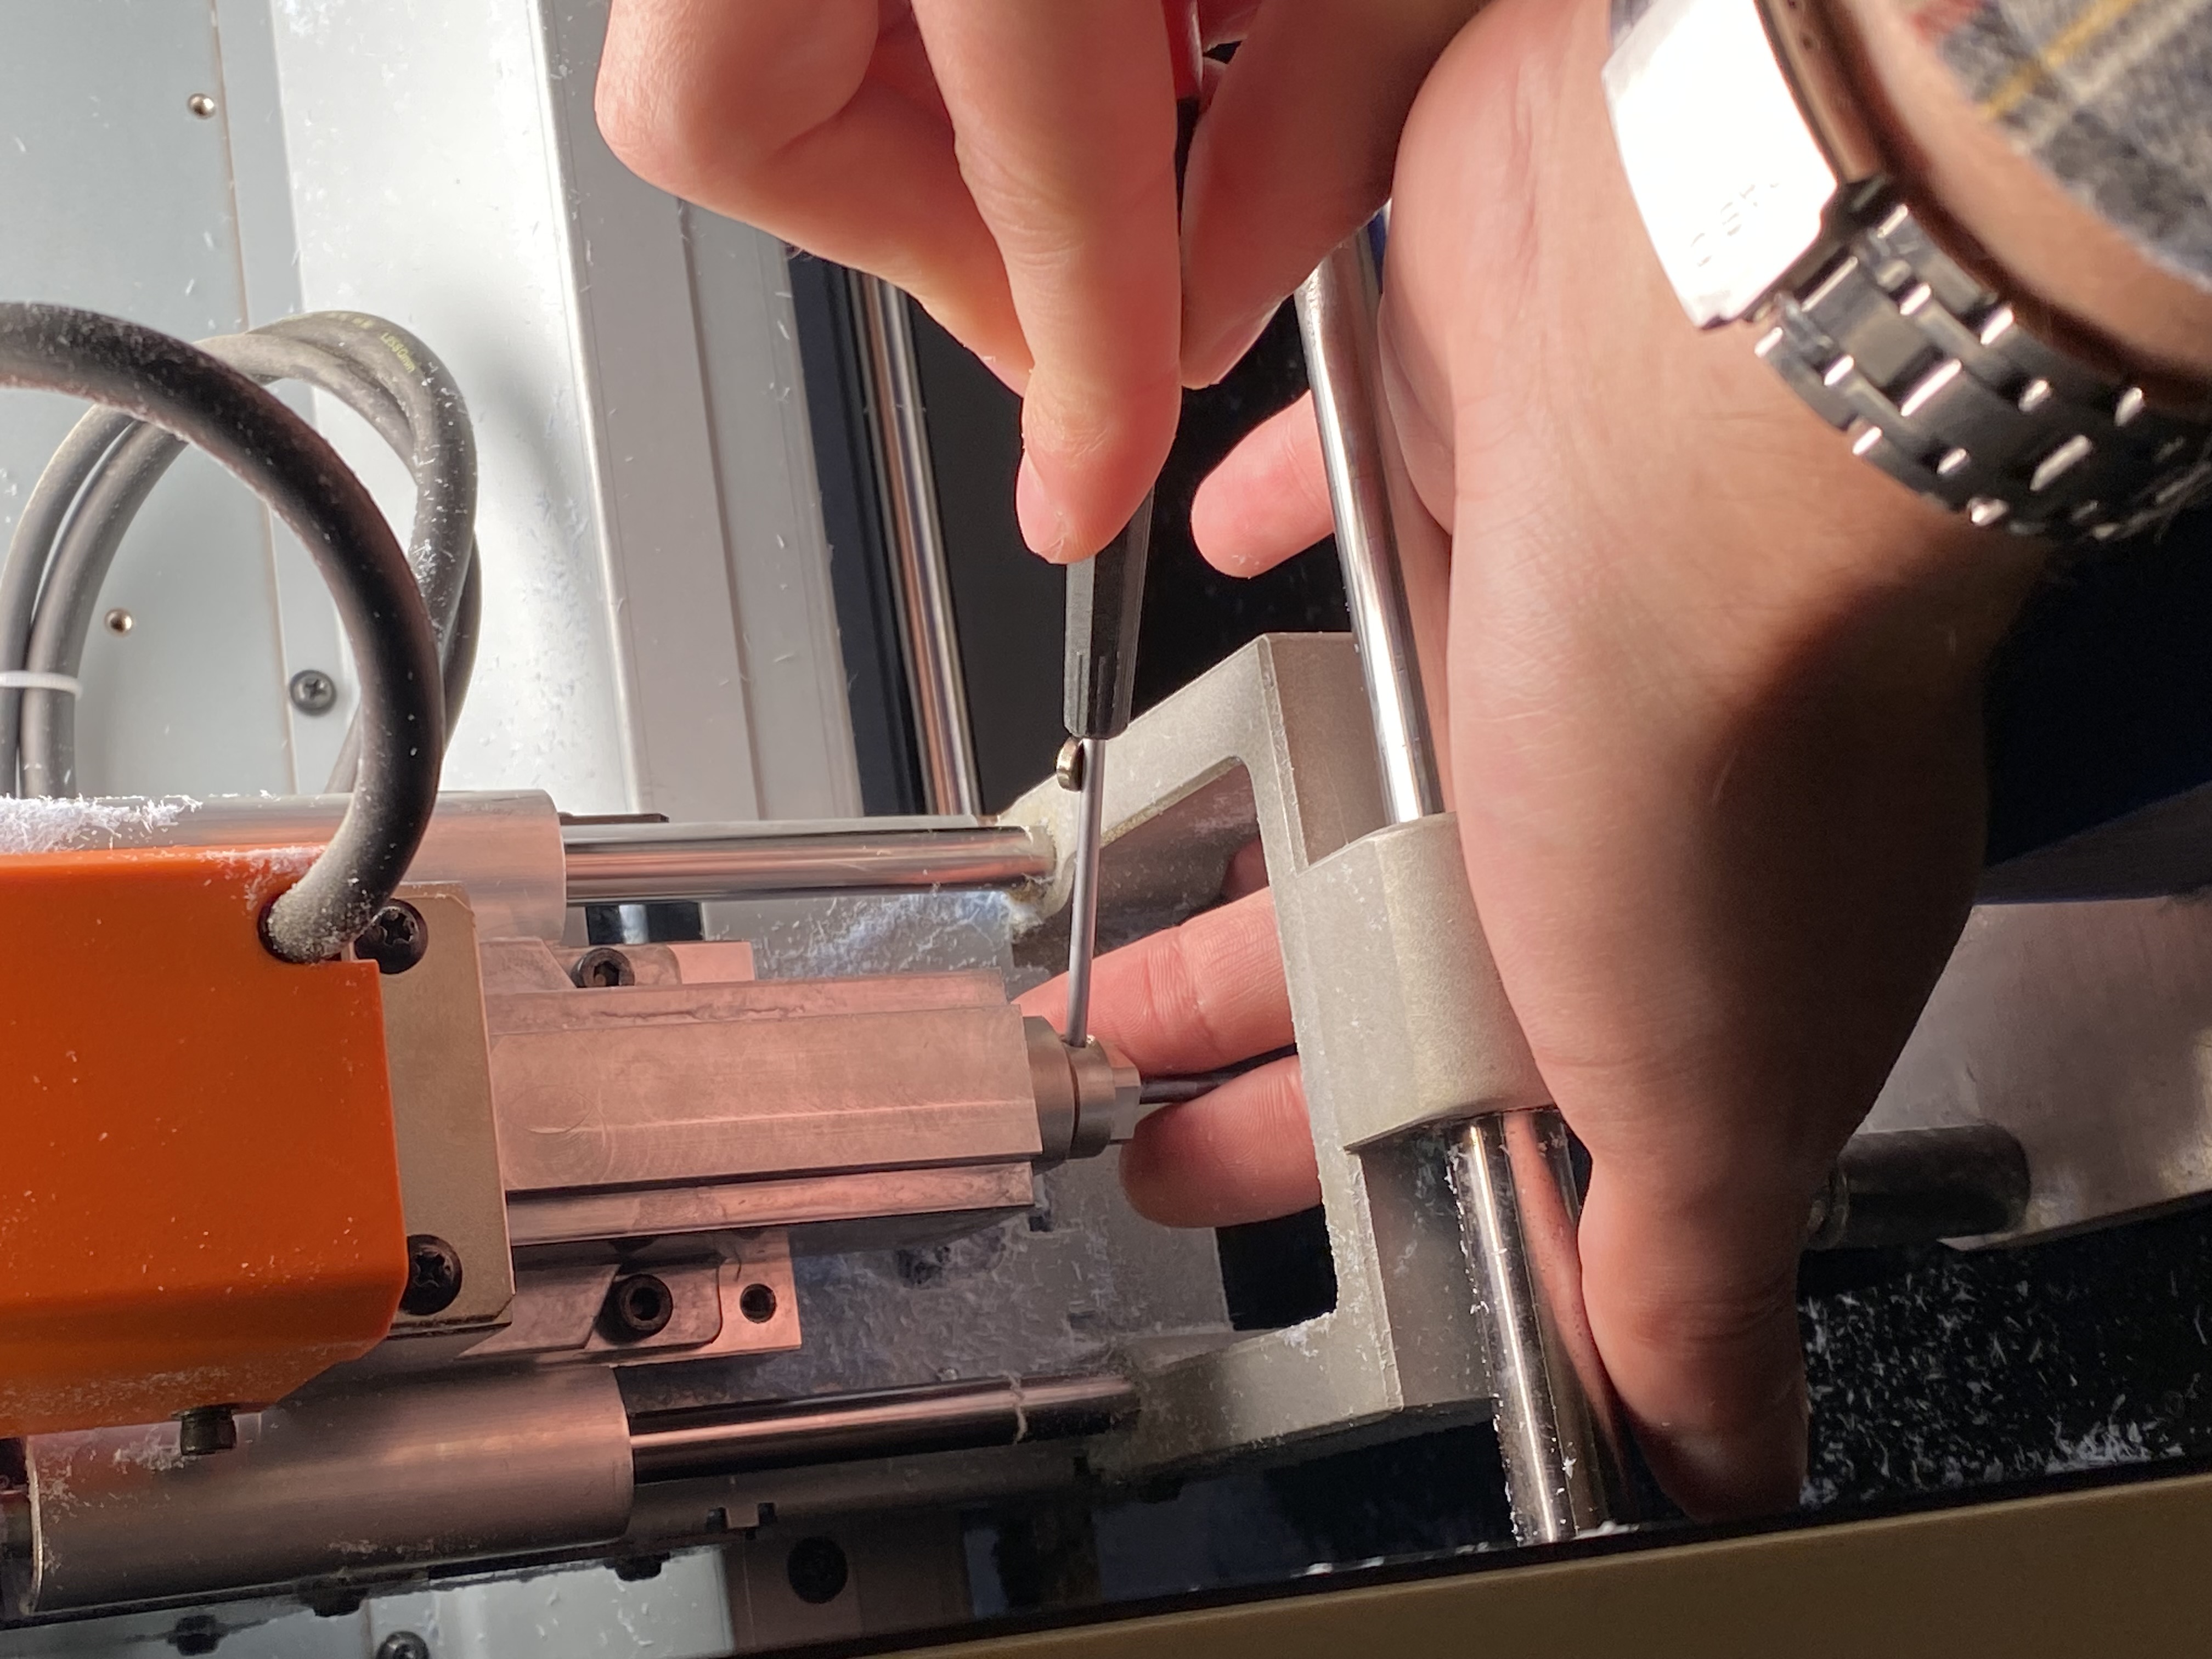
When the endmill is at the right origin, the endmill needs to be adjusted in Z axis so that it touches the surface of the wax.
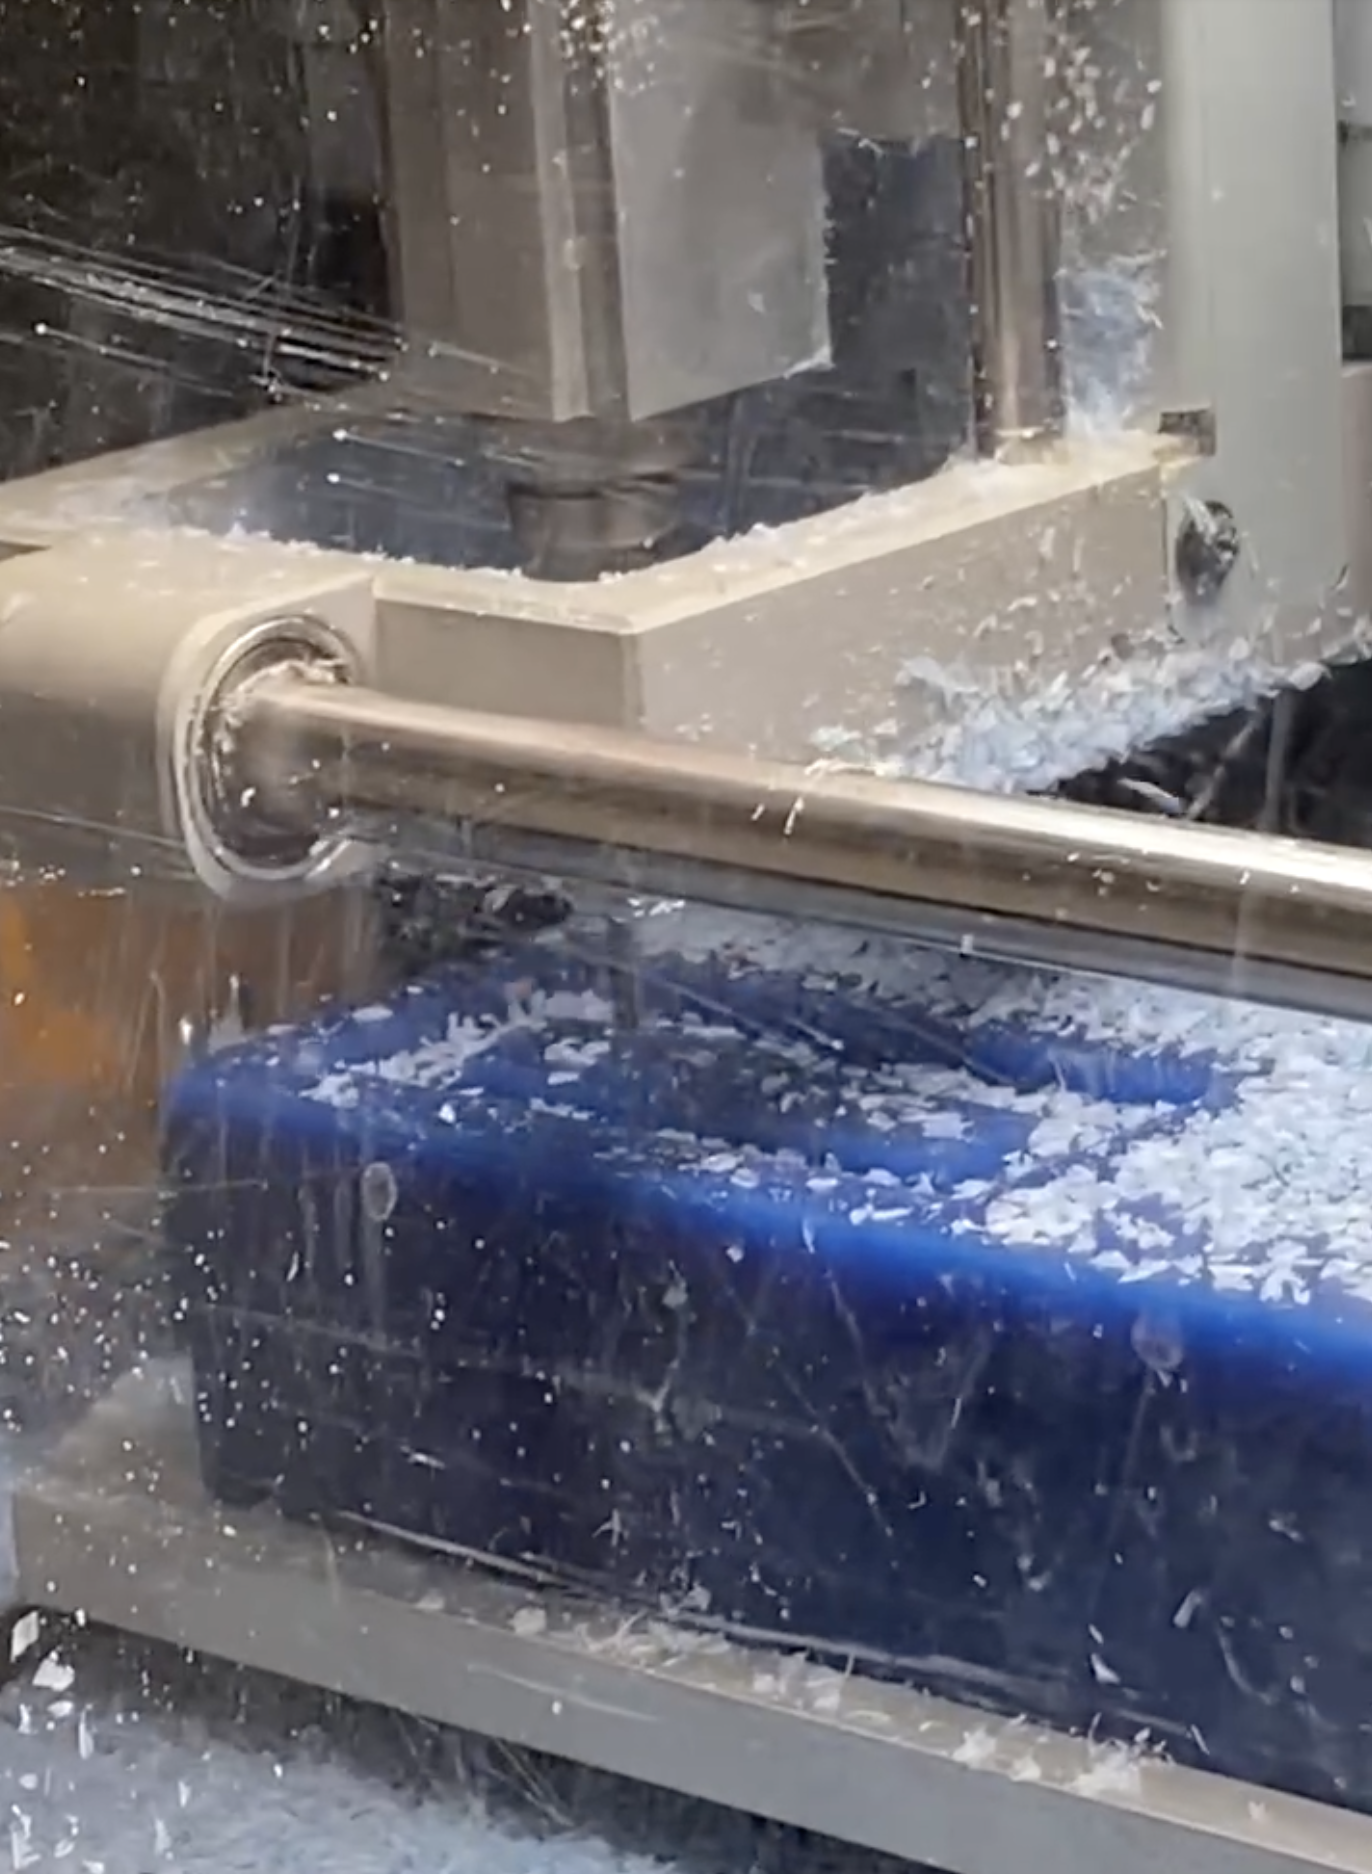

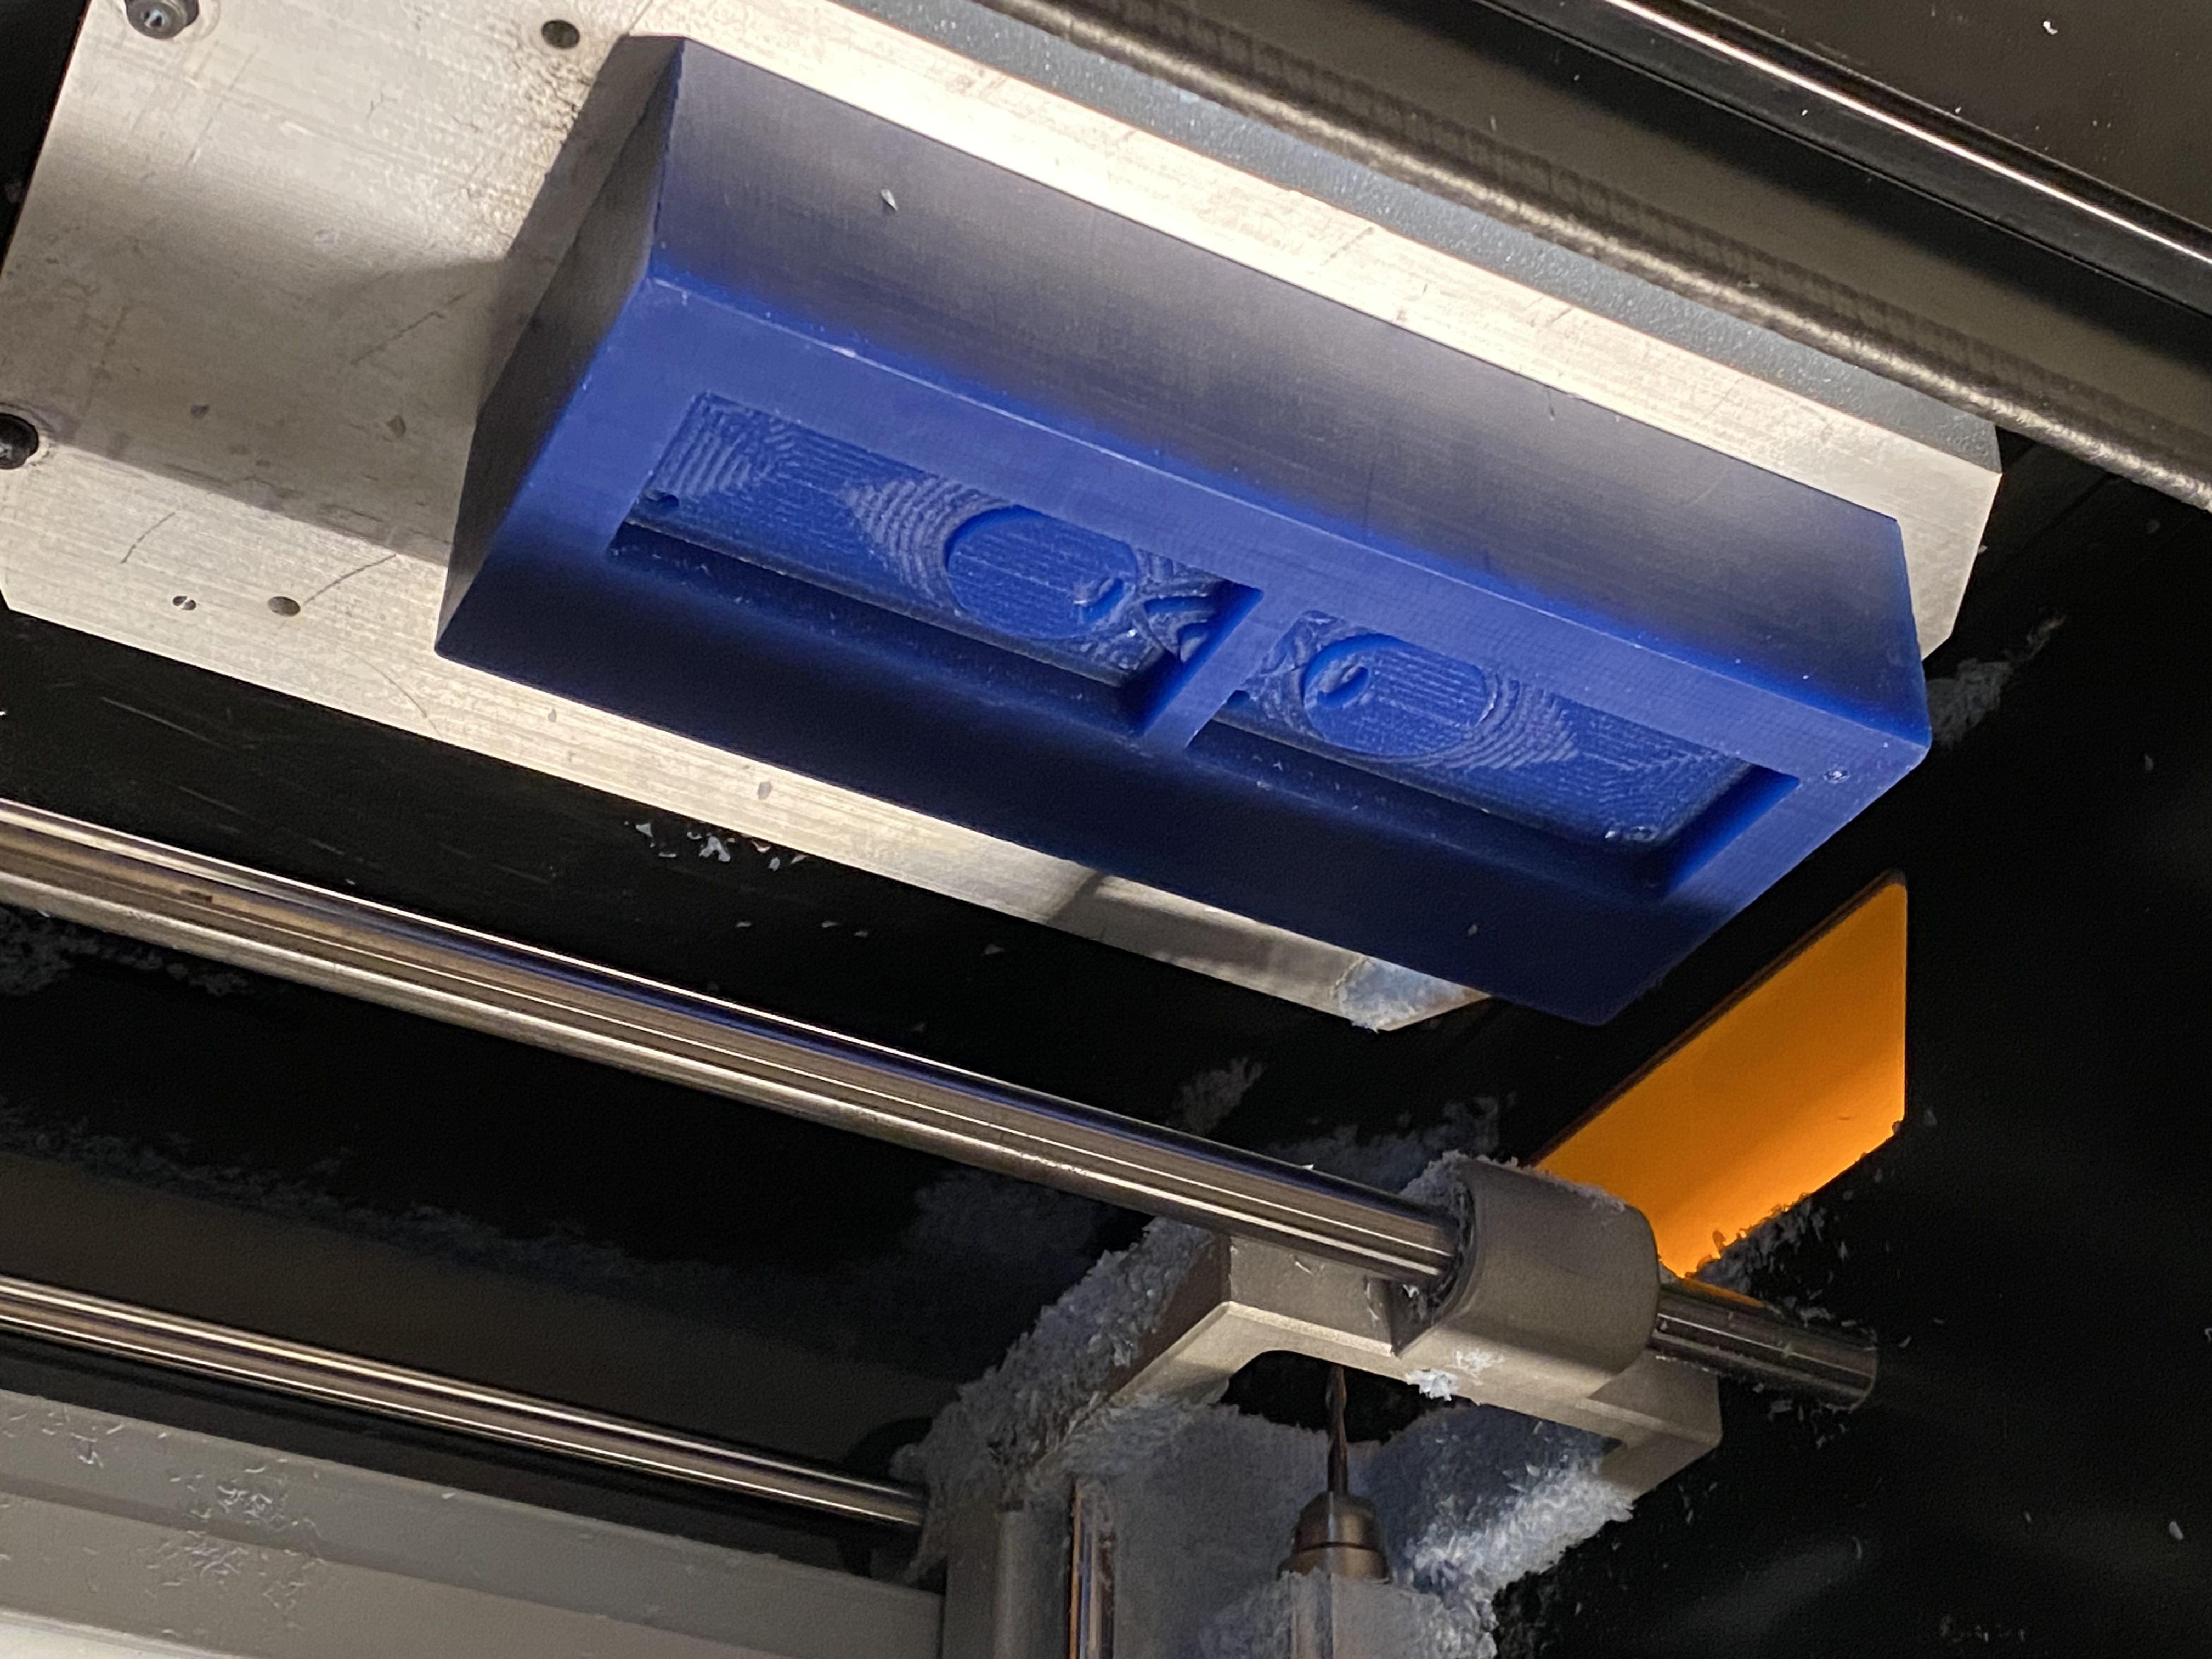
Then, starts milling for the first half! It’s important to vacuum after the milling is done to make sure the next milling is not disturbed by the debris.
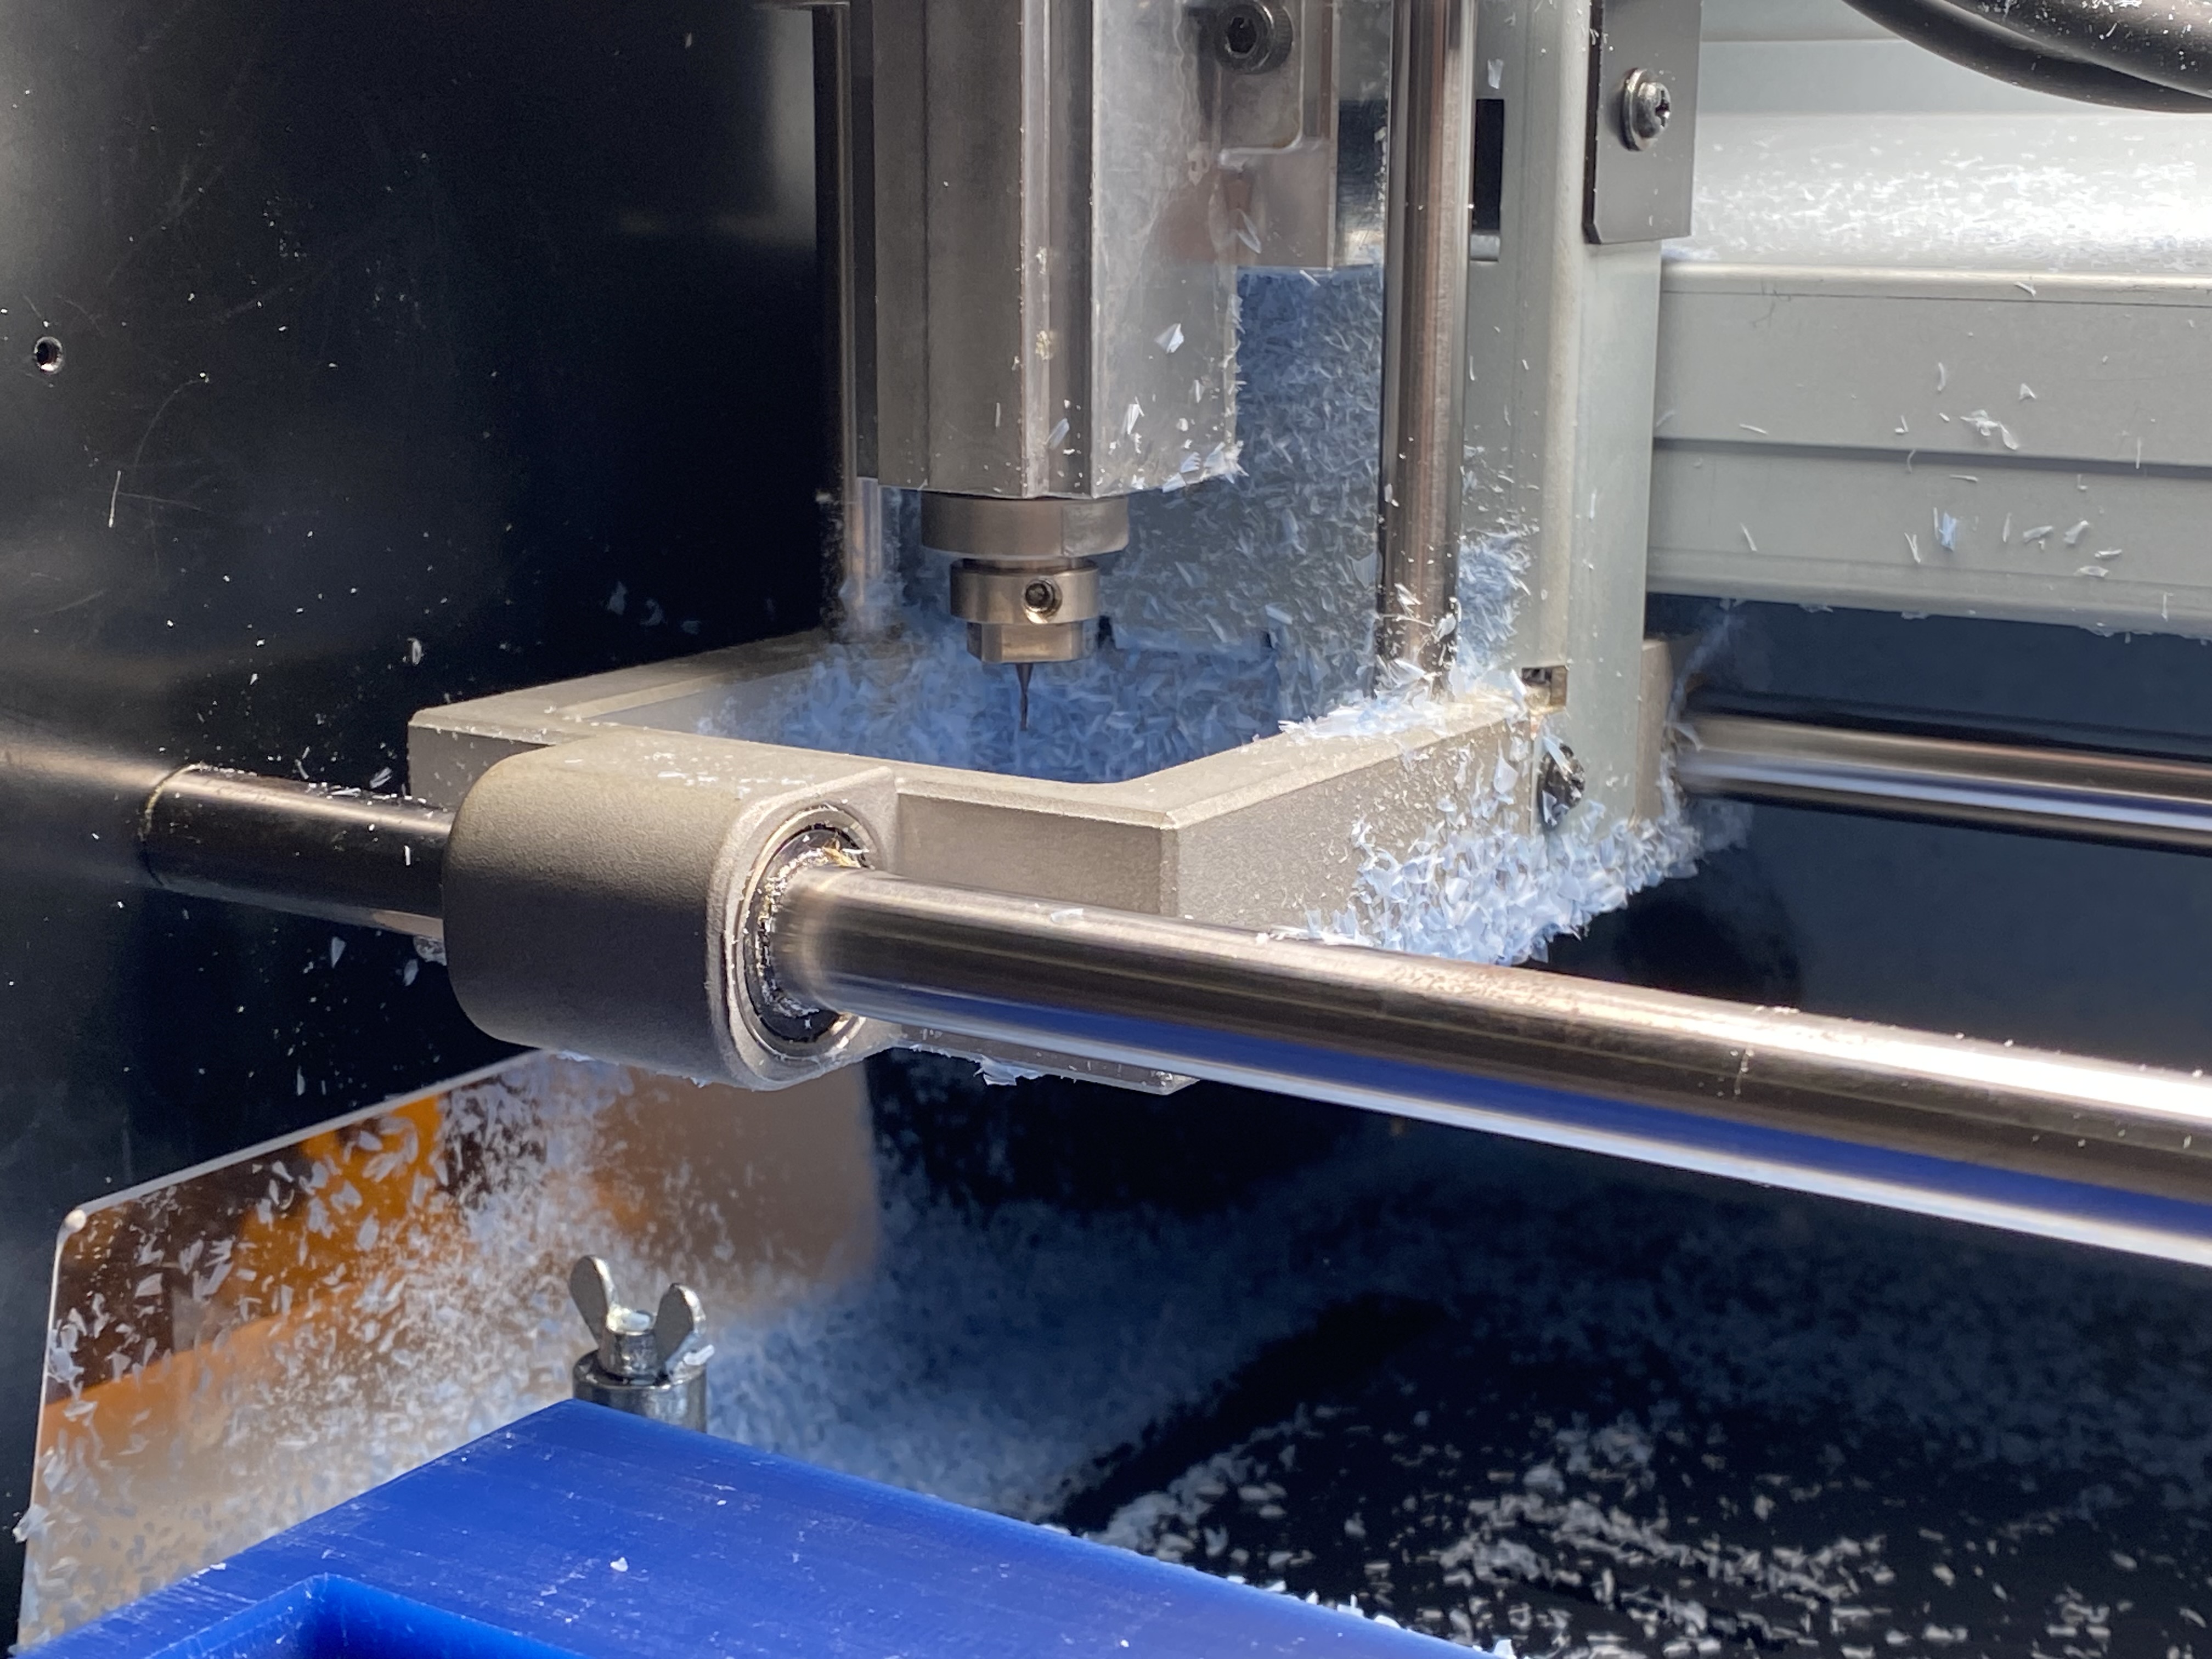
I had to change the endmil to 1/64 for the 3D milling, which is the second half of the whole process.

Again, after reviewing the preview, push the ‘send file’ button. It is important to ‘save’ the setting before sending the file to the machine!
The result was clean, but you’ll know what the problem of this mold is soon.
Process - C. Put the oomoo inside the mold of the mold
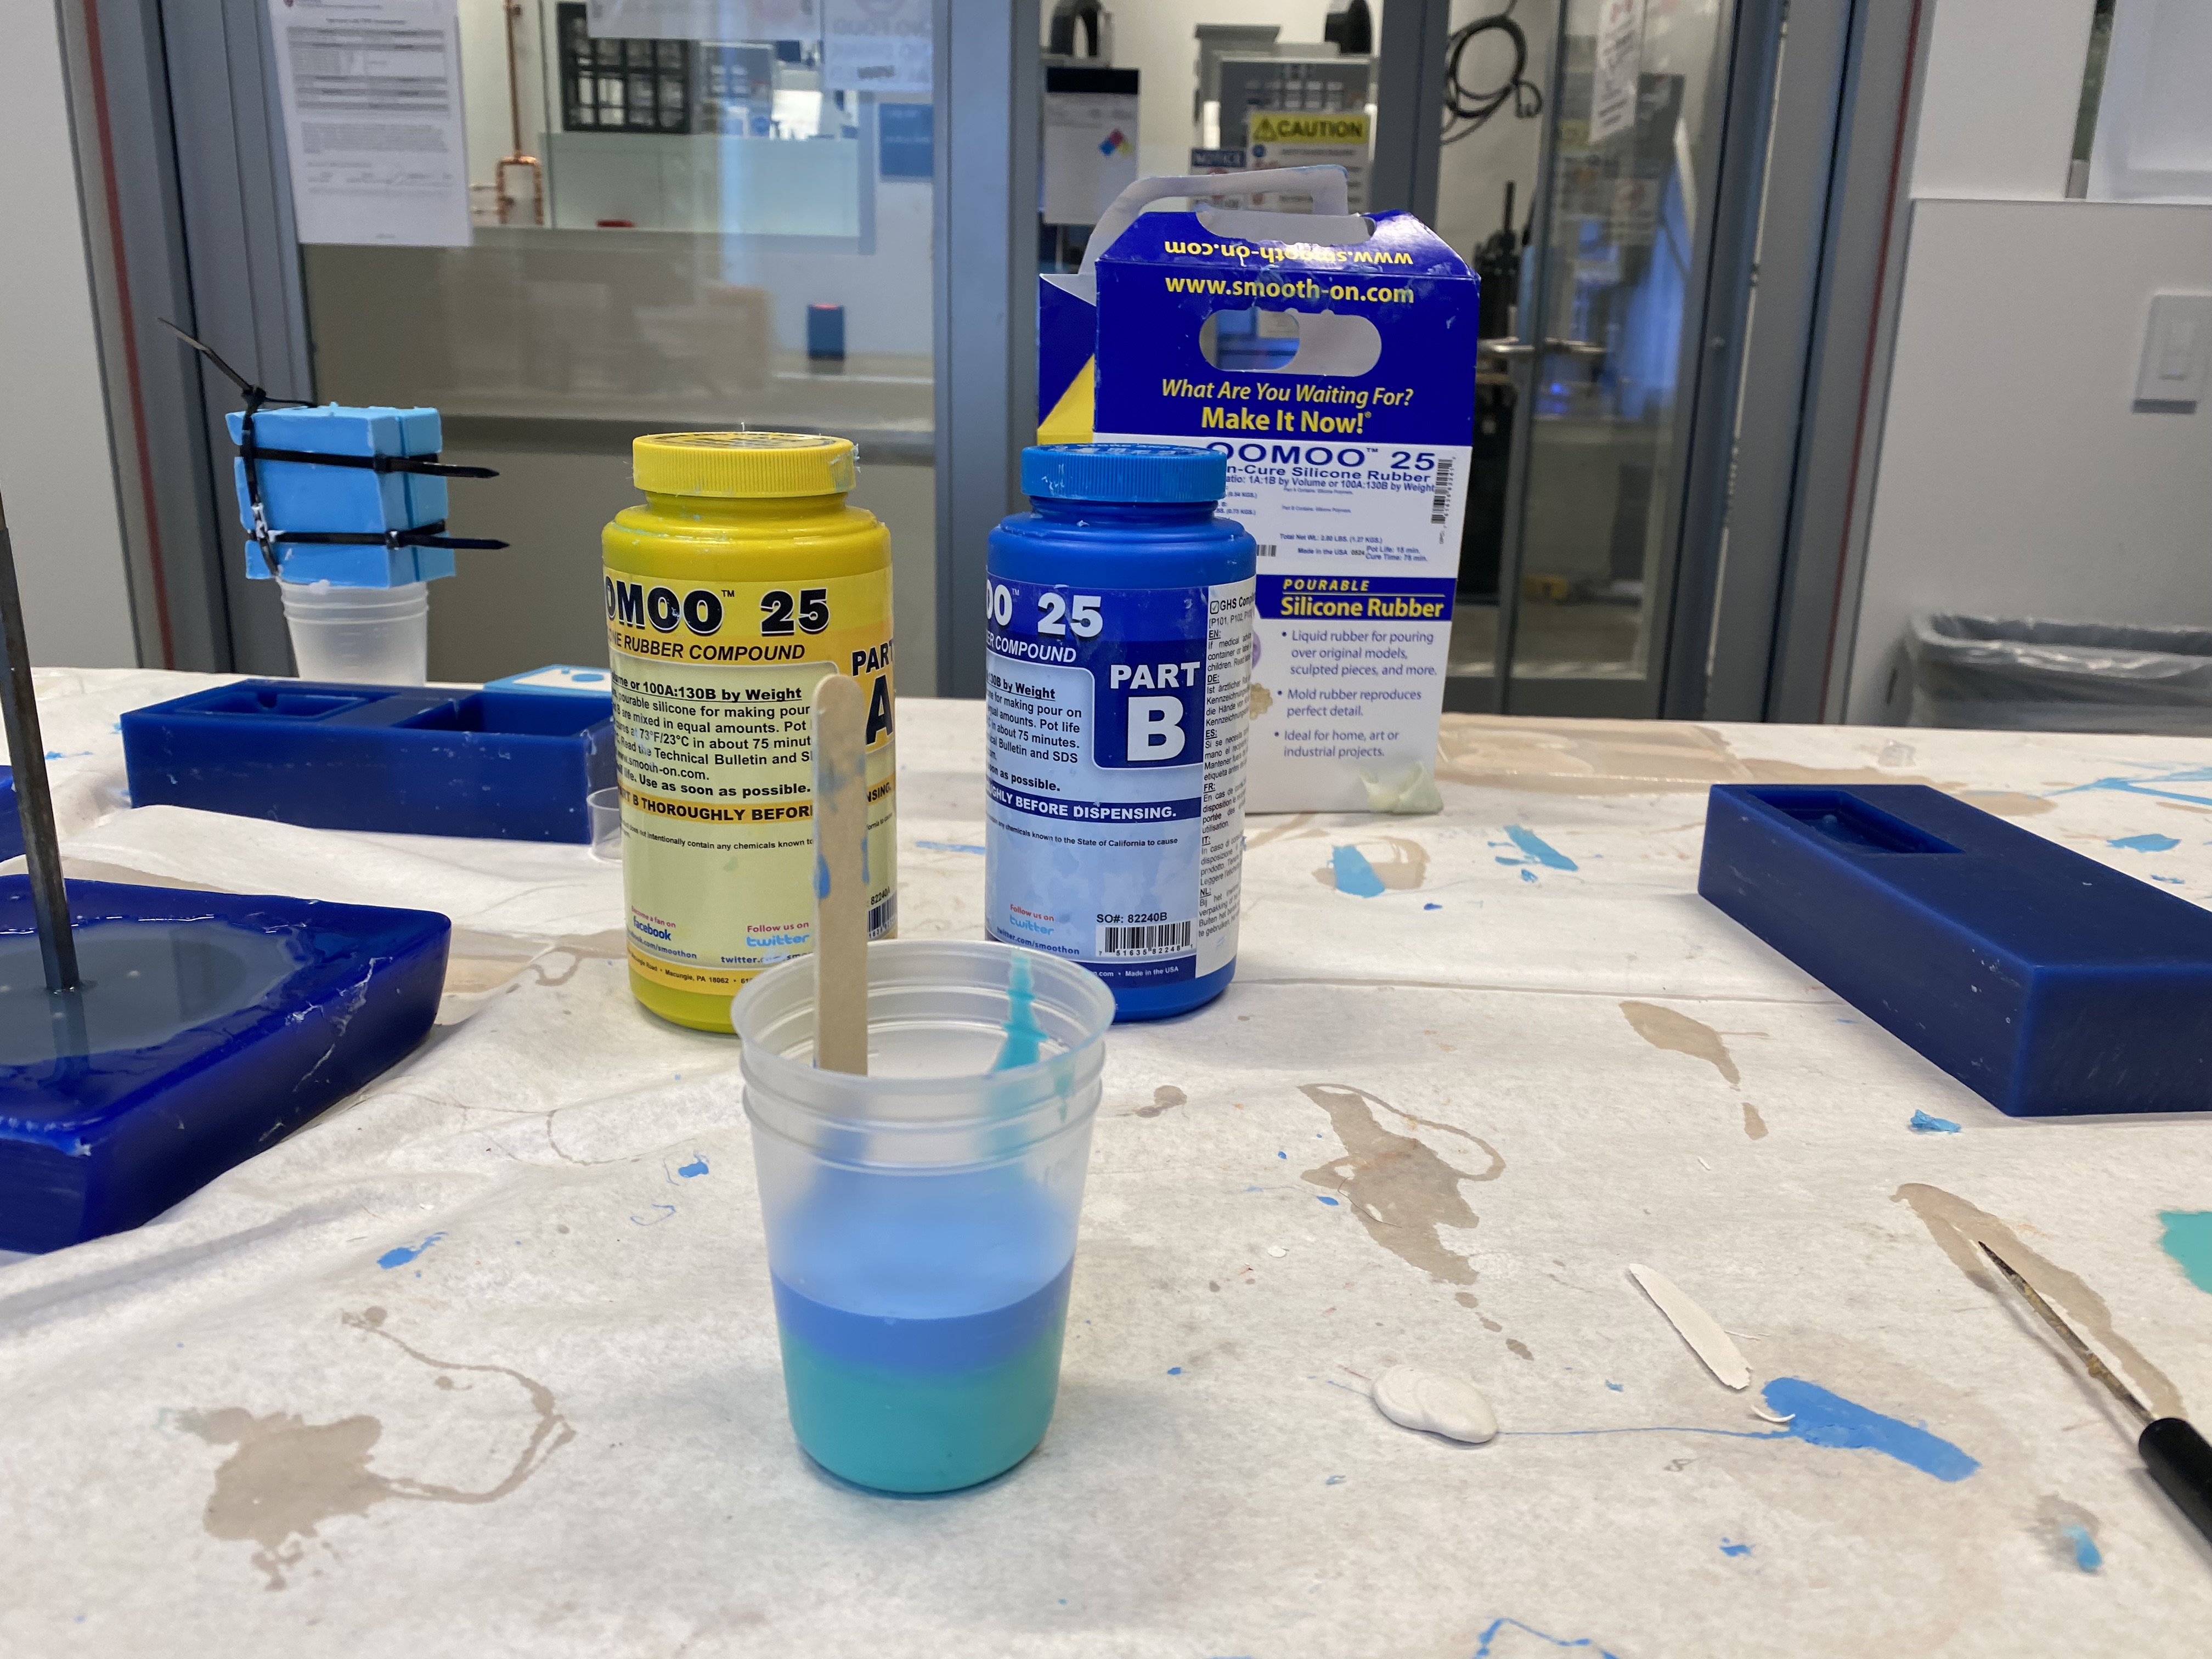

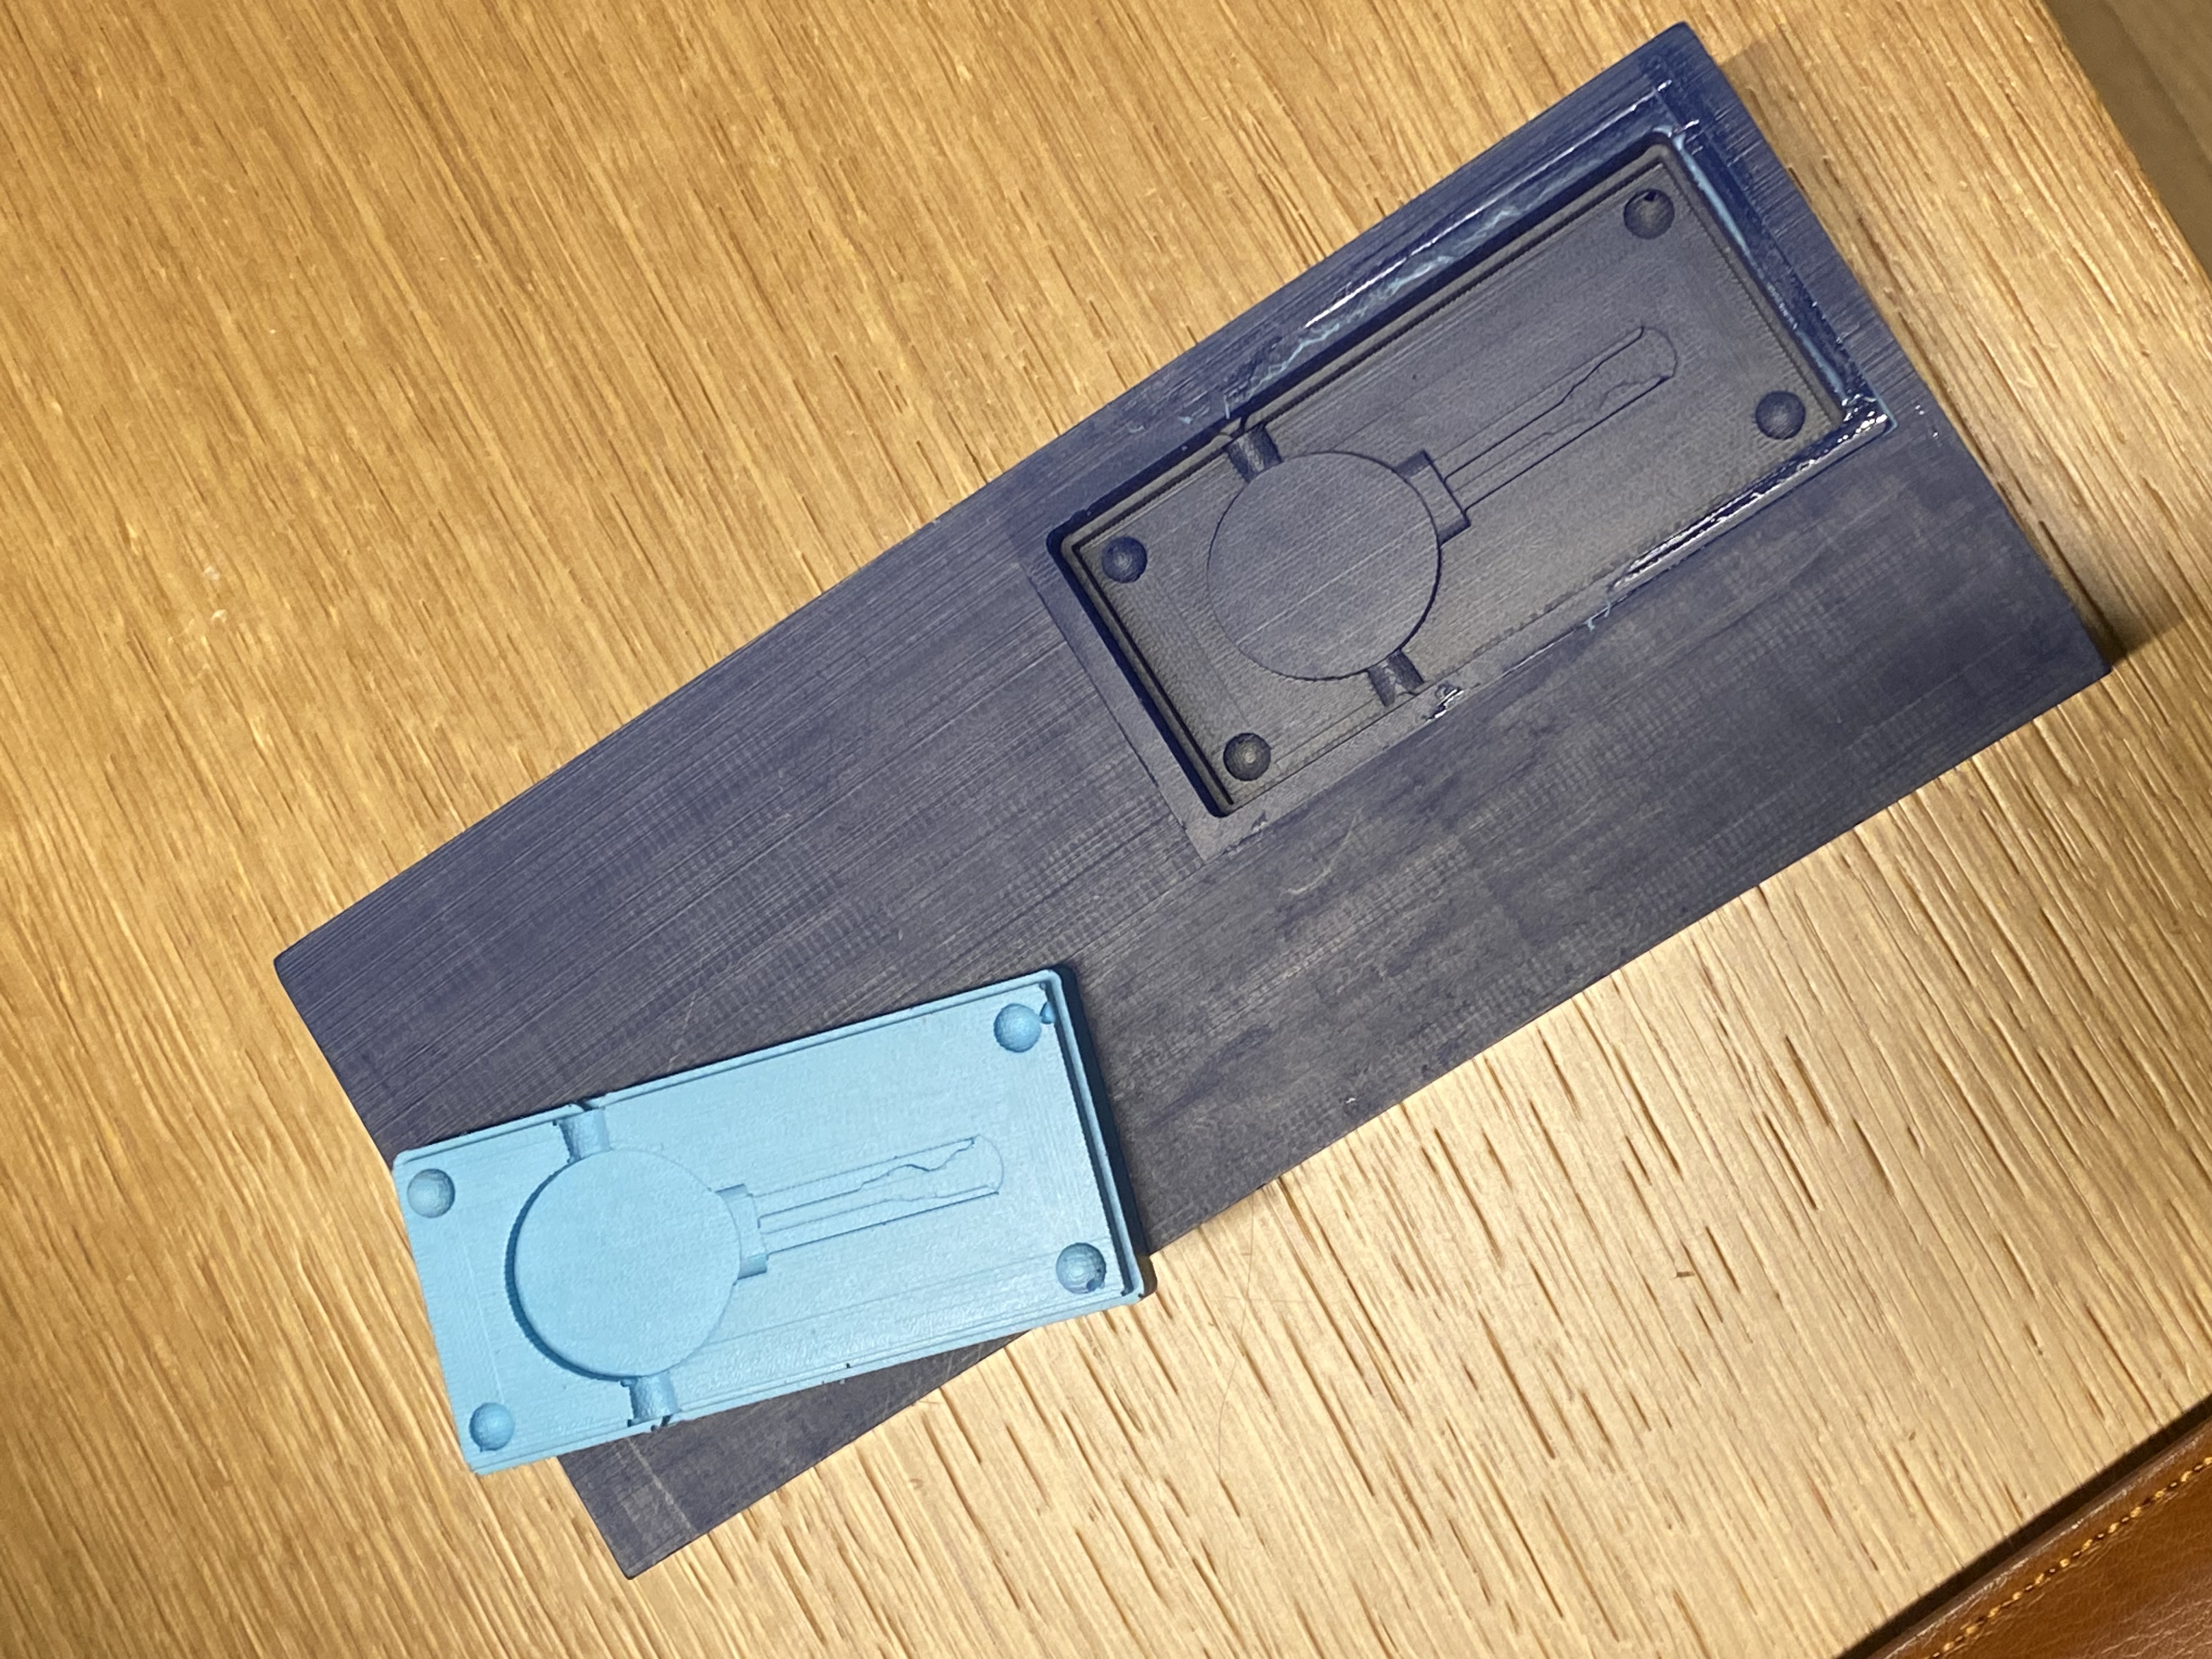
After 1.5hours, I could take out the mold! However,,,,,
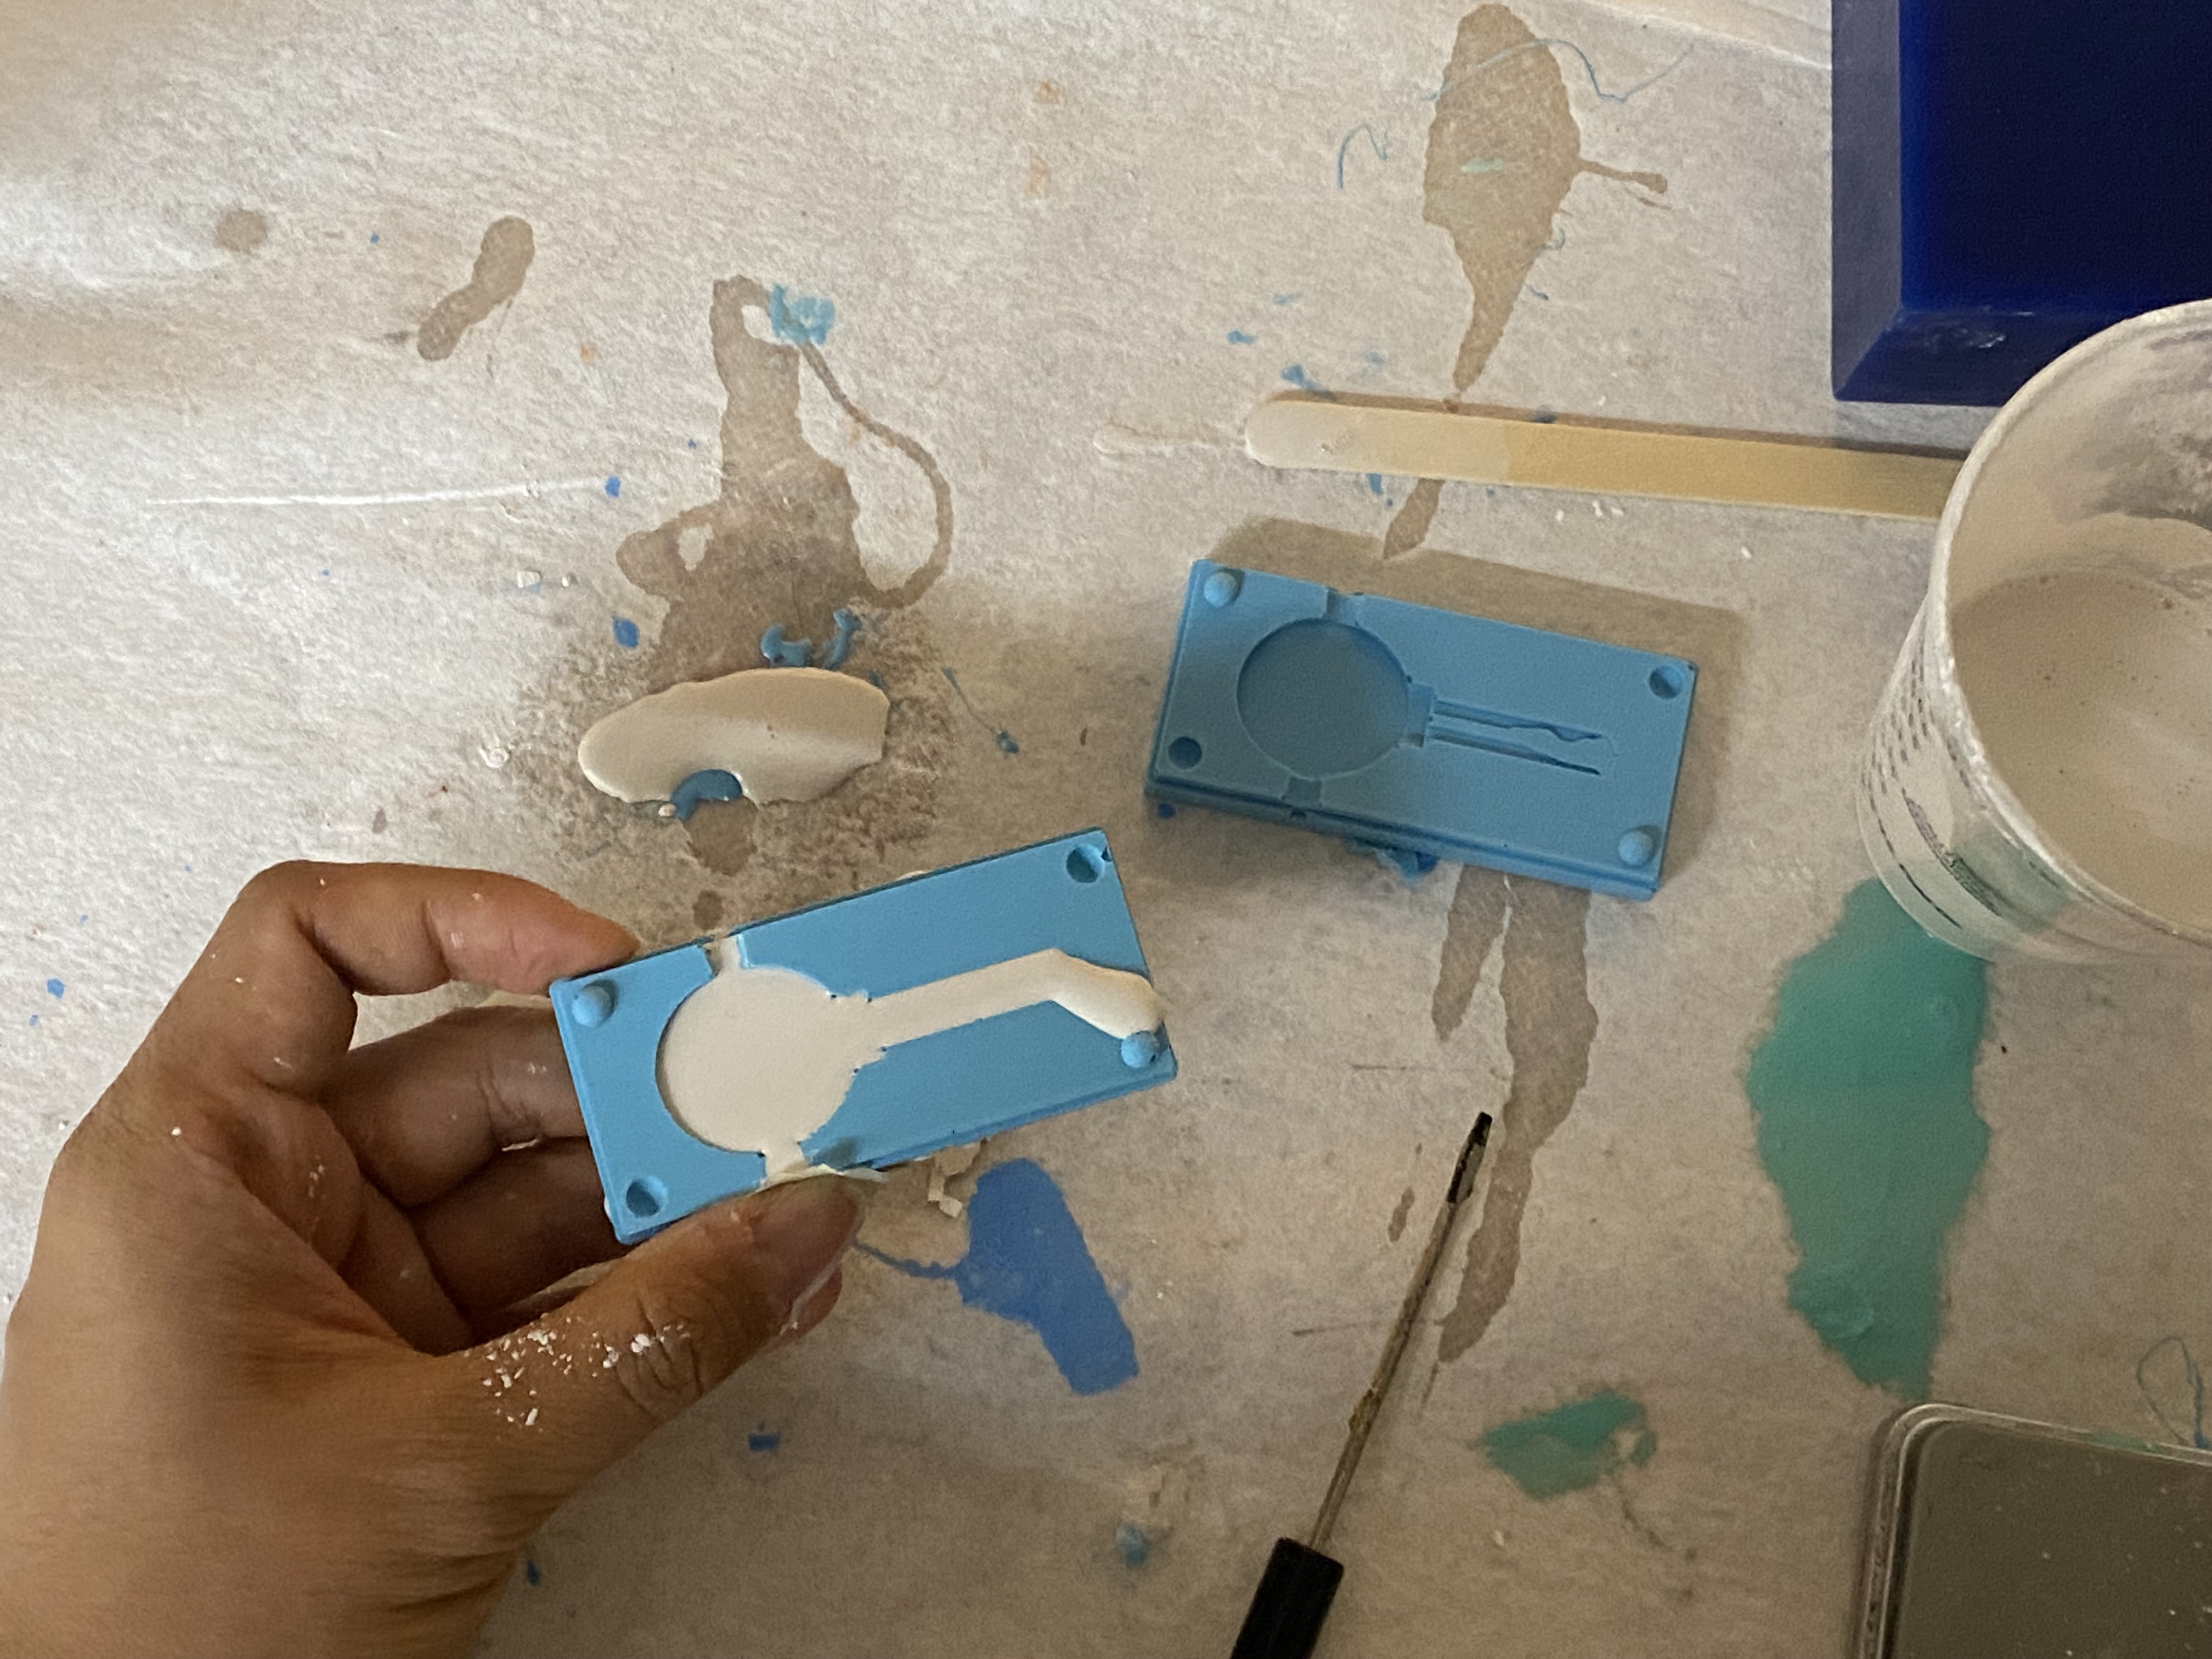
It never worked. As there are two horizontal holes facing each other, I could not put the material and hold it in the mold.
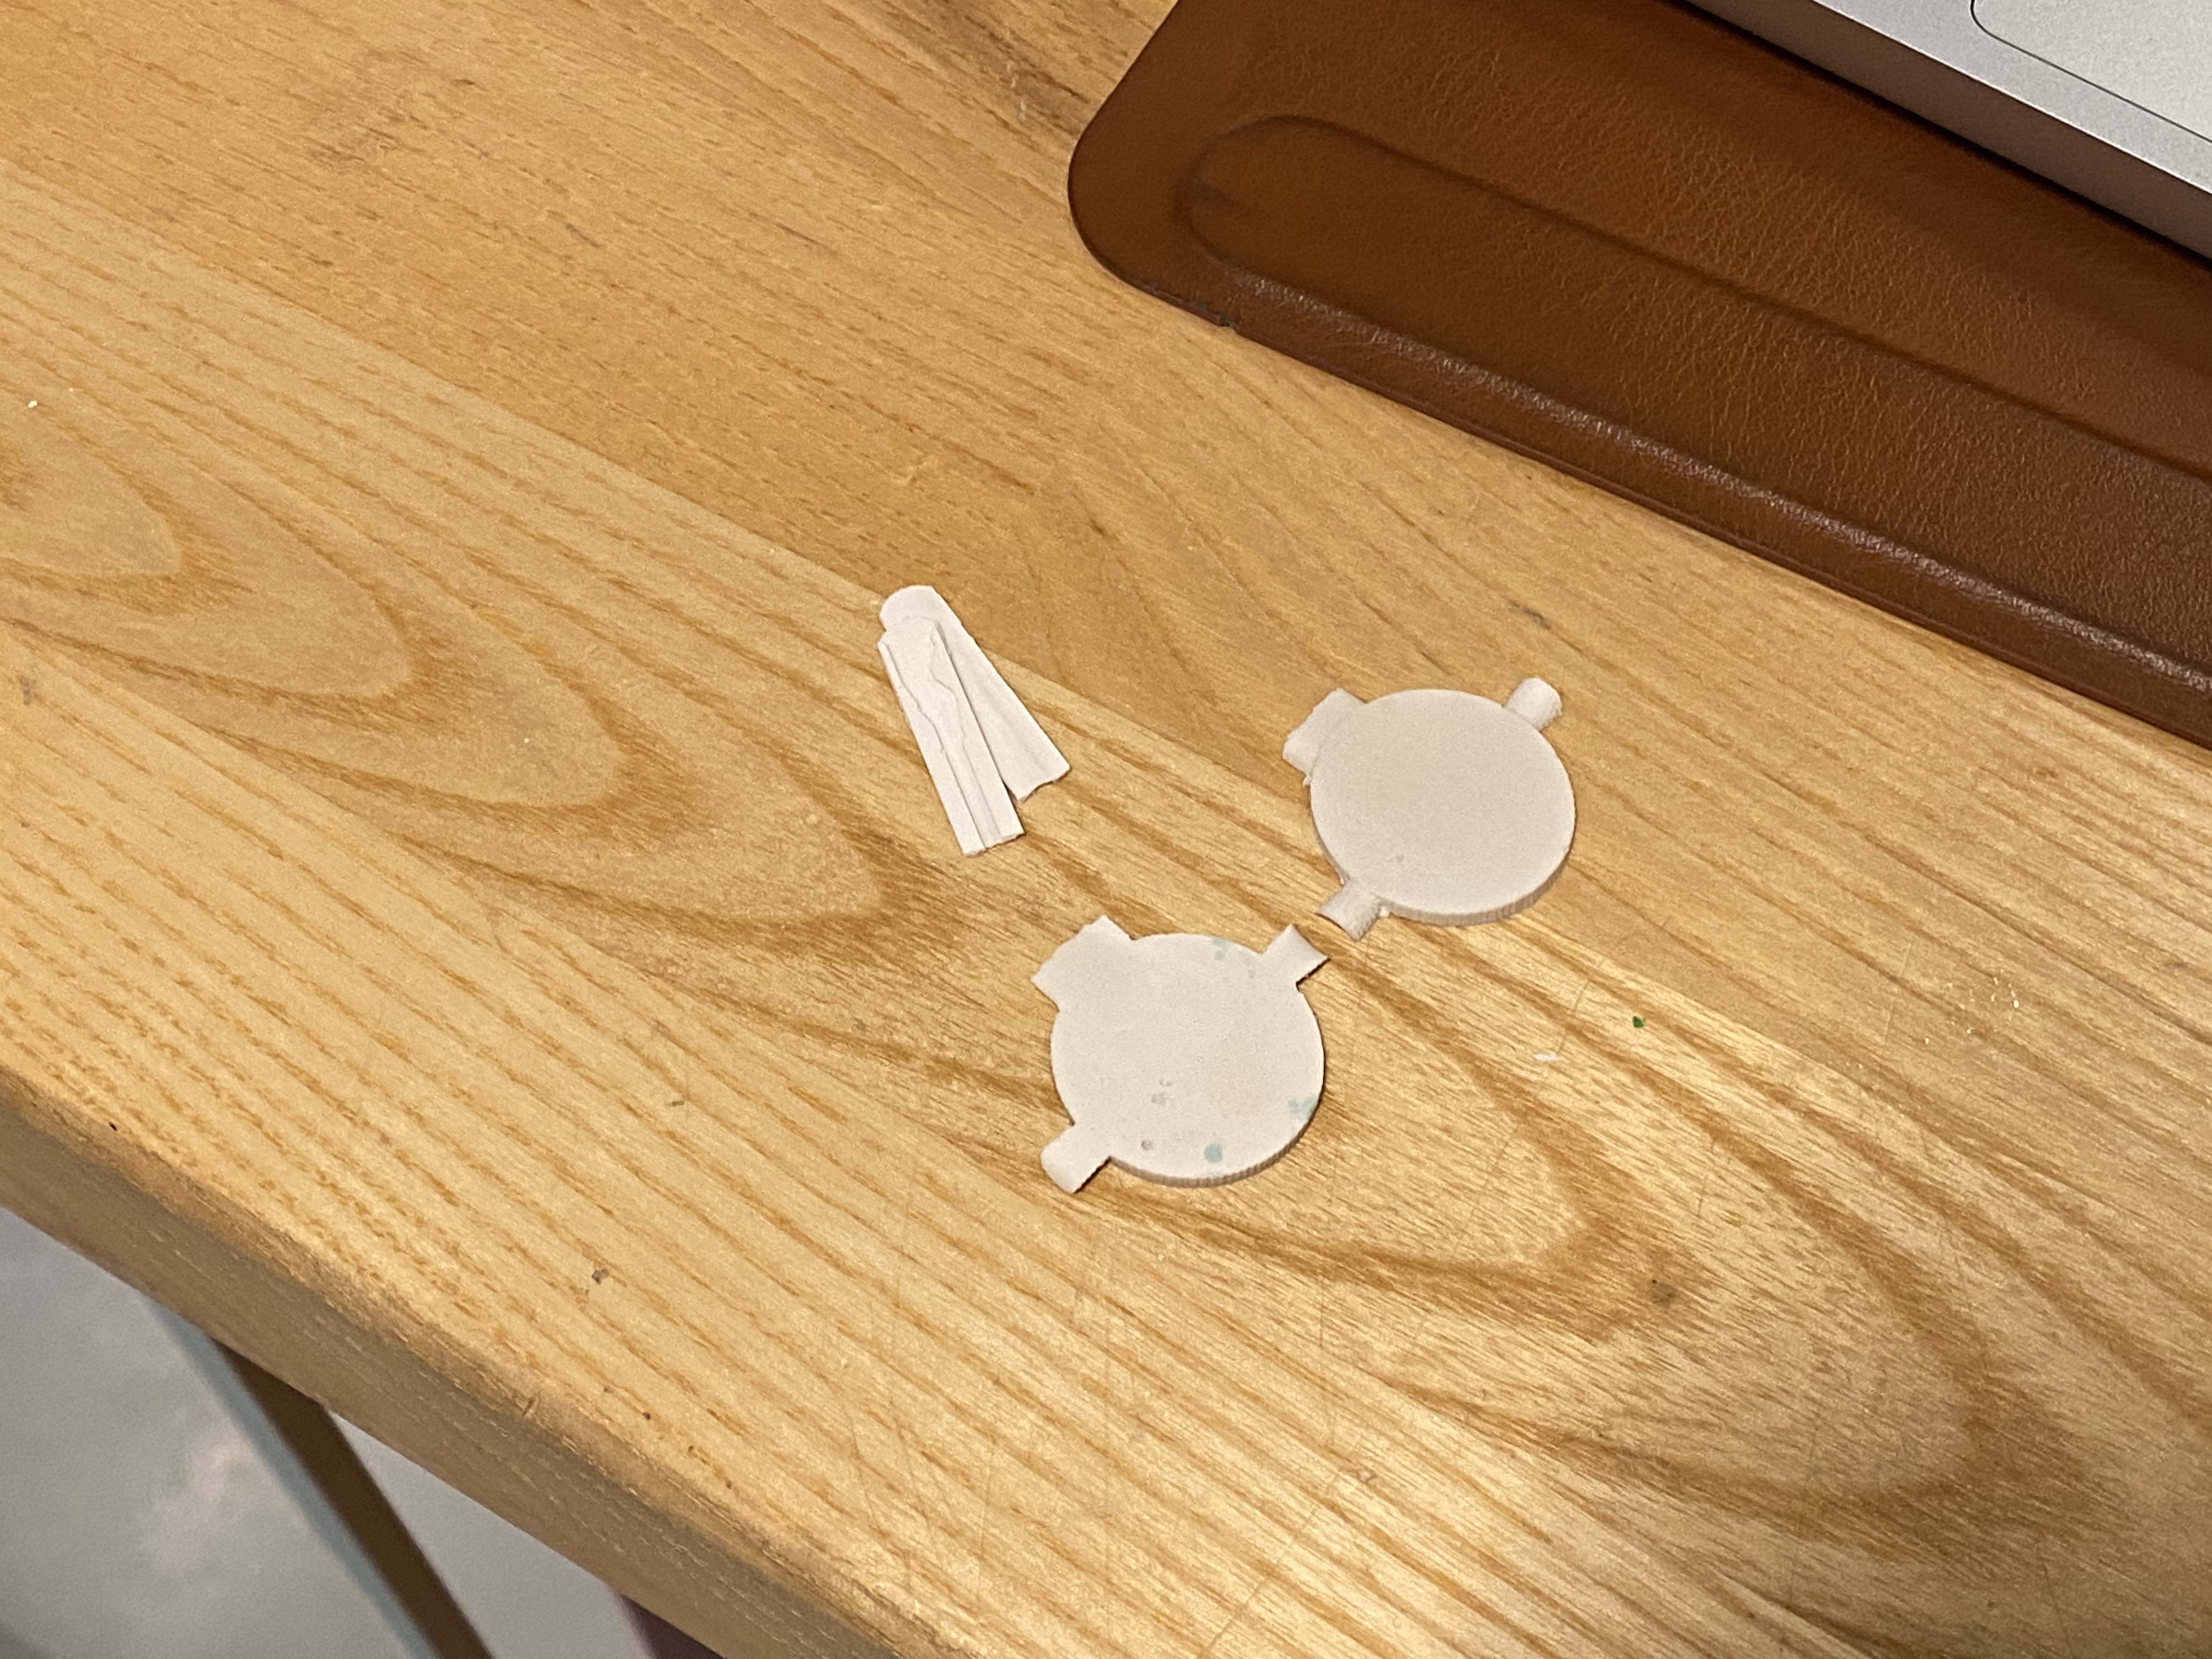

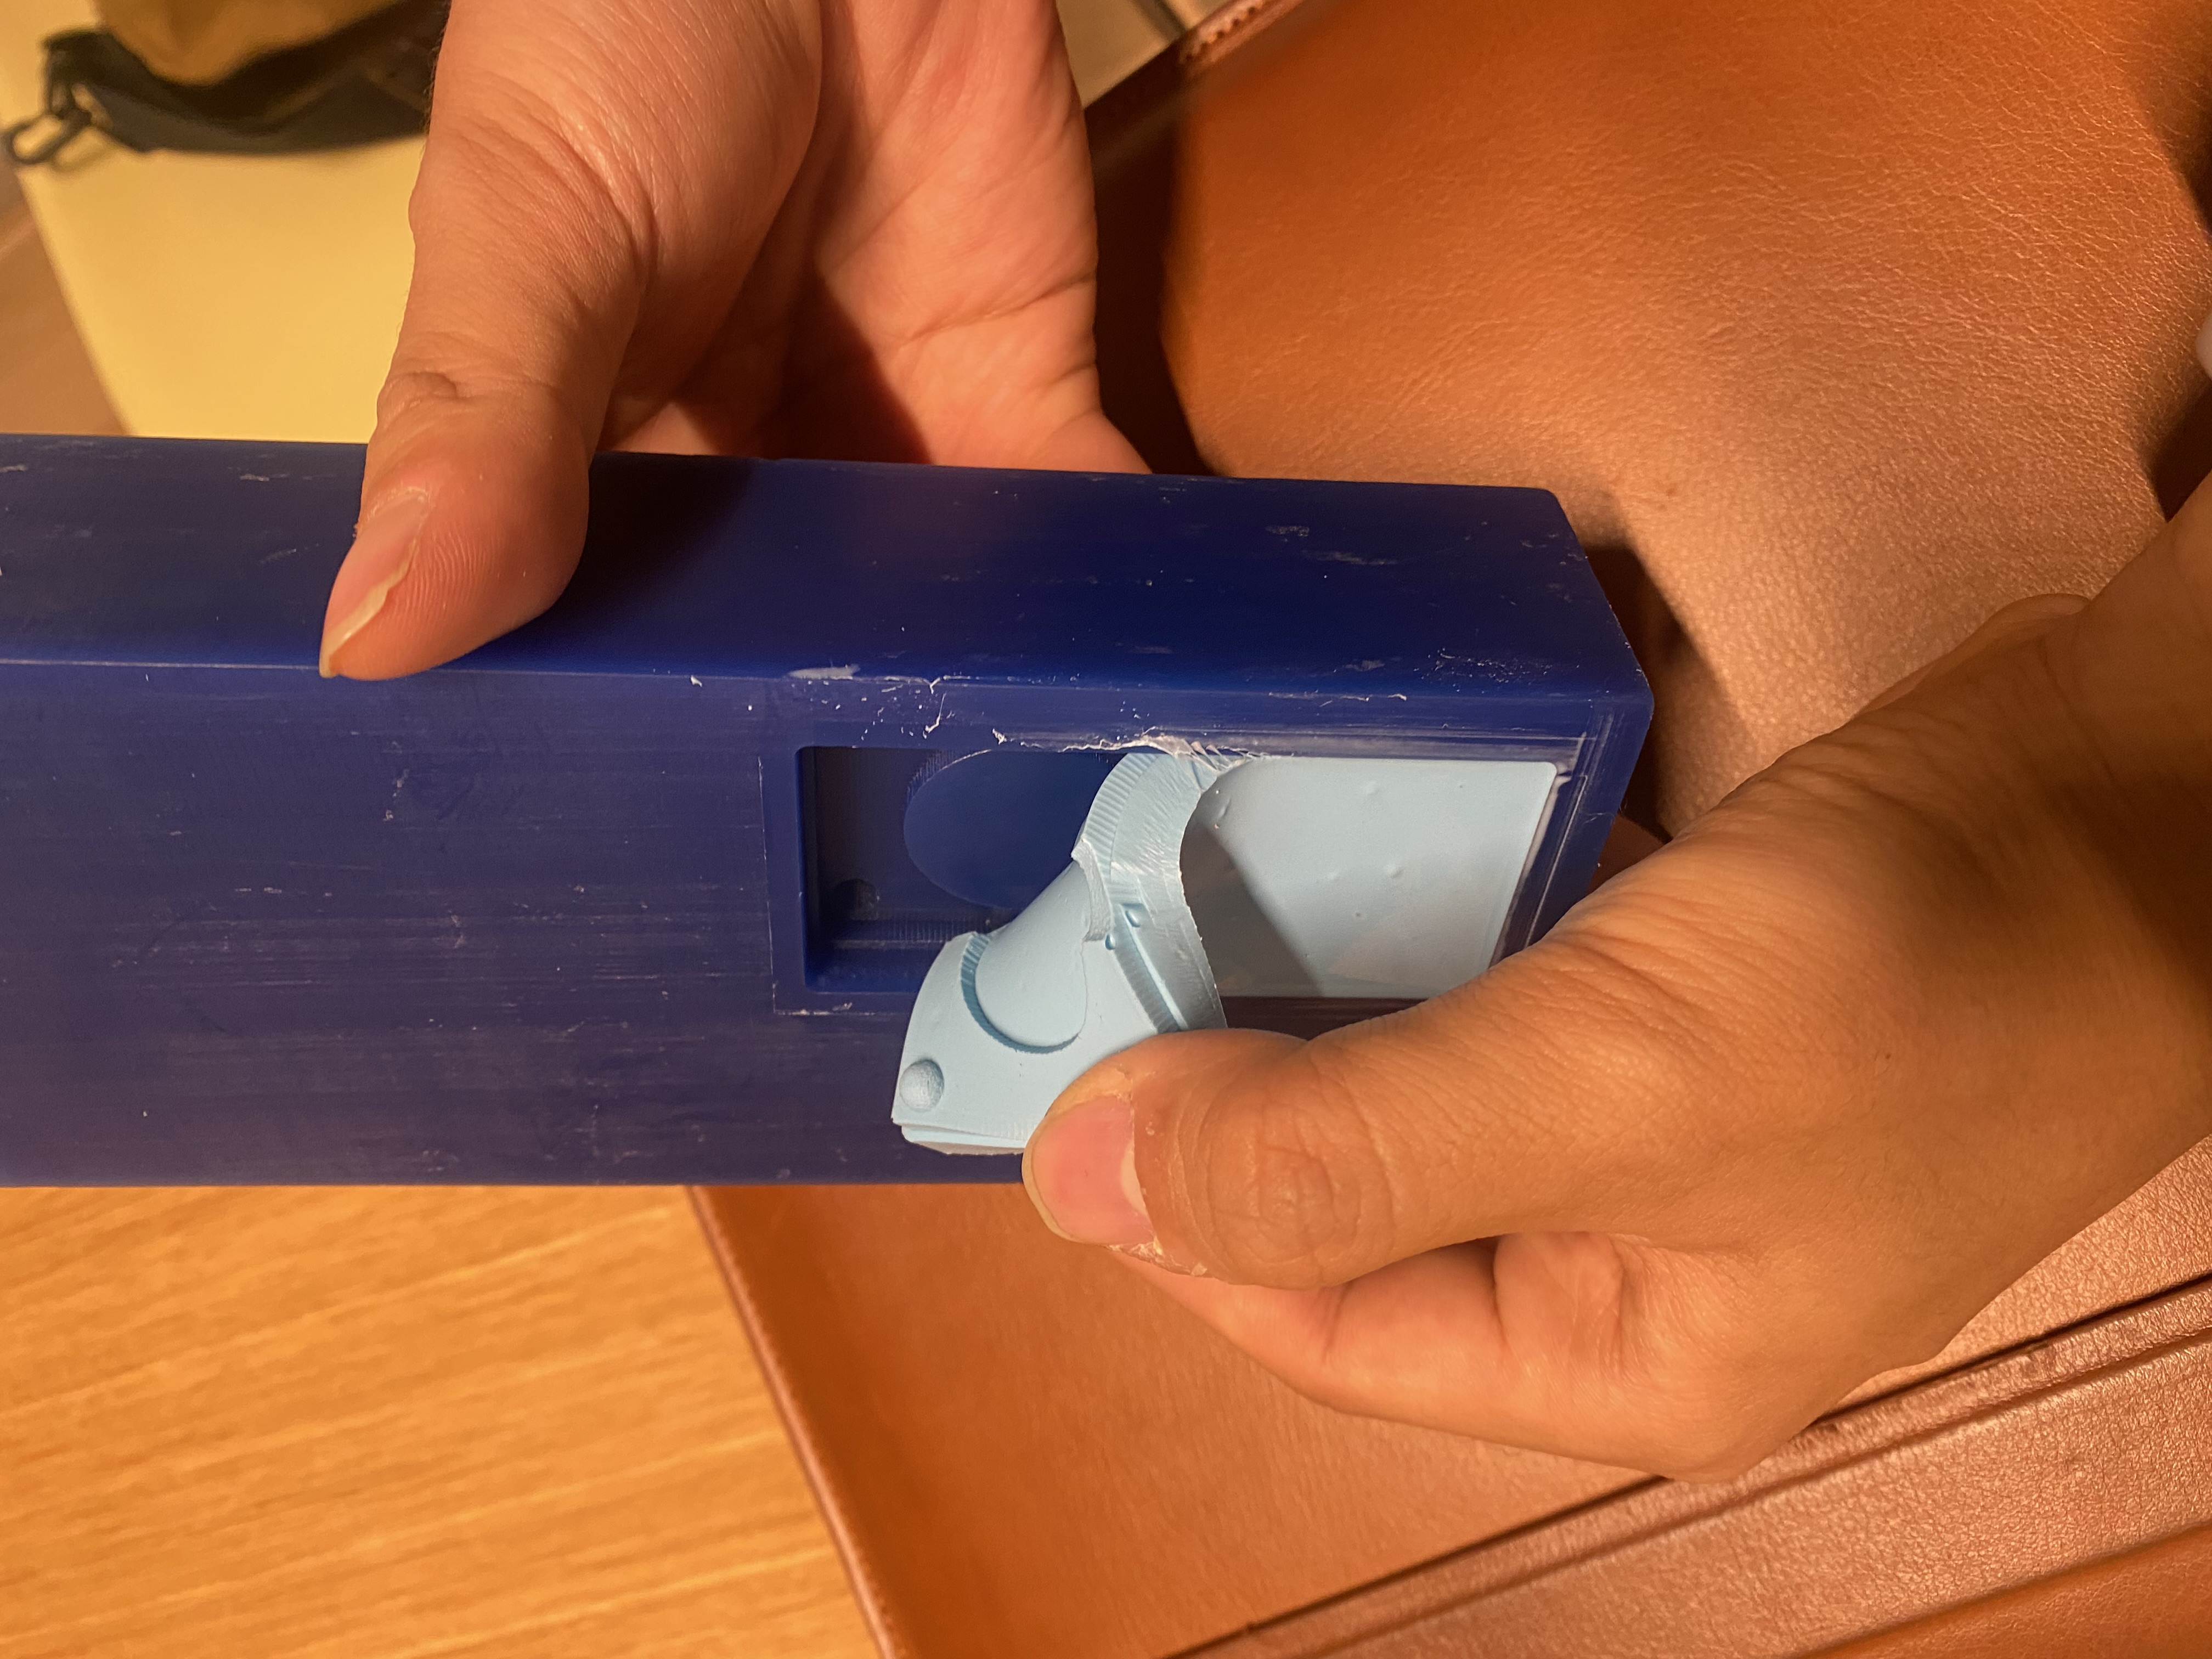
The result of trying casting the half of the key. Julia’s sktech to explain how molding and casting works...
Thanks Julia!
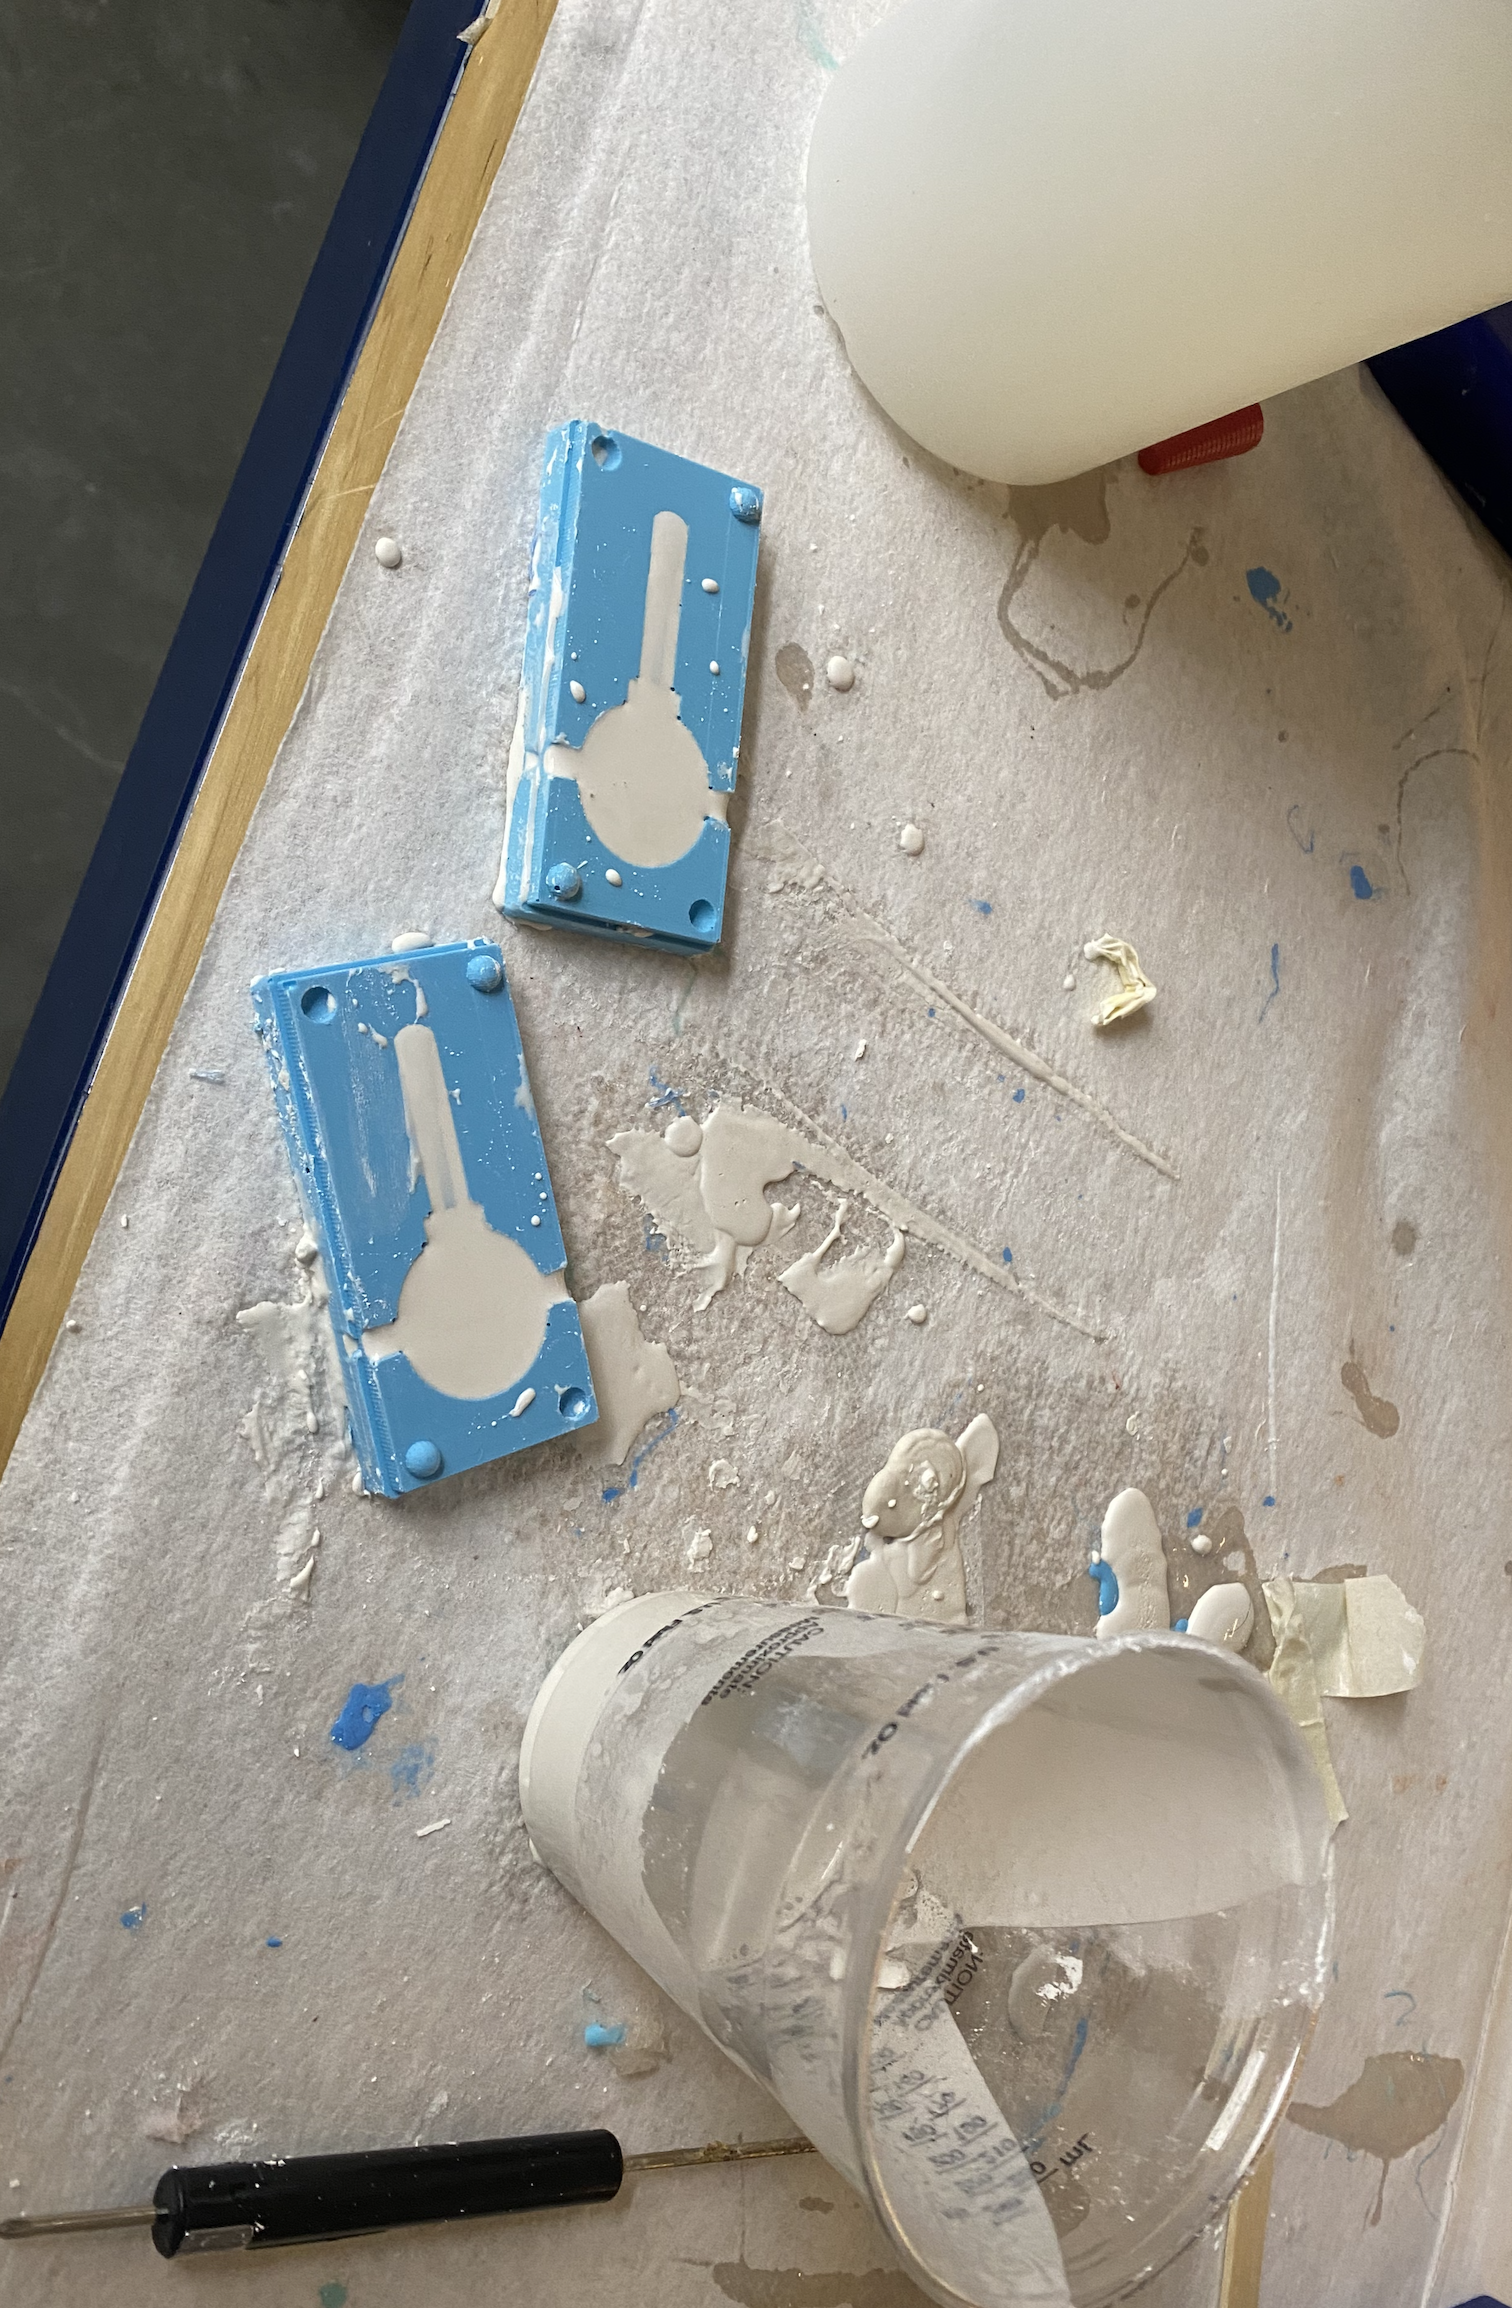
So based on what I’ve learned, I re 3D modeled the mold of the mold.

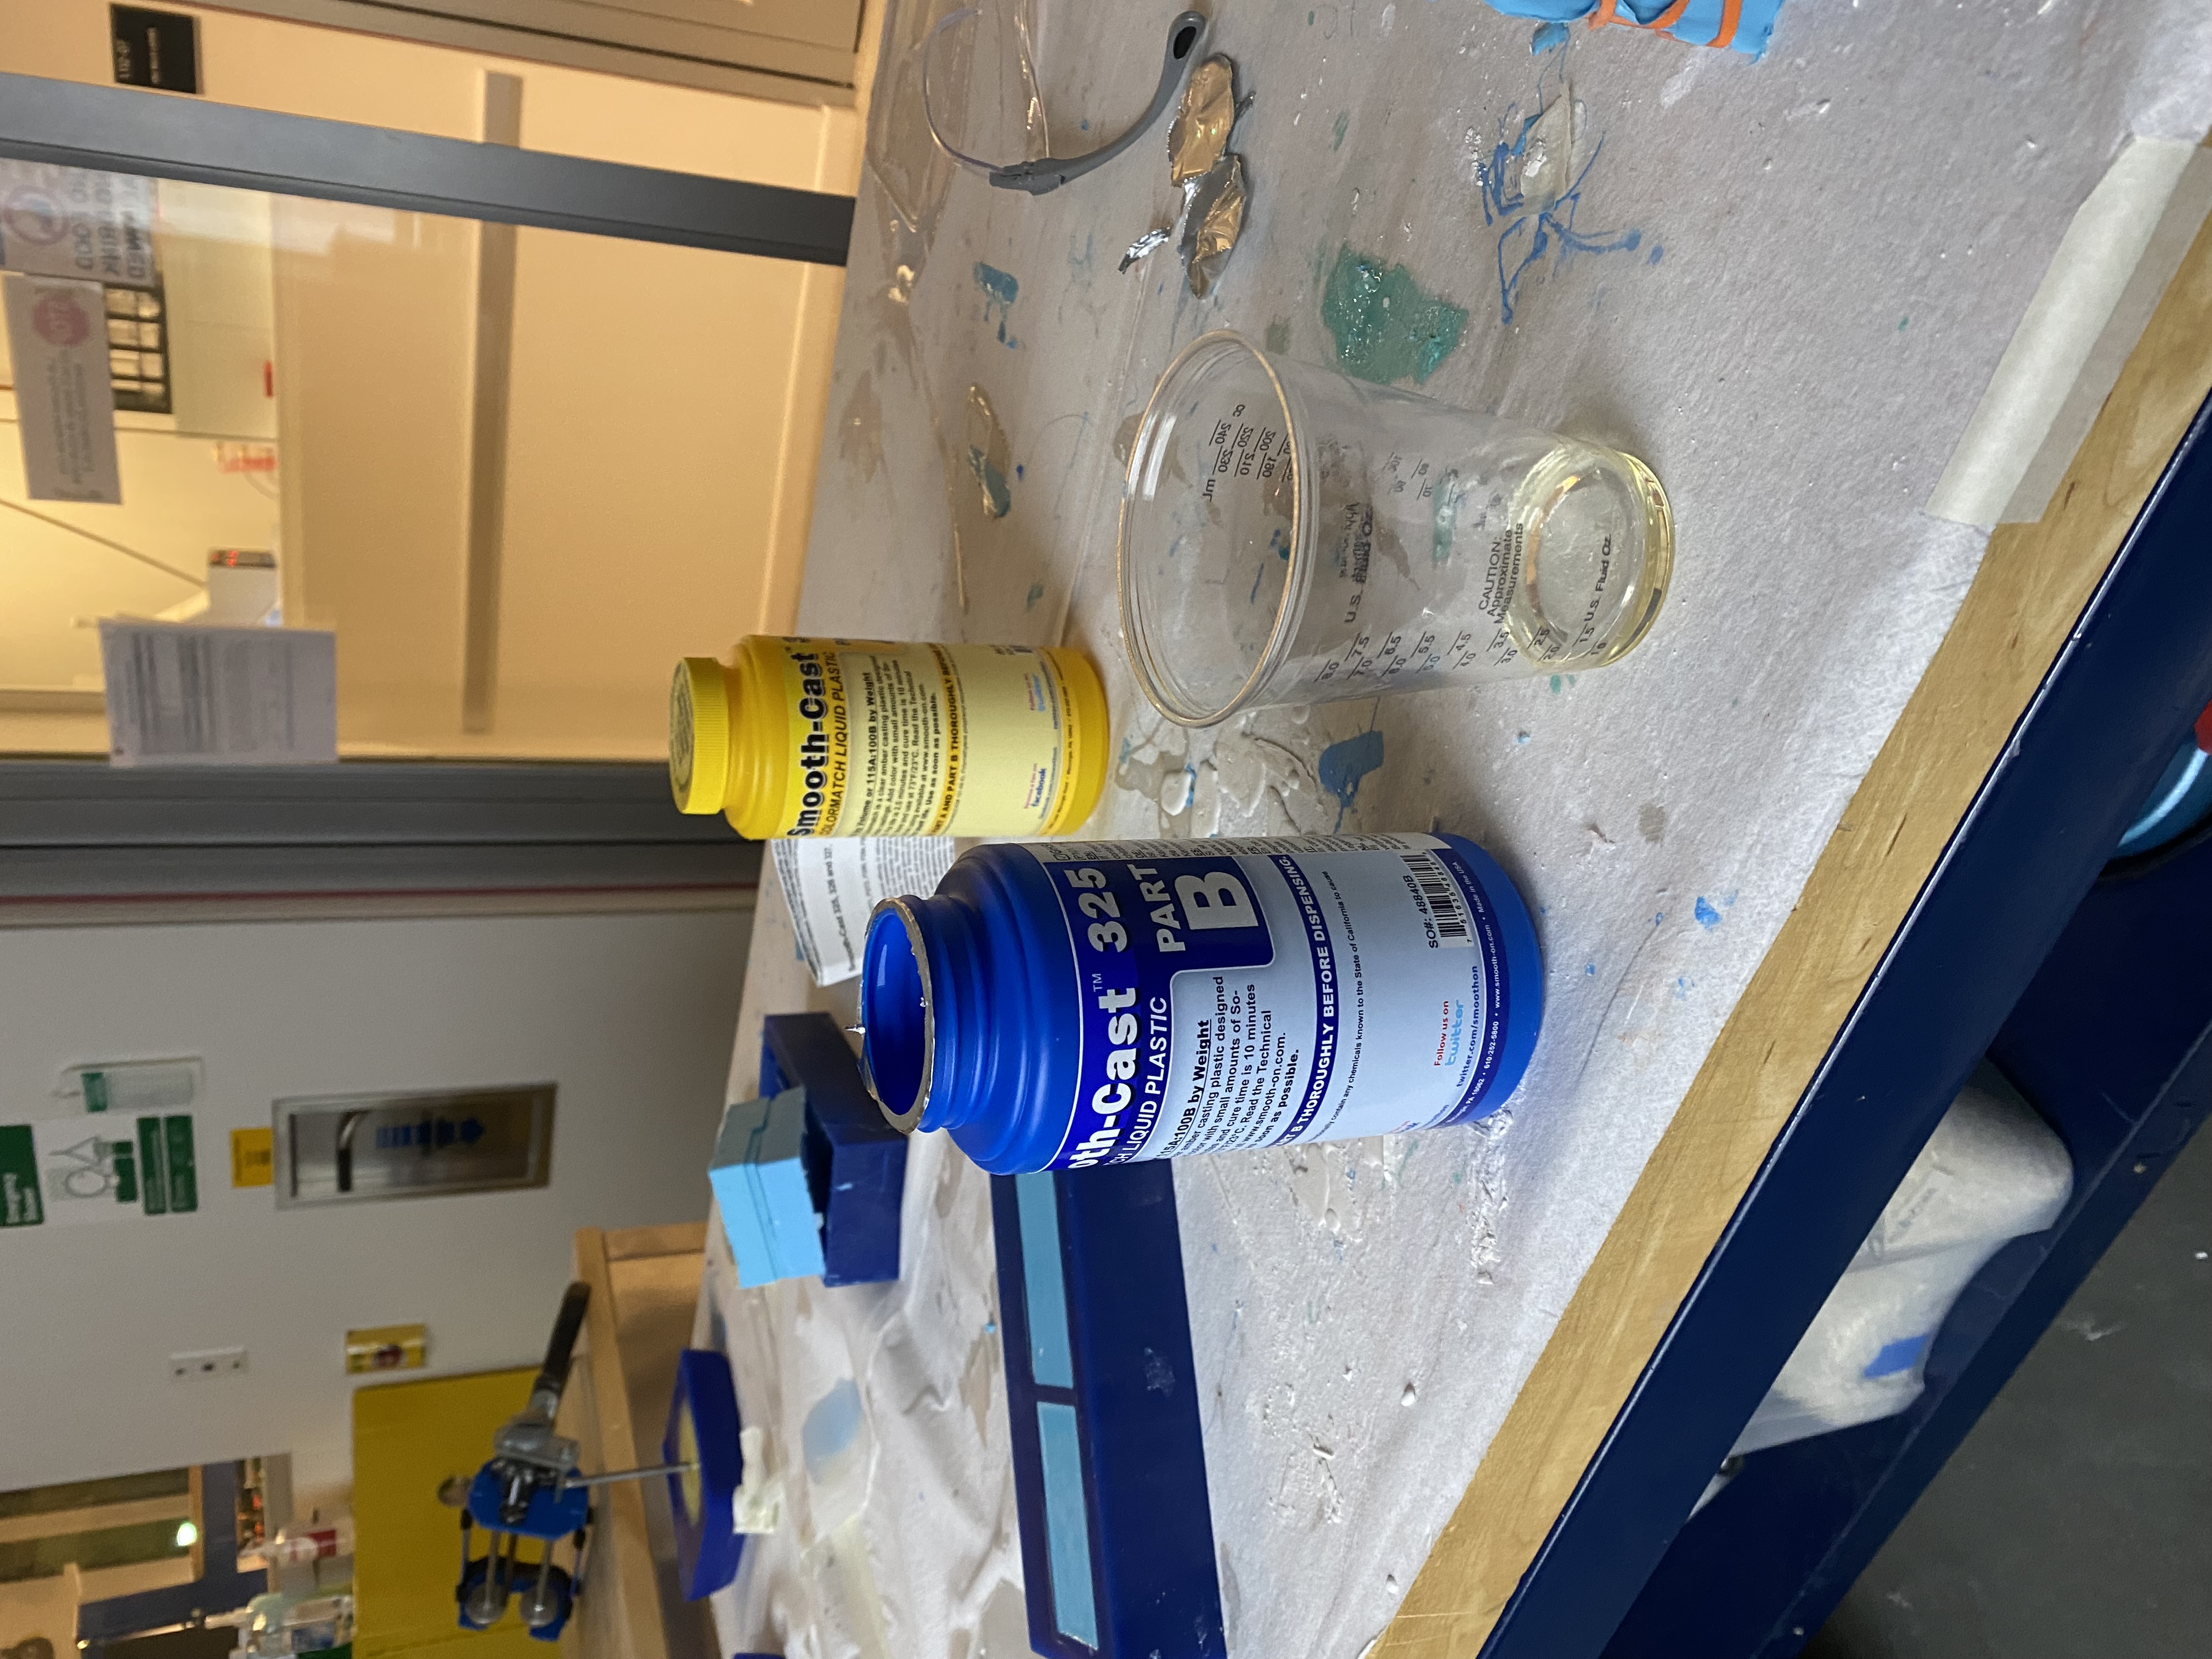
Tried liquid plastic (325) and hydrostone
and also bismuth-tin alloy!
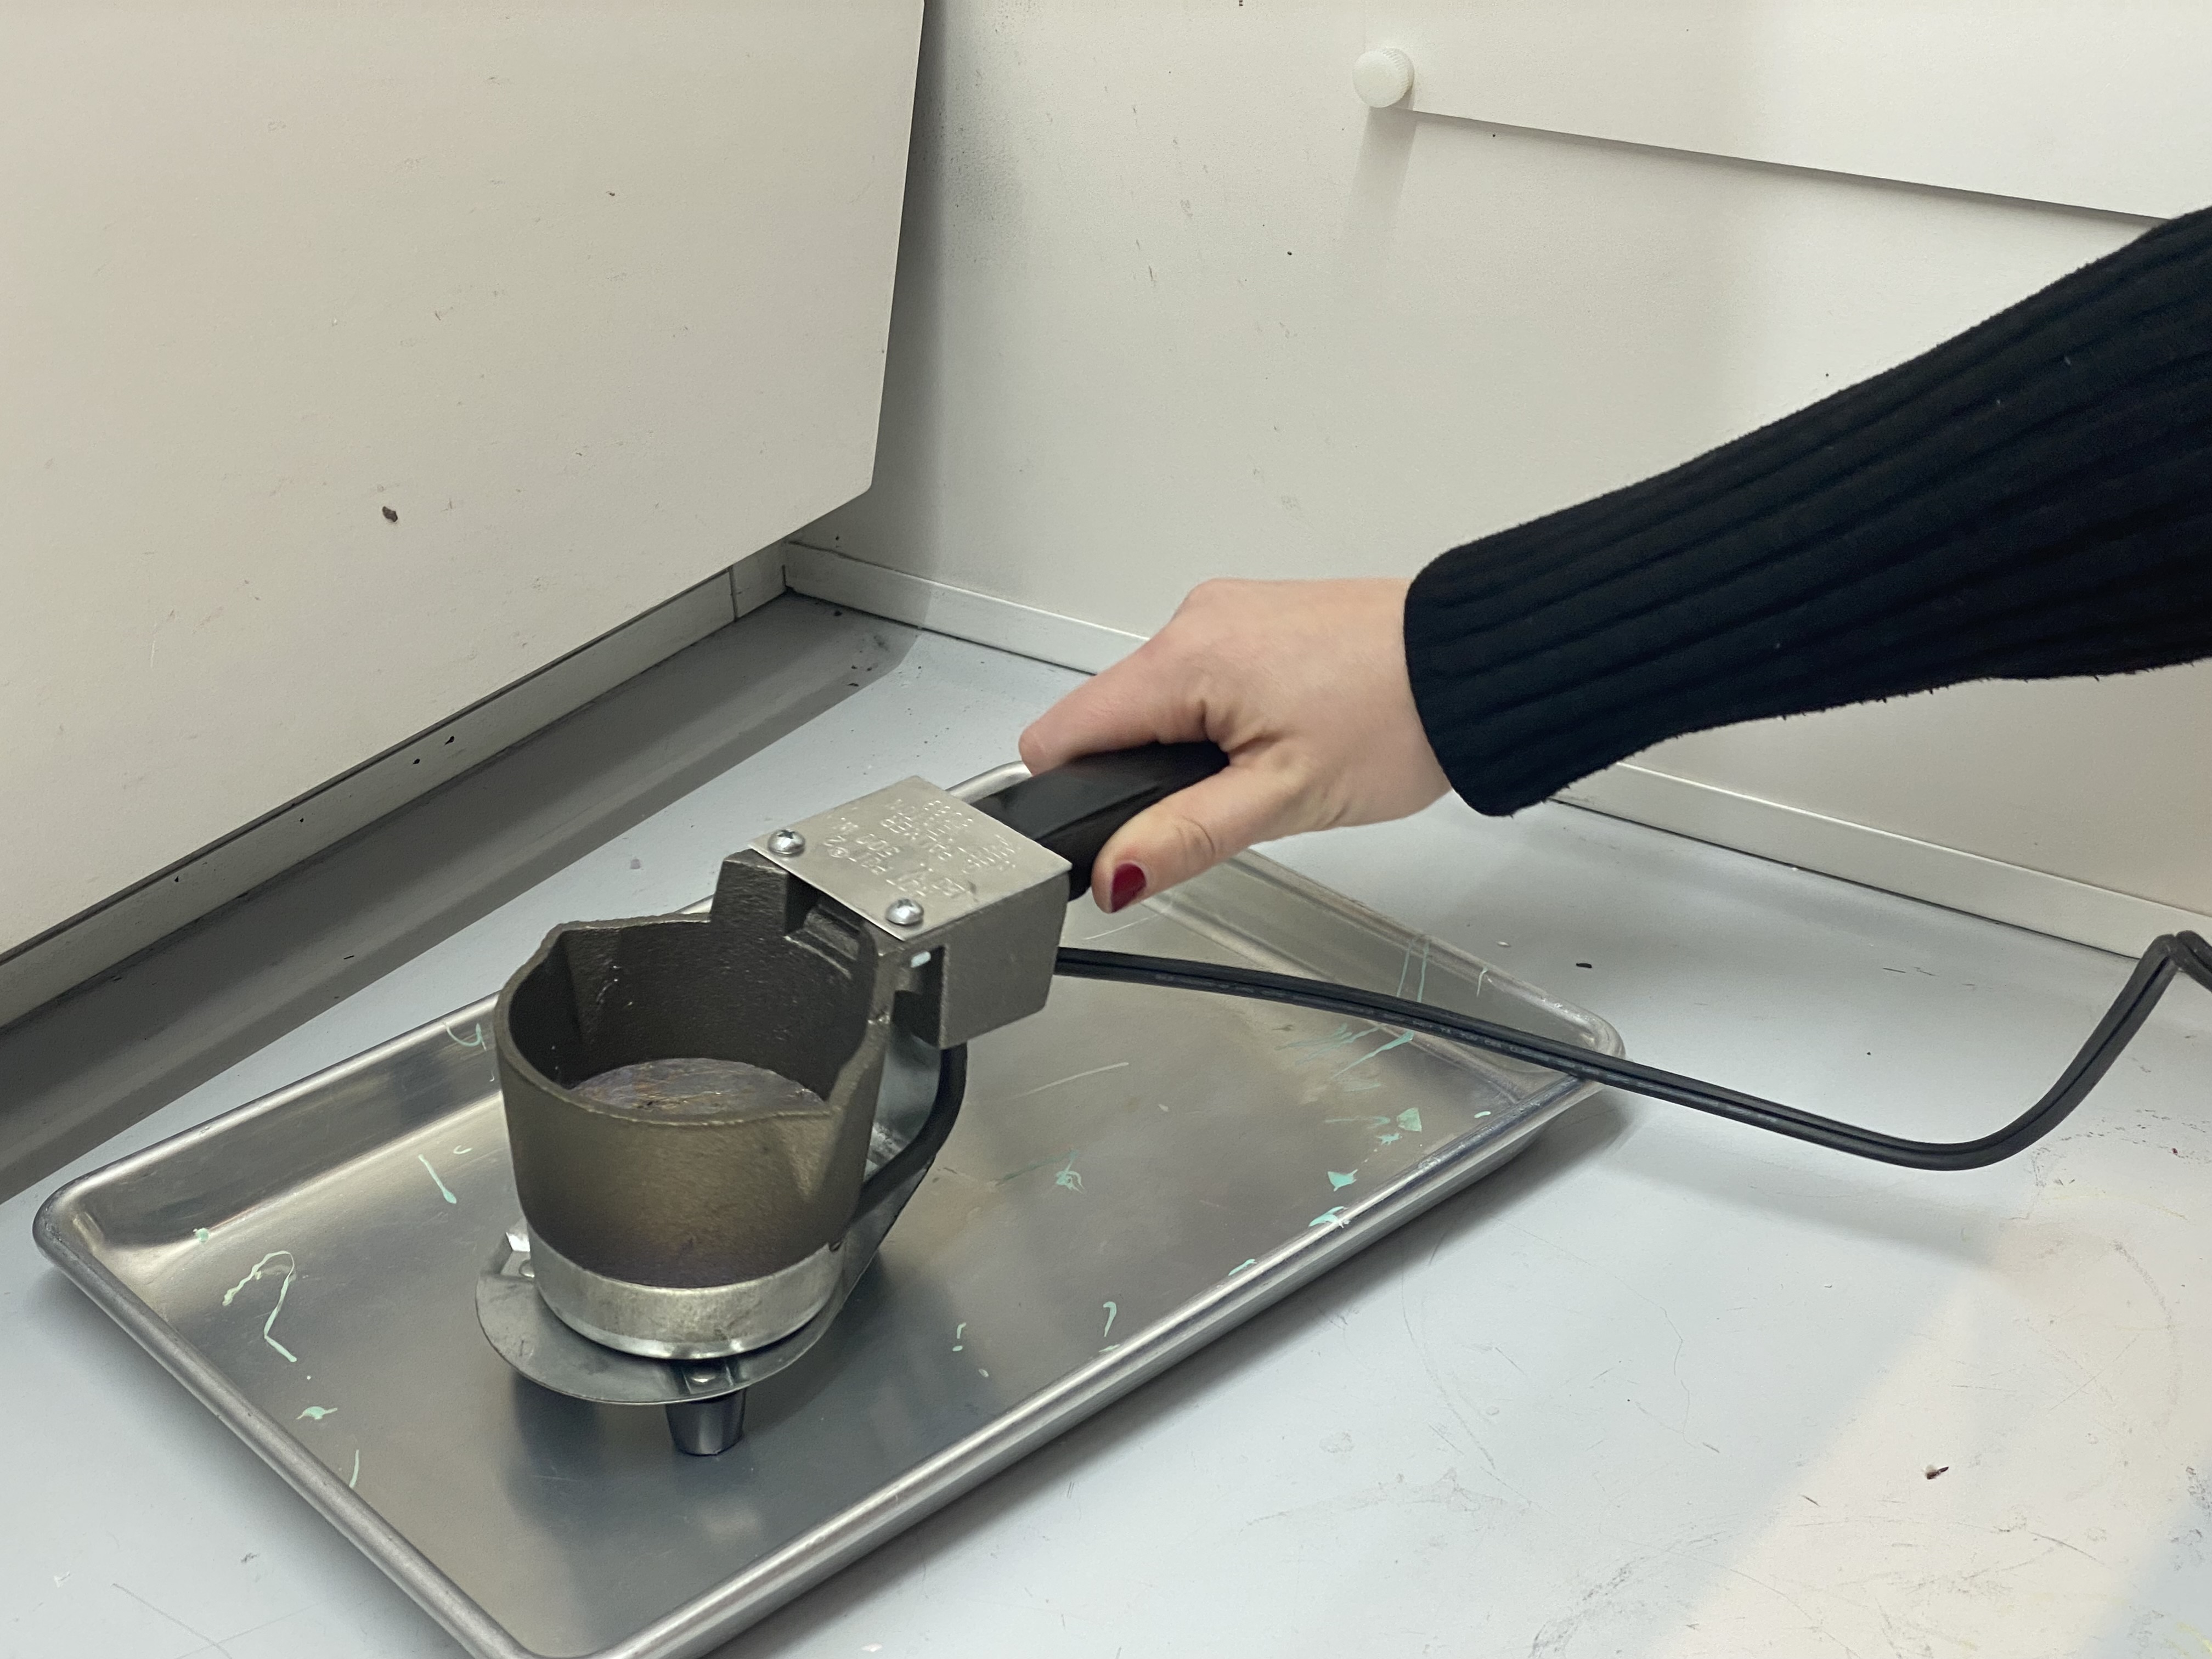
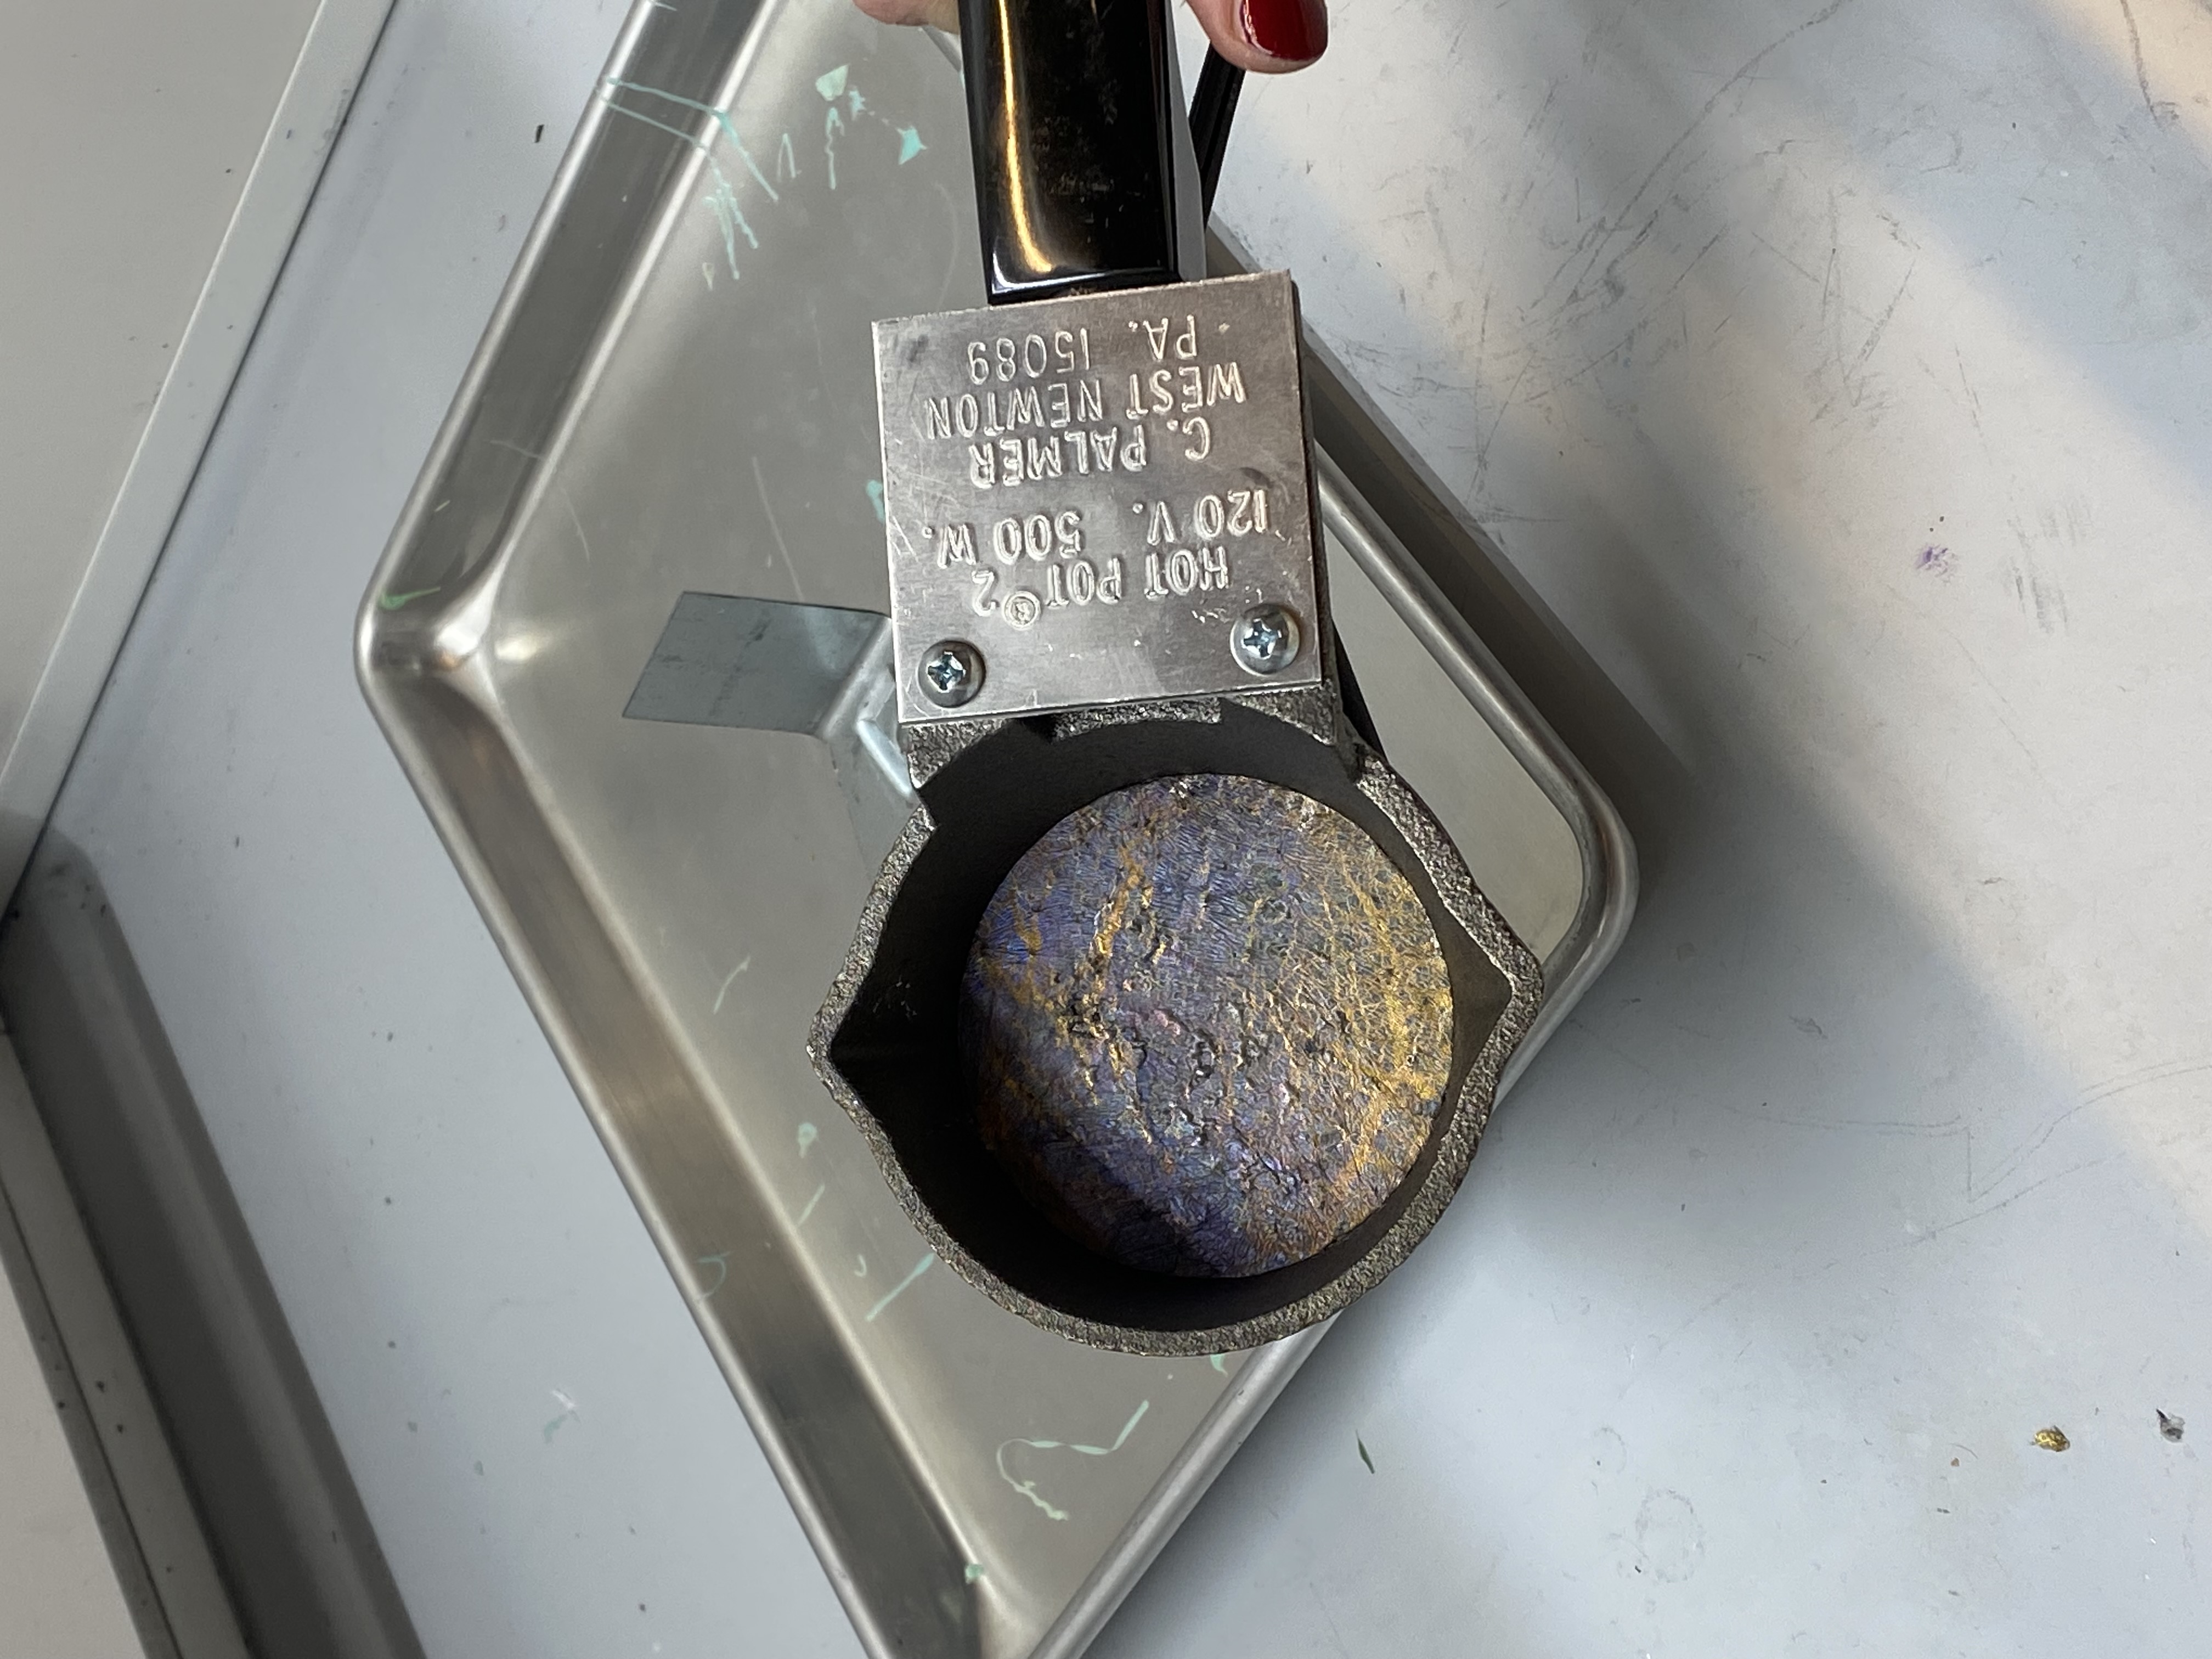

There is no swtich or whatsoever - so need to unplug it when not using!

putting some powders on the mold - not sure what the powders are!

and making sure the two sides meet evenly! No more pressure than just kissing the surfaces

It looks good!
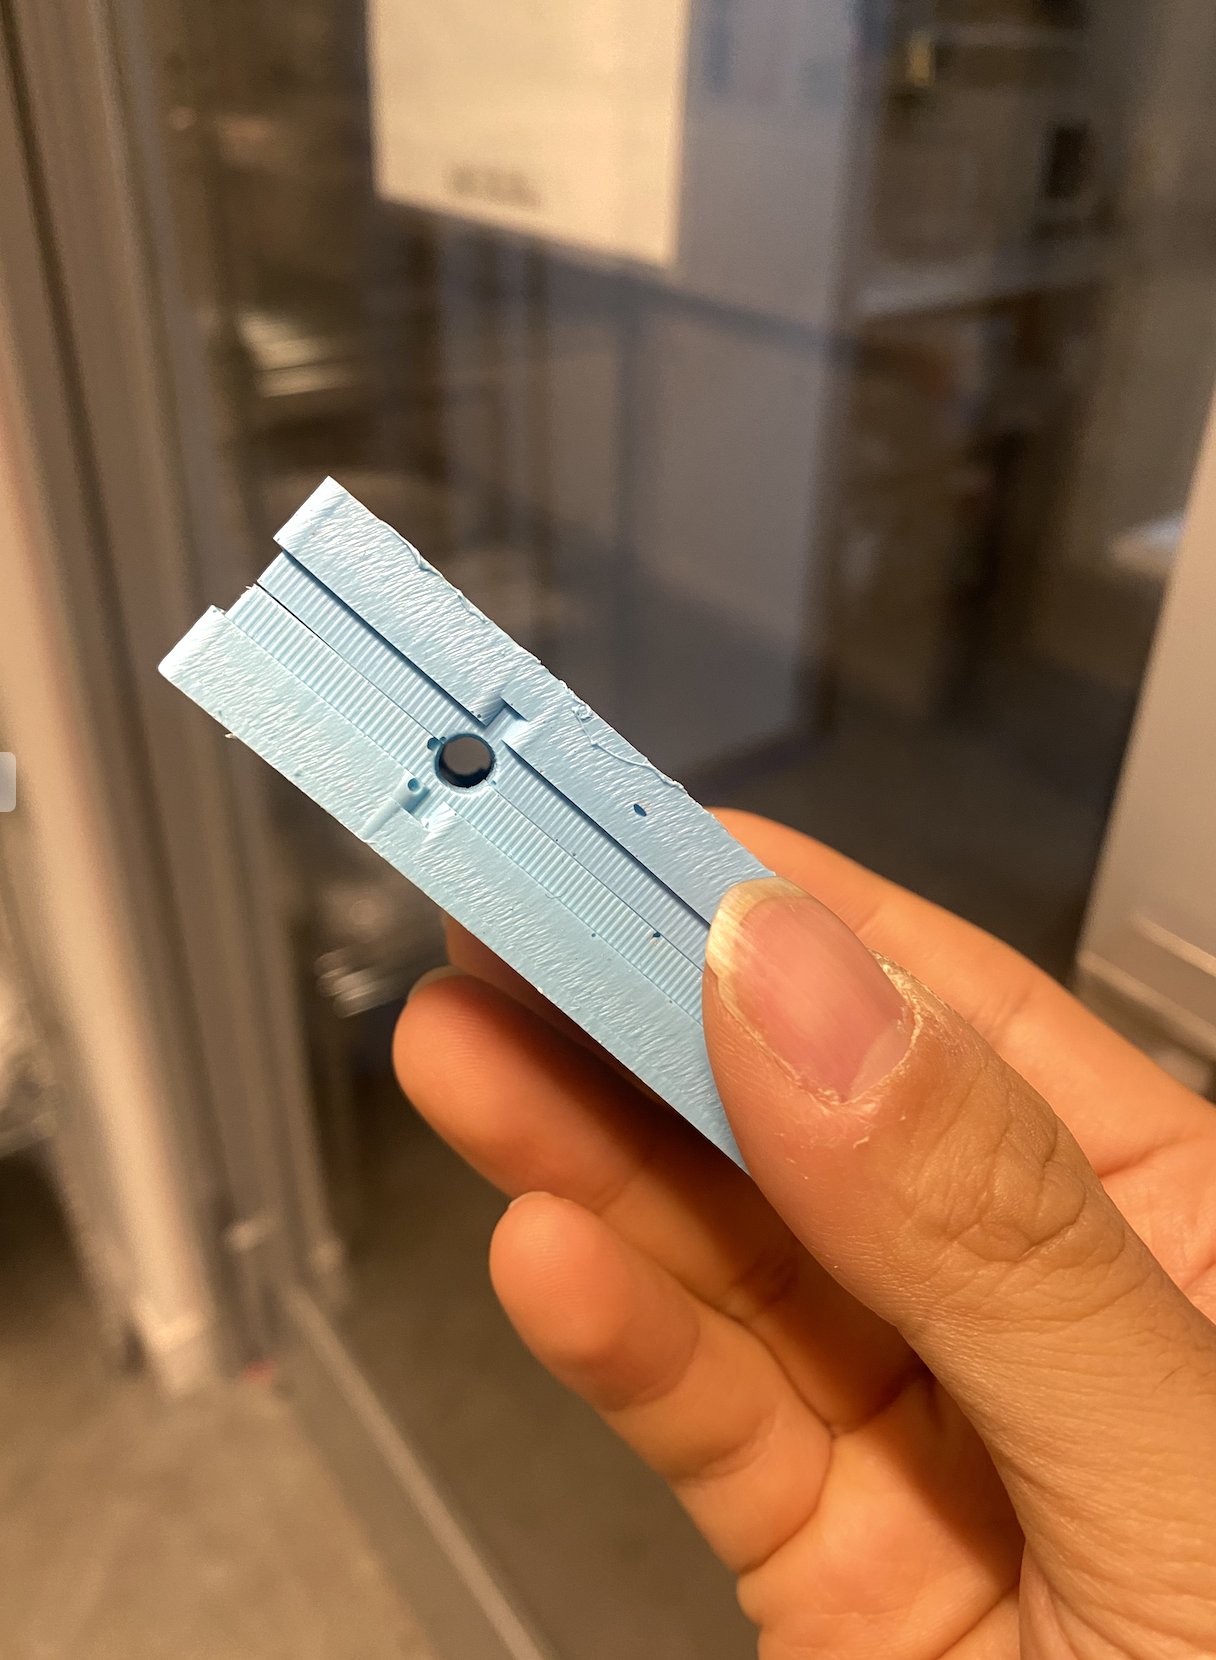
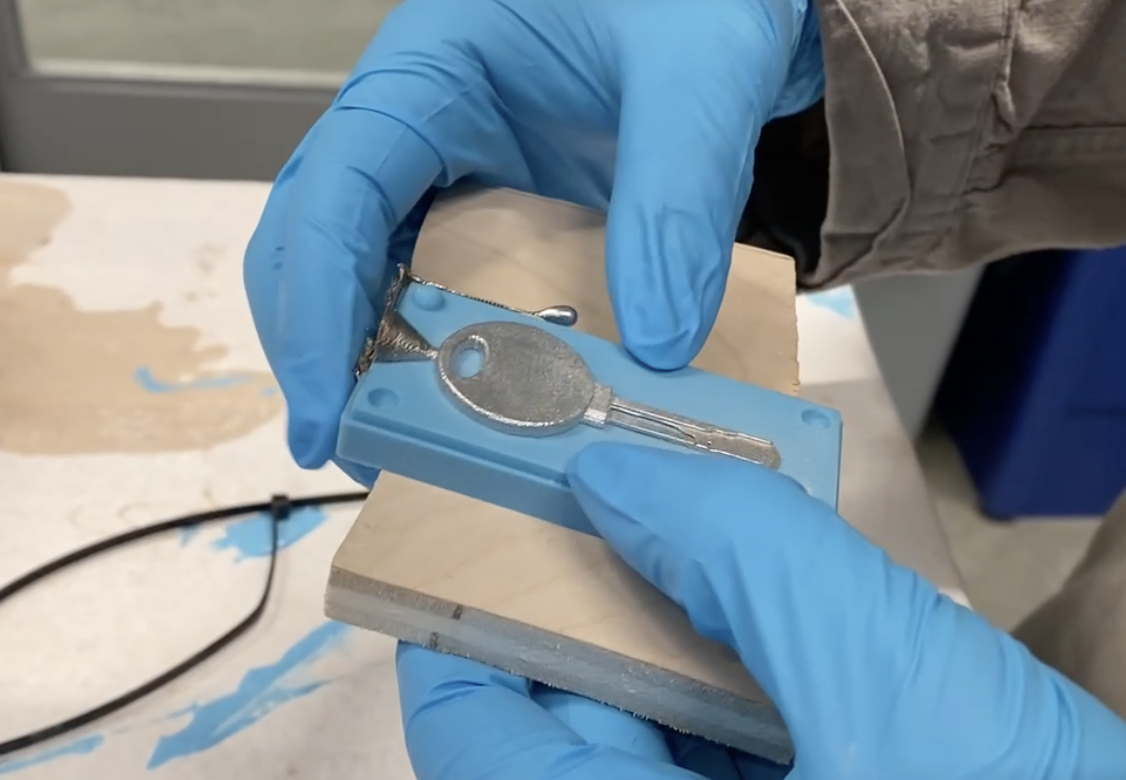
Now it’s the moment of truth - I could not try this with hydrostone and plastic as they are too fragile or flexible.
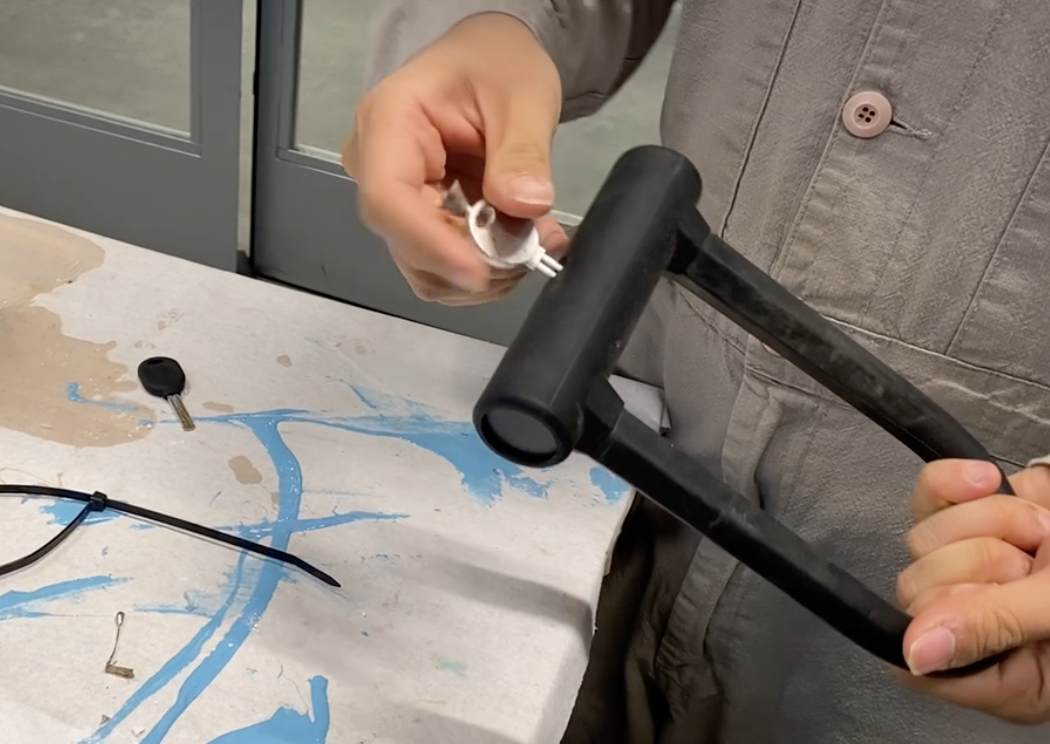
But it did not work.
I think it did not work because of the thinkness of the key part - In that case, no matter how the cast comes out perfectly, It won’t work.
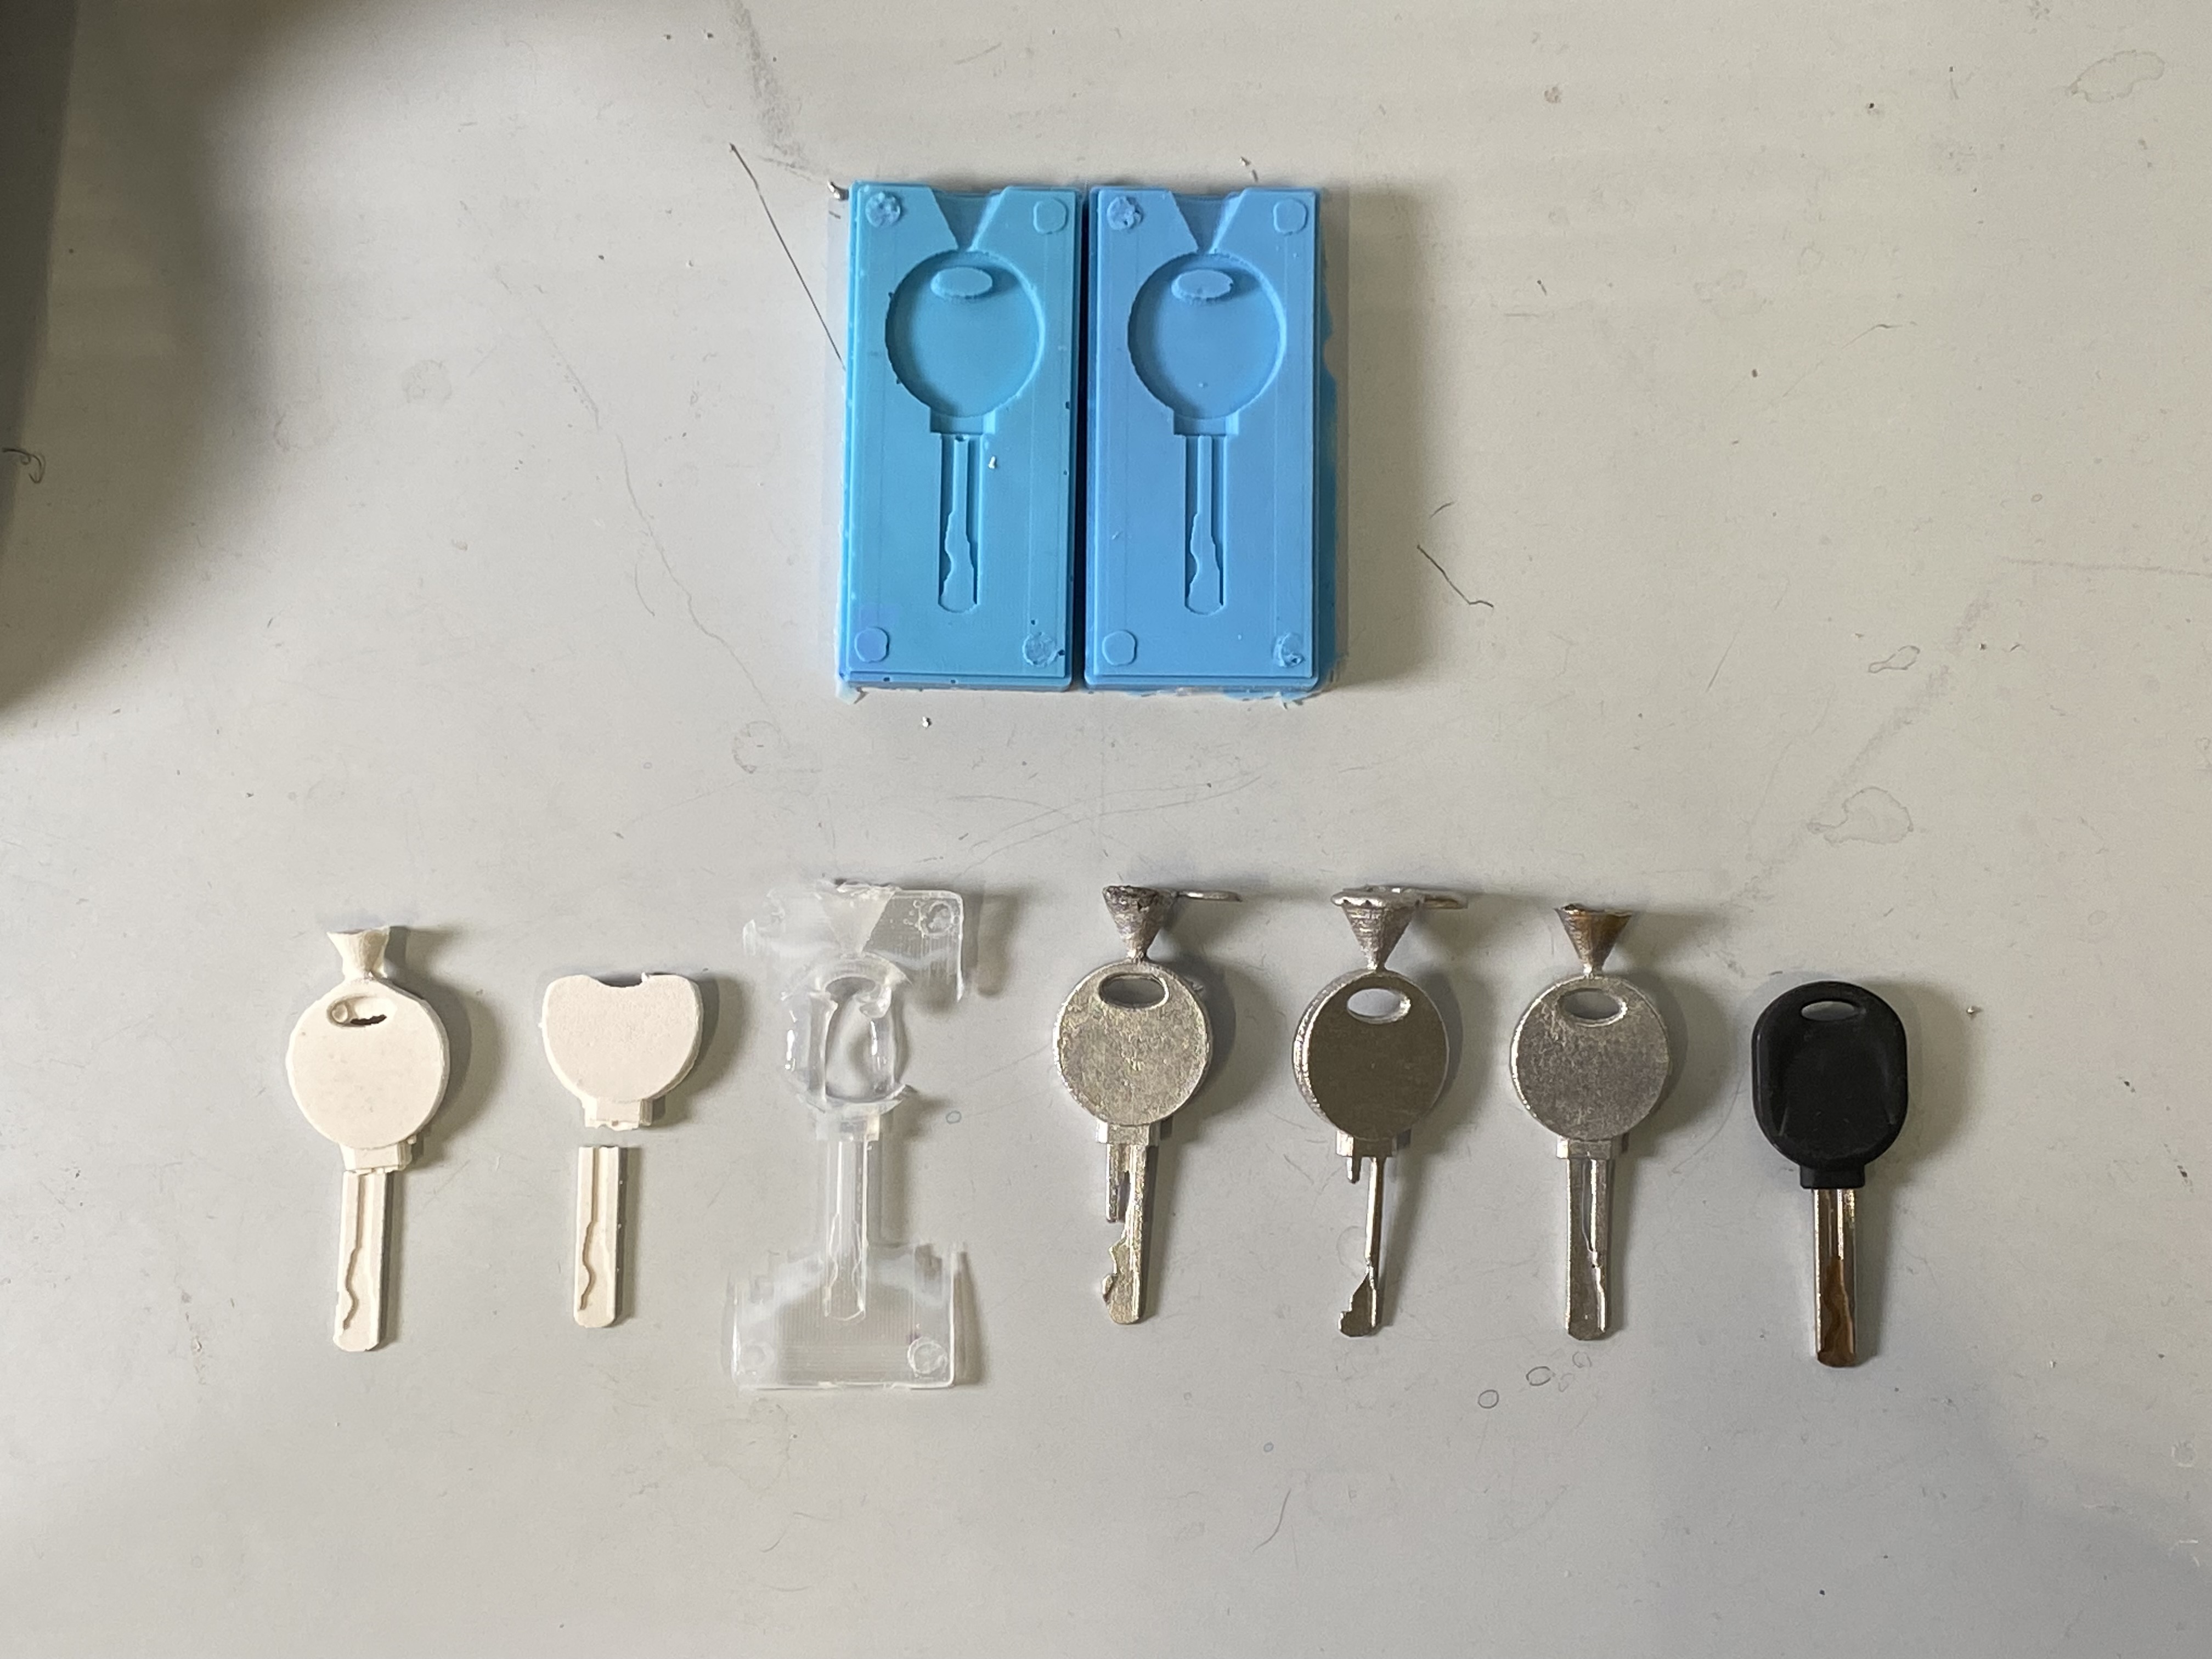
I could not open the bike lock, but I learned a lot about casting and molding.
If I have time, I’ll try different metals and plastics with the fixed mold.